Finally back around to my 72 F100
Moderator: FORDification
- austin
- Blue Oval Fan

- Posts: 572
- Joined: Mon May 04, 2009 11:30 pm
- Location: Utah, Moroni
Re: Finally back around to my 72 F100
nice work so far its lookin better all the time it looks like you have got lots of rust to deal with
- MAK
- Blue Oval Fan

- Posts: 529
- Joined: Tue Dec 21, 2004 9:35 am
- Location: Georgia, Blairsville - Florida, Flagler Beach
- Contact:
Re: Finally back around to my 72 F100
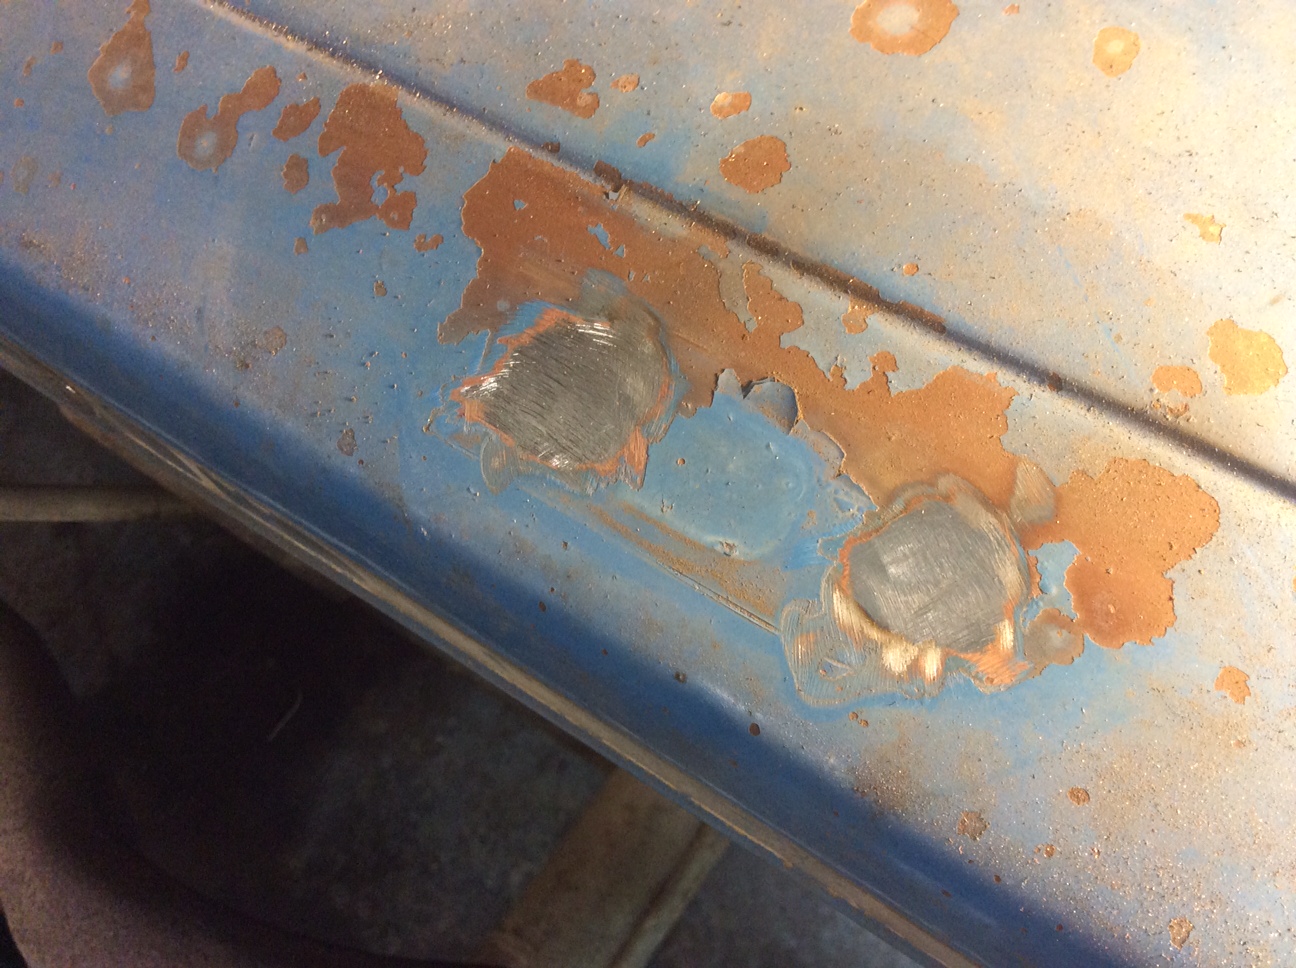
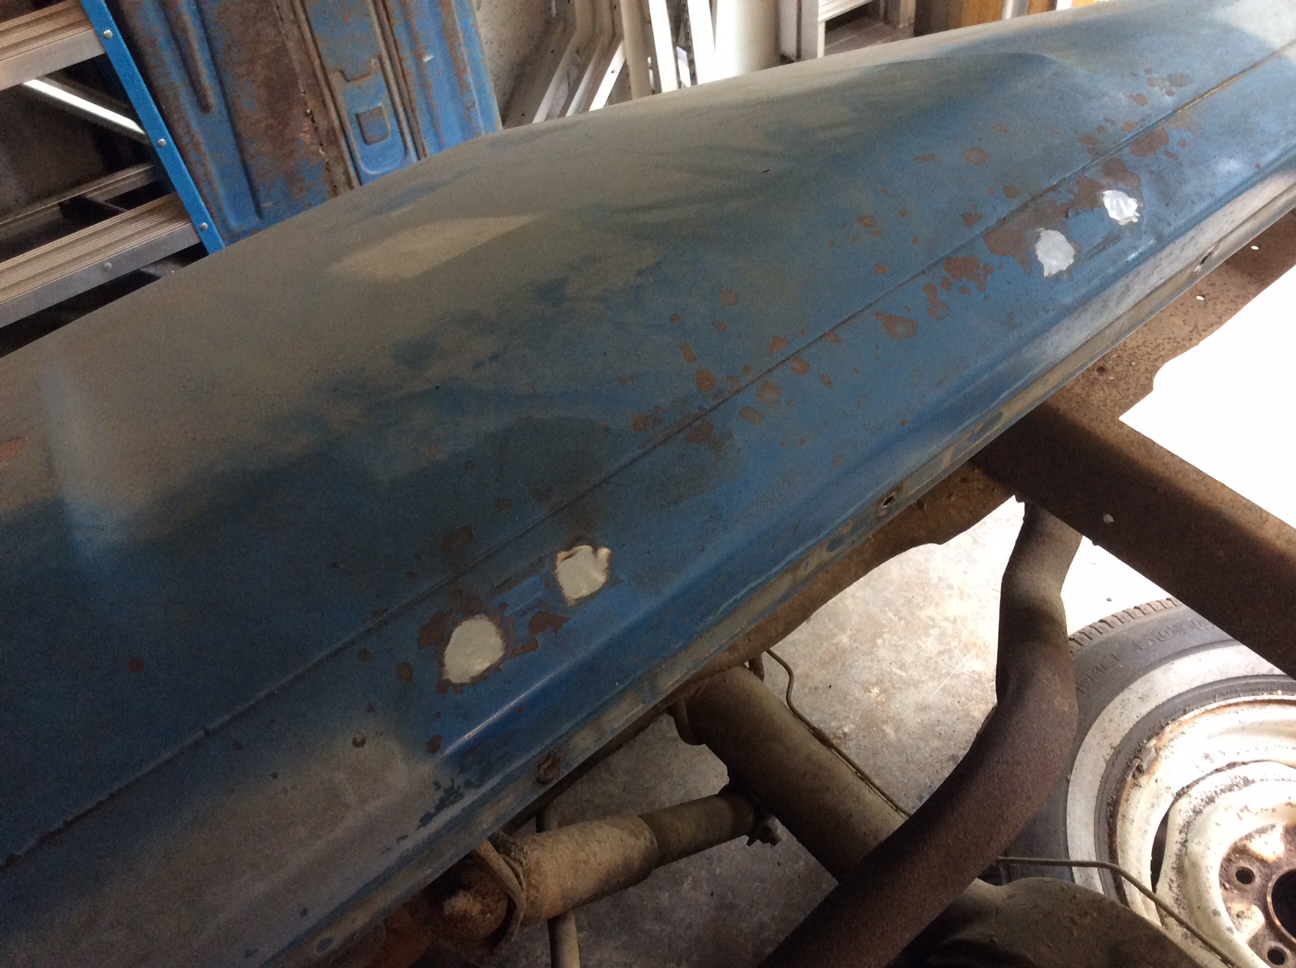
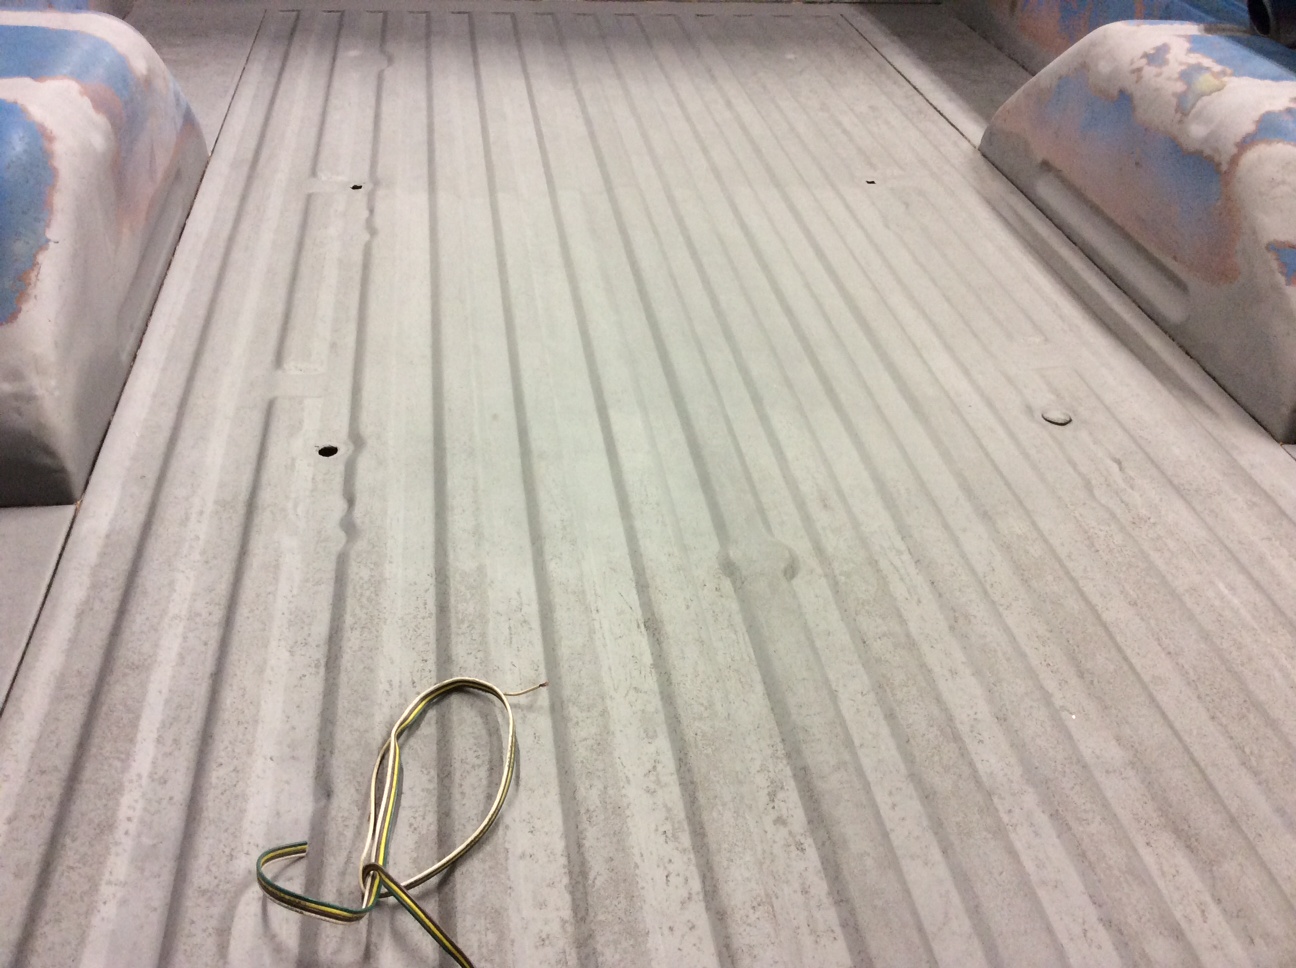
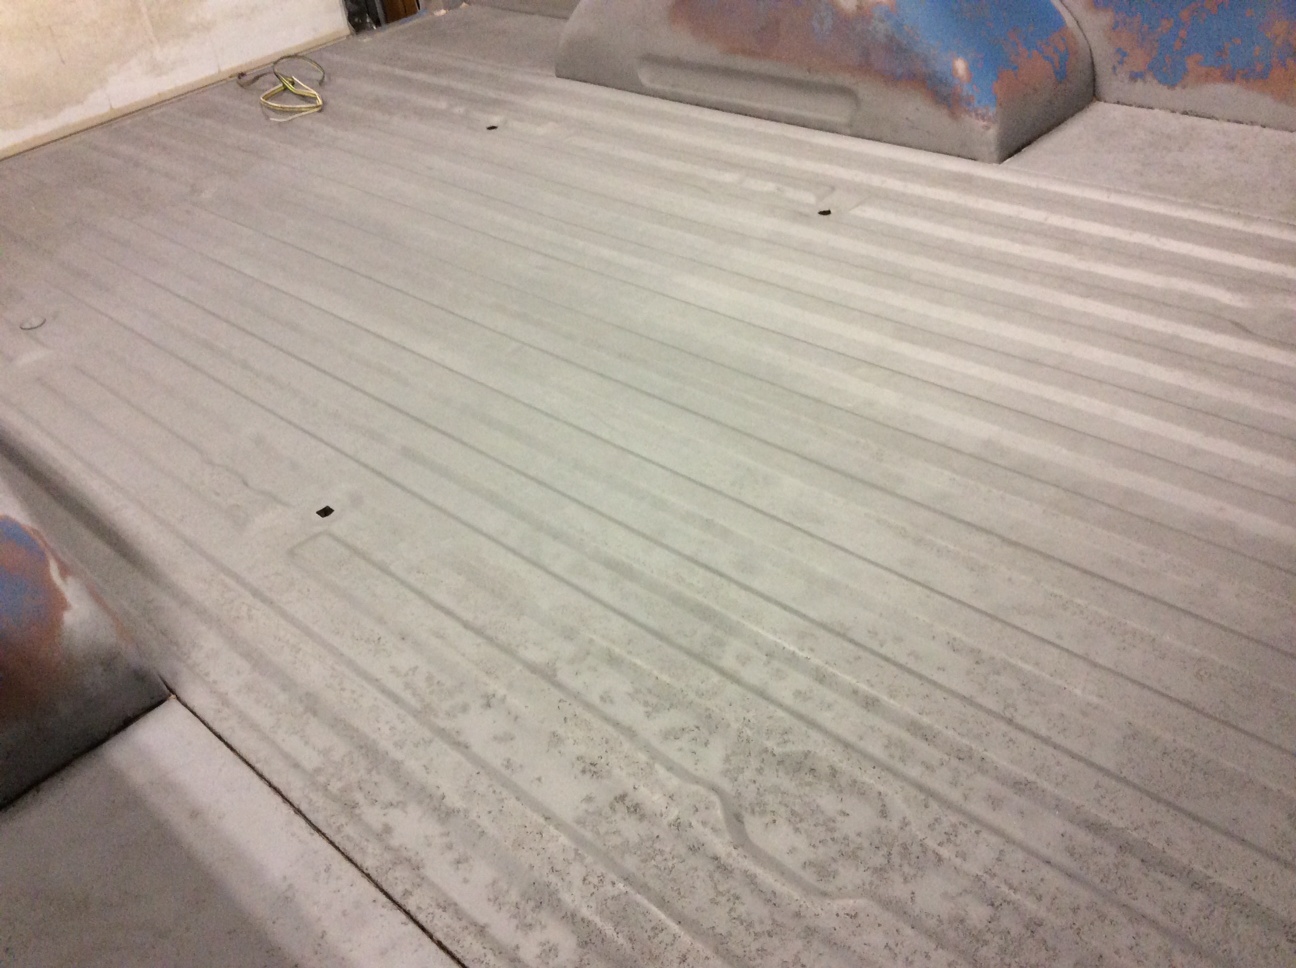
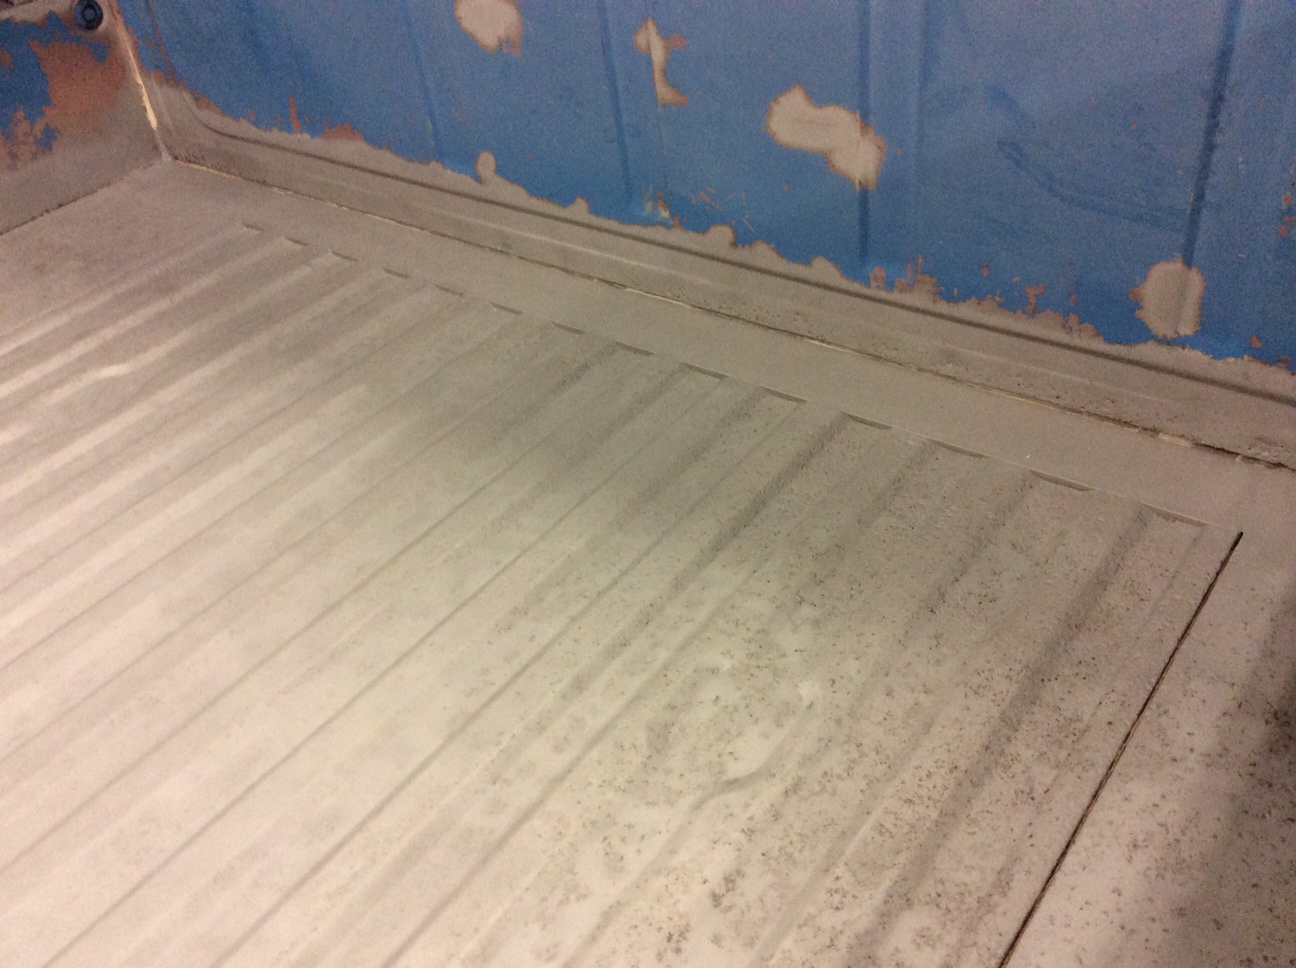
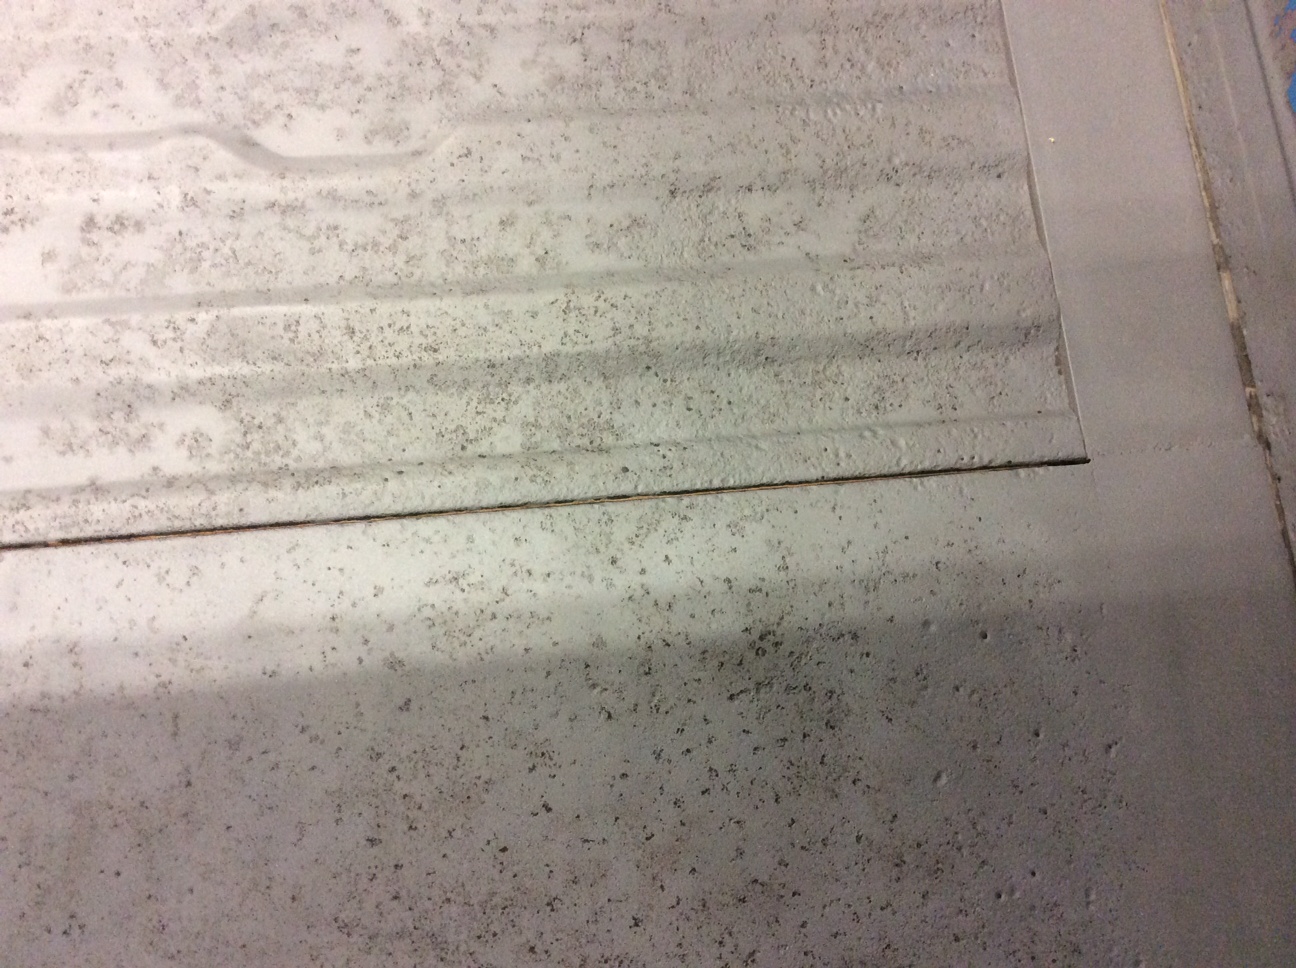
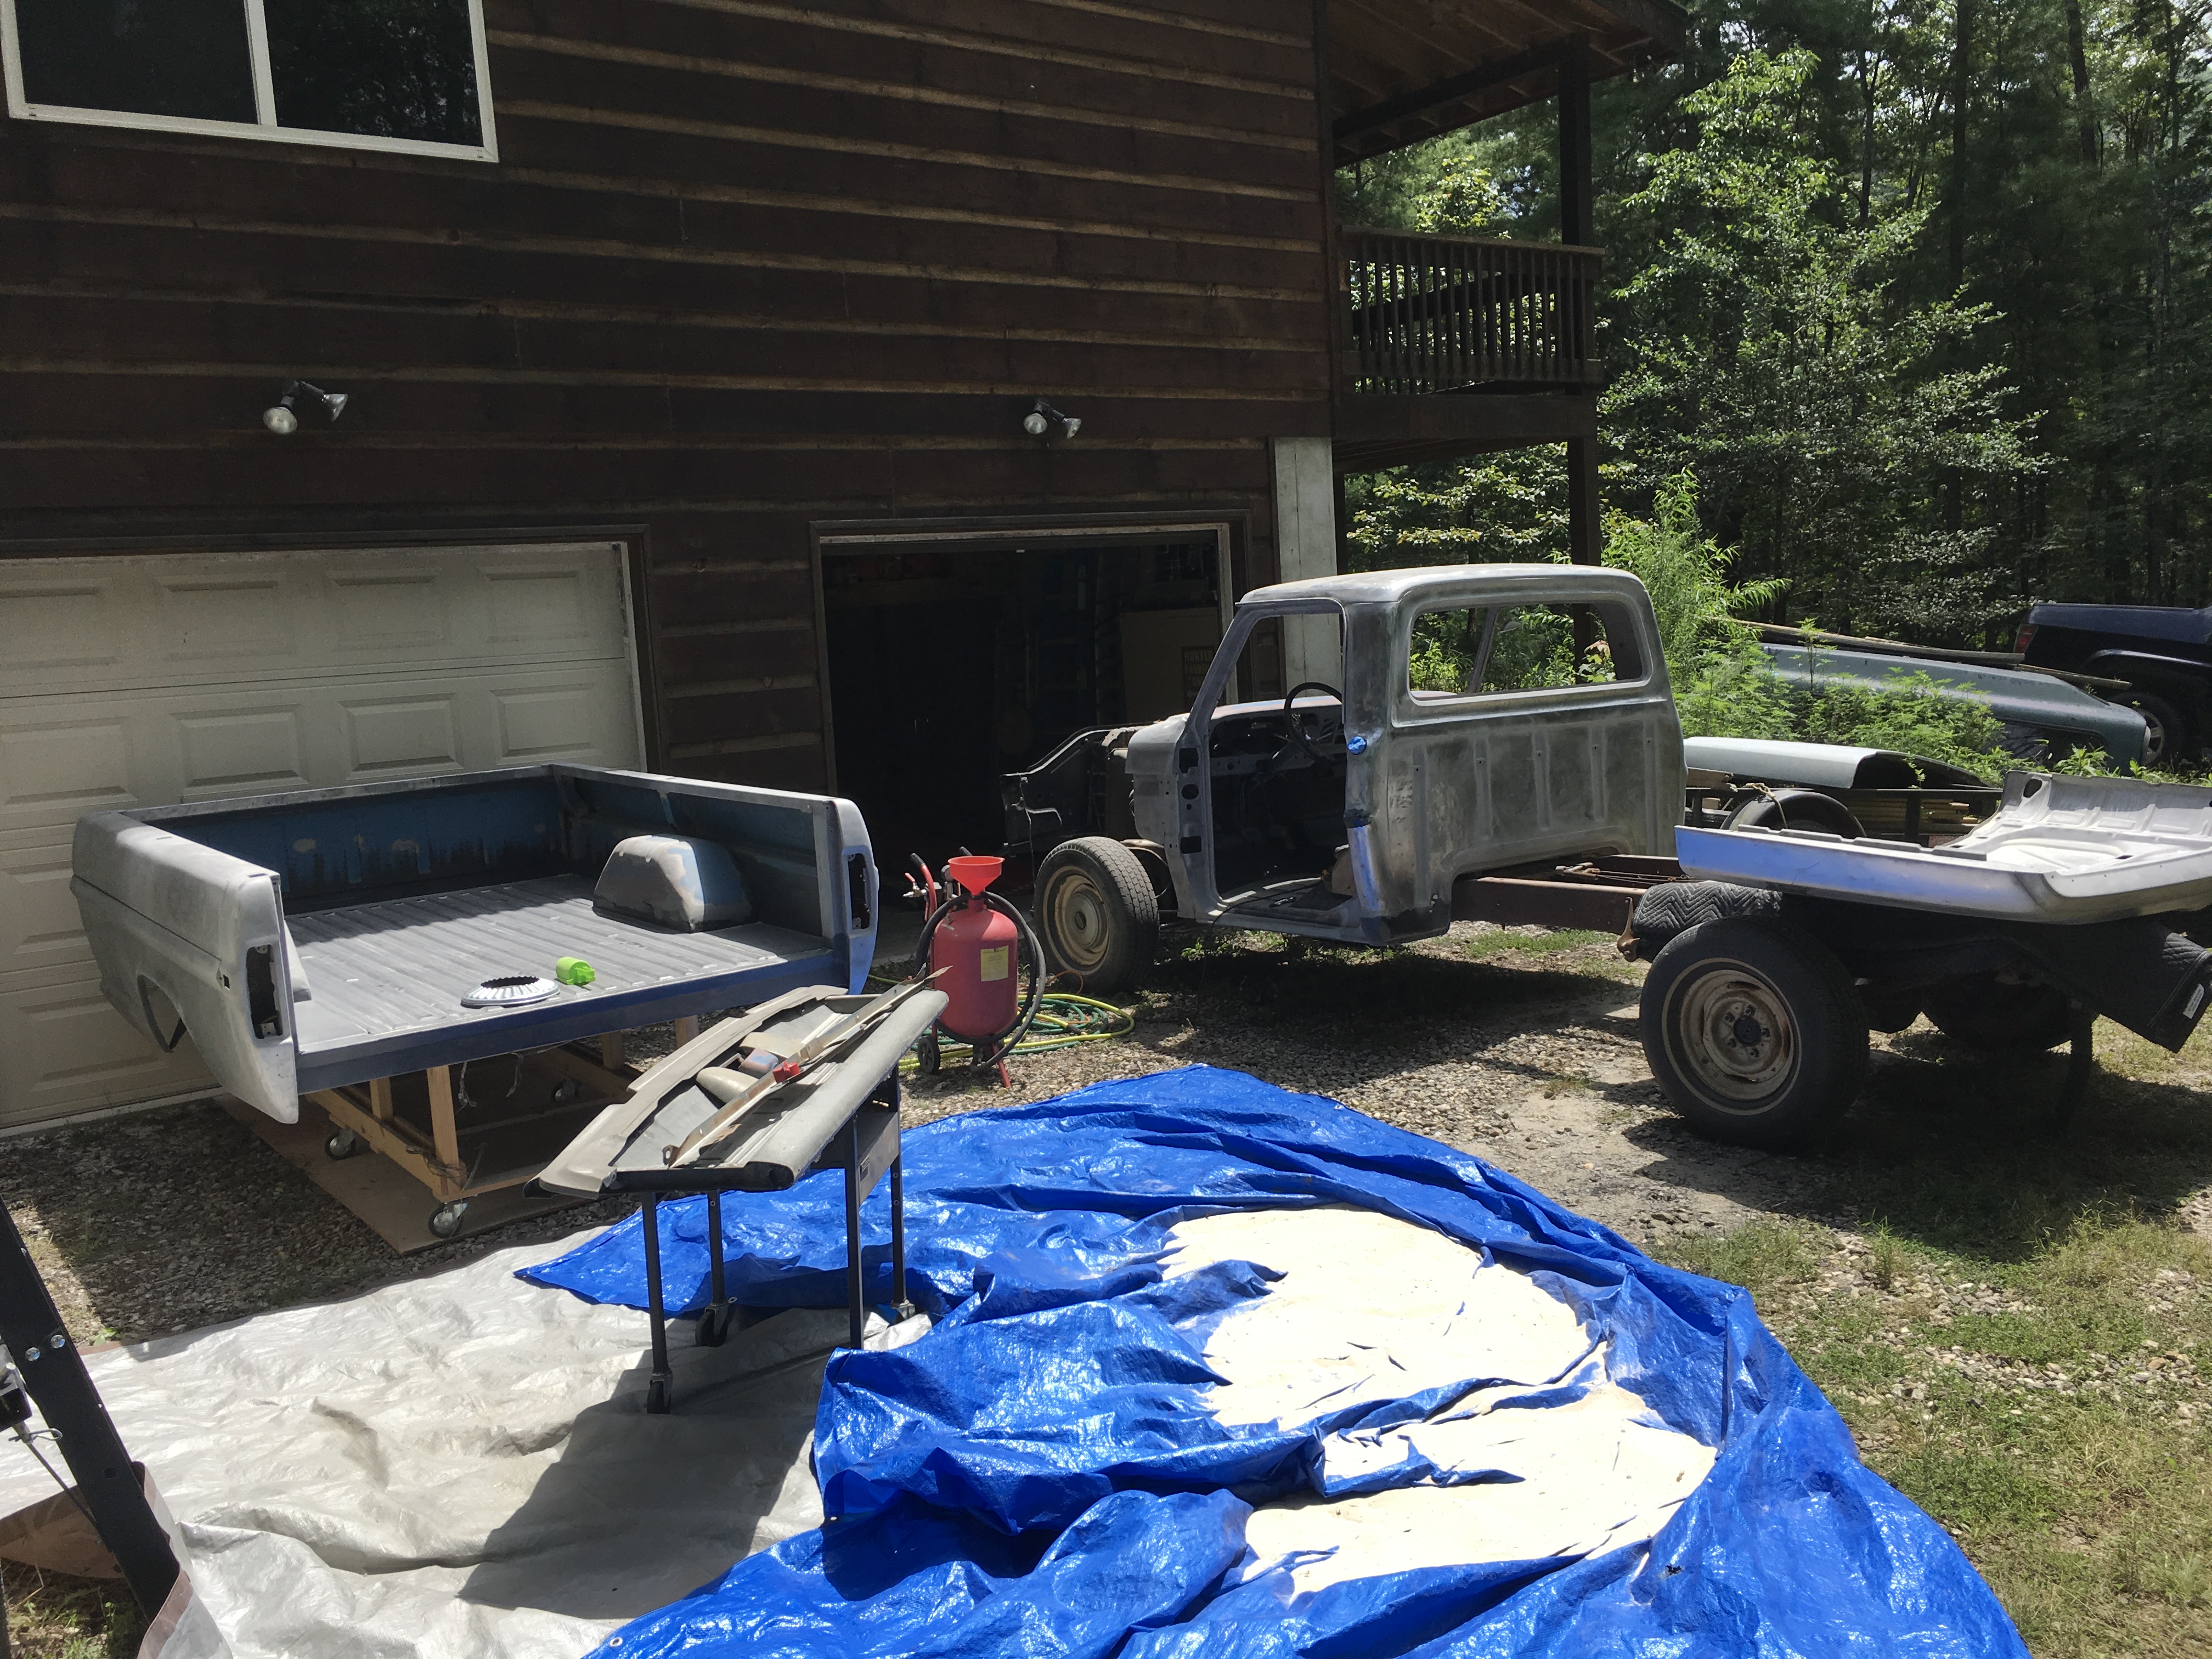
Filled 8 holes for the hood emblems and then finally tackled the sandblasting I have been putting off. (had to wait until the hottest weekend of the year...) Spent two days blasting and I'm still not sure it's good enough. All the pits still have some dark spots. The pitted areas aren't as thin as they look. I can't force an awl through any of the pits even rapping hard with my hand. If I hold the blast stream long enough over the darker spots then they eventually come clean but I'm not sure I have it in me to spend that much more time. I think I'm looking at two more solid days of blasting at the rate I've gone so far. Is that necessary? My plan was to cover in epoxy primer and probably eventually get it sprayed with Line-X.
- MAK
- Blue Oval Fan

- Posts: 529
- Joined: Tue Dec 21, 2004 9:35 am
- Location: Georgia, Blairsville - Florida, Flagler Beach
- Contact:
Re: Finally back around to my 72 F100
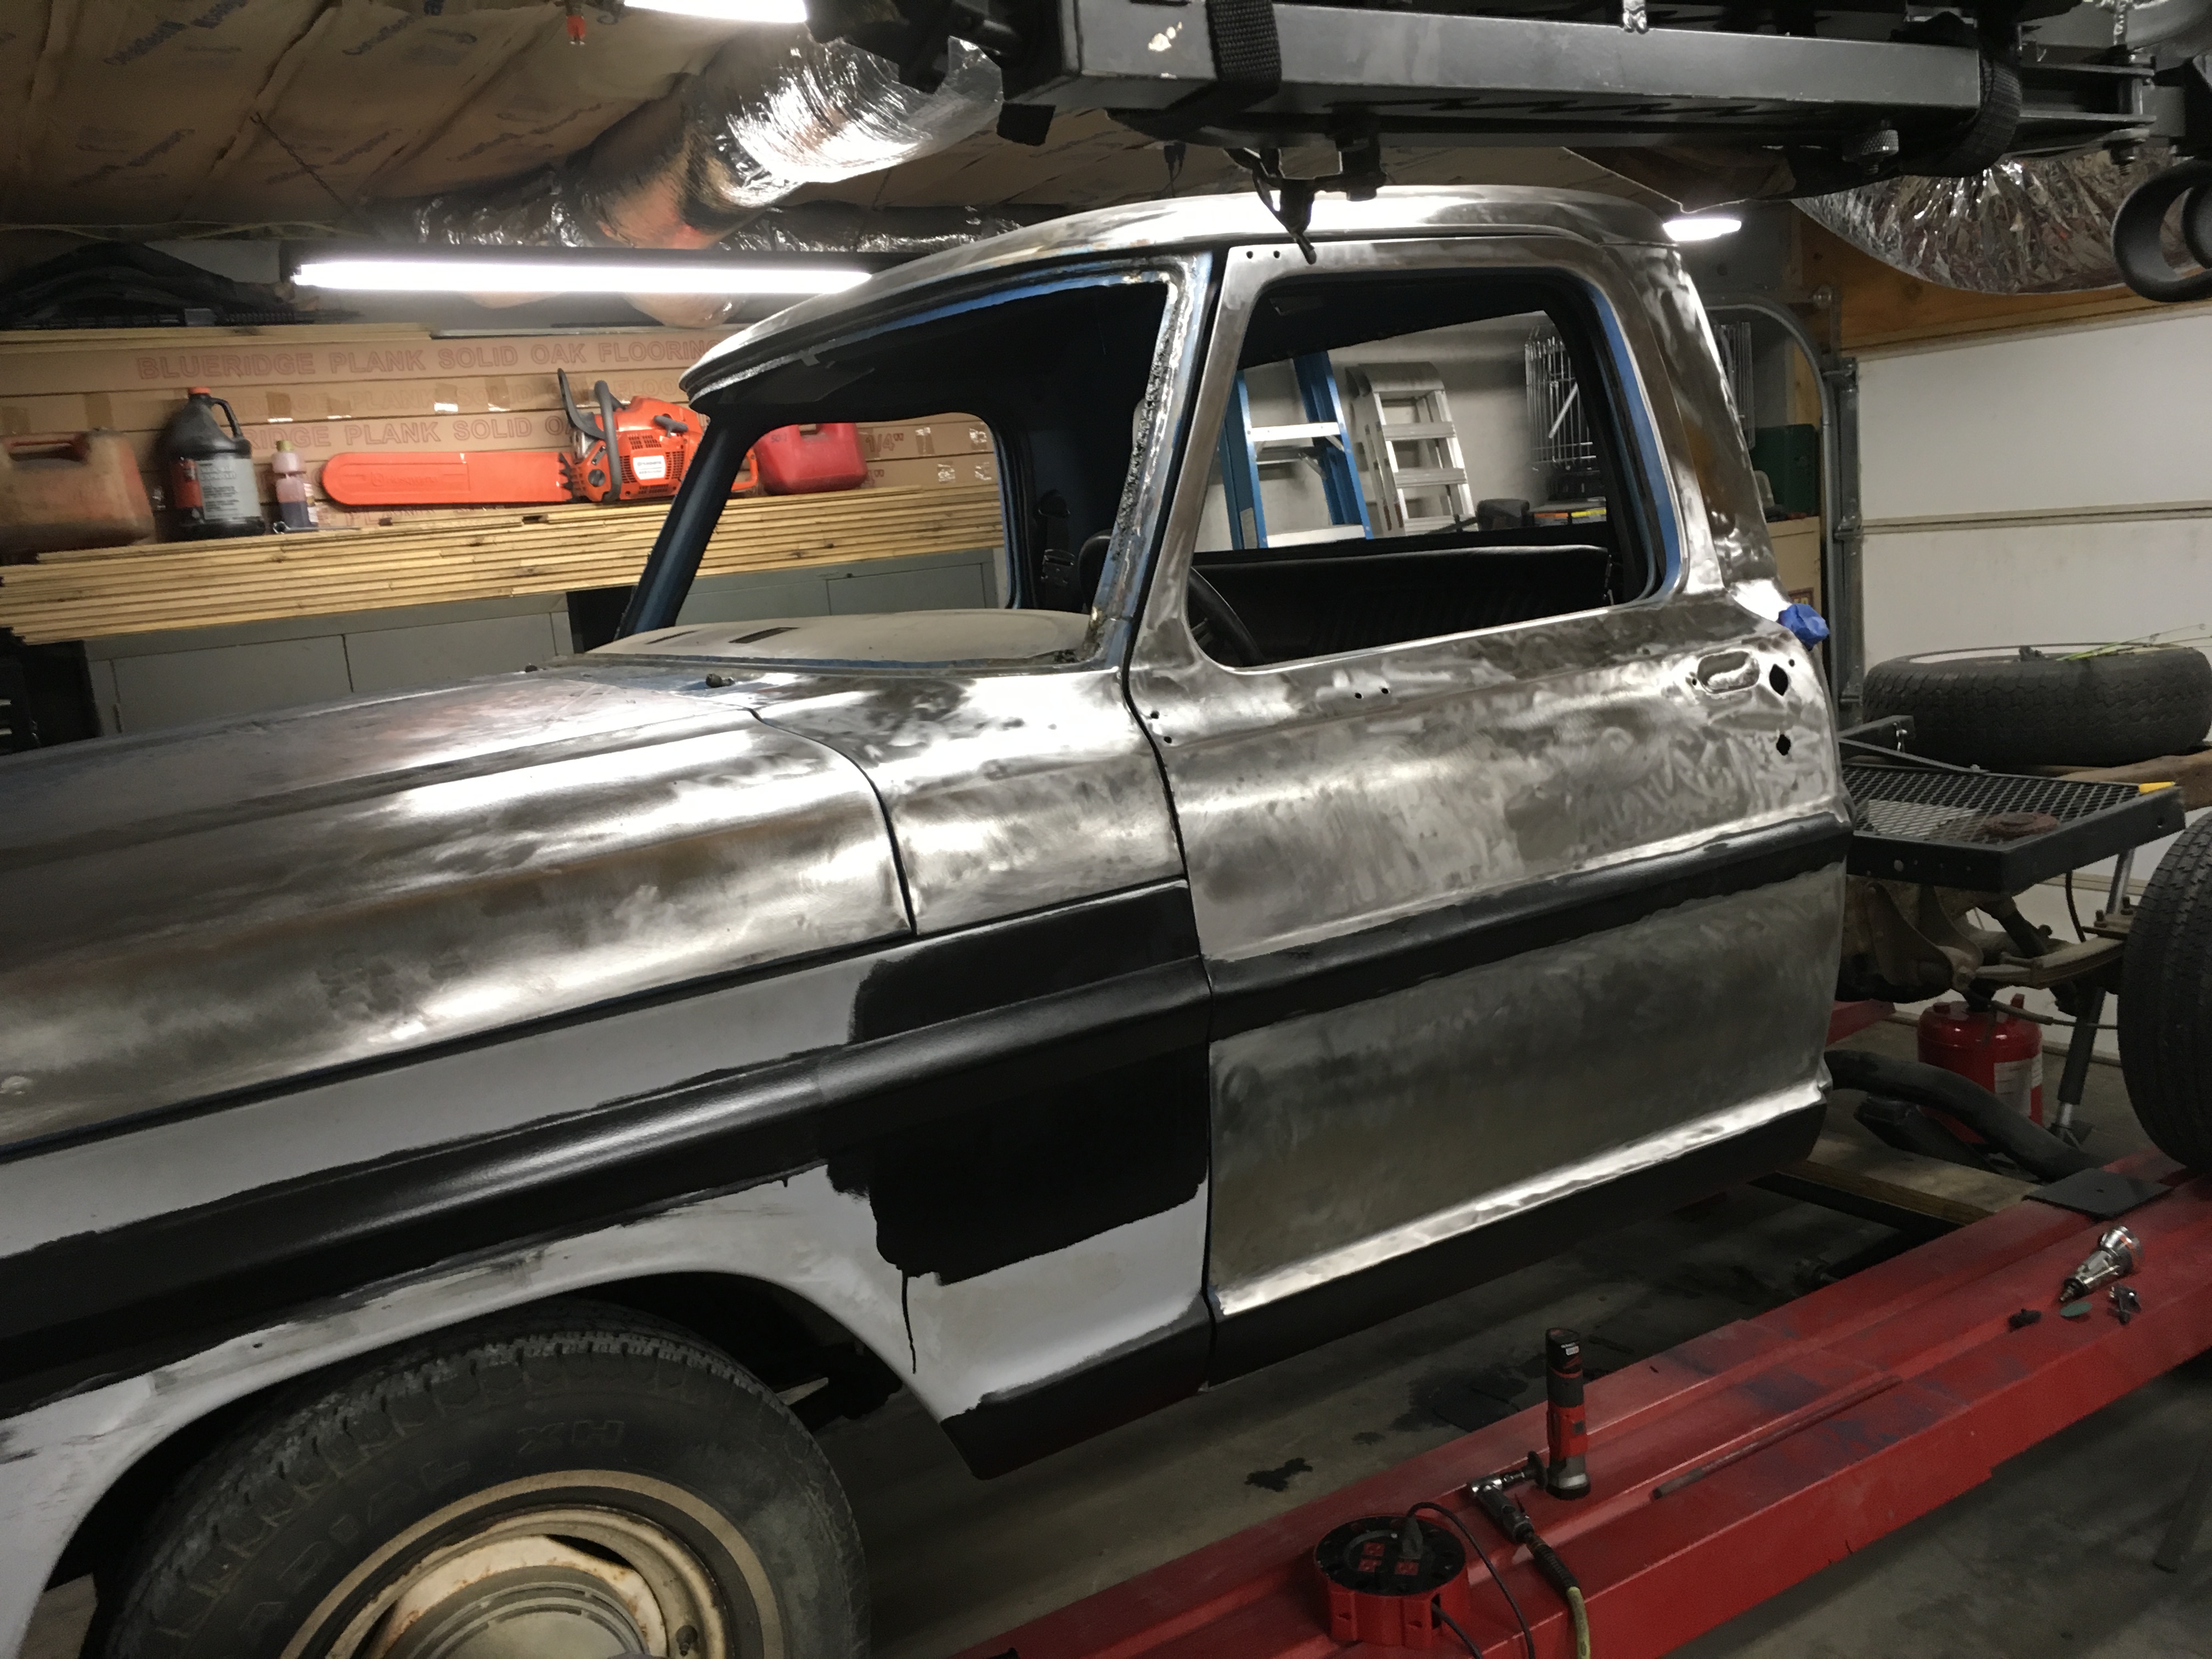
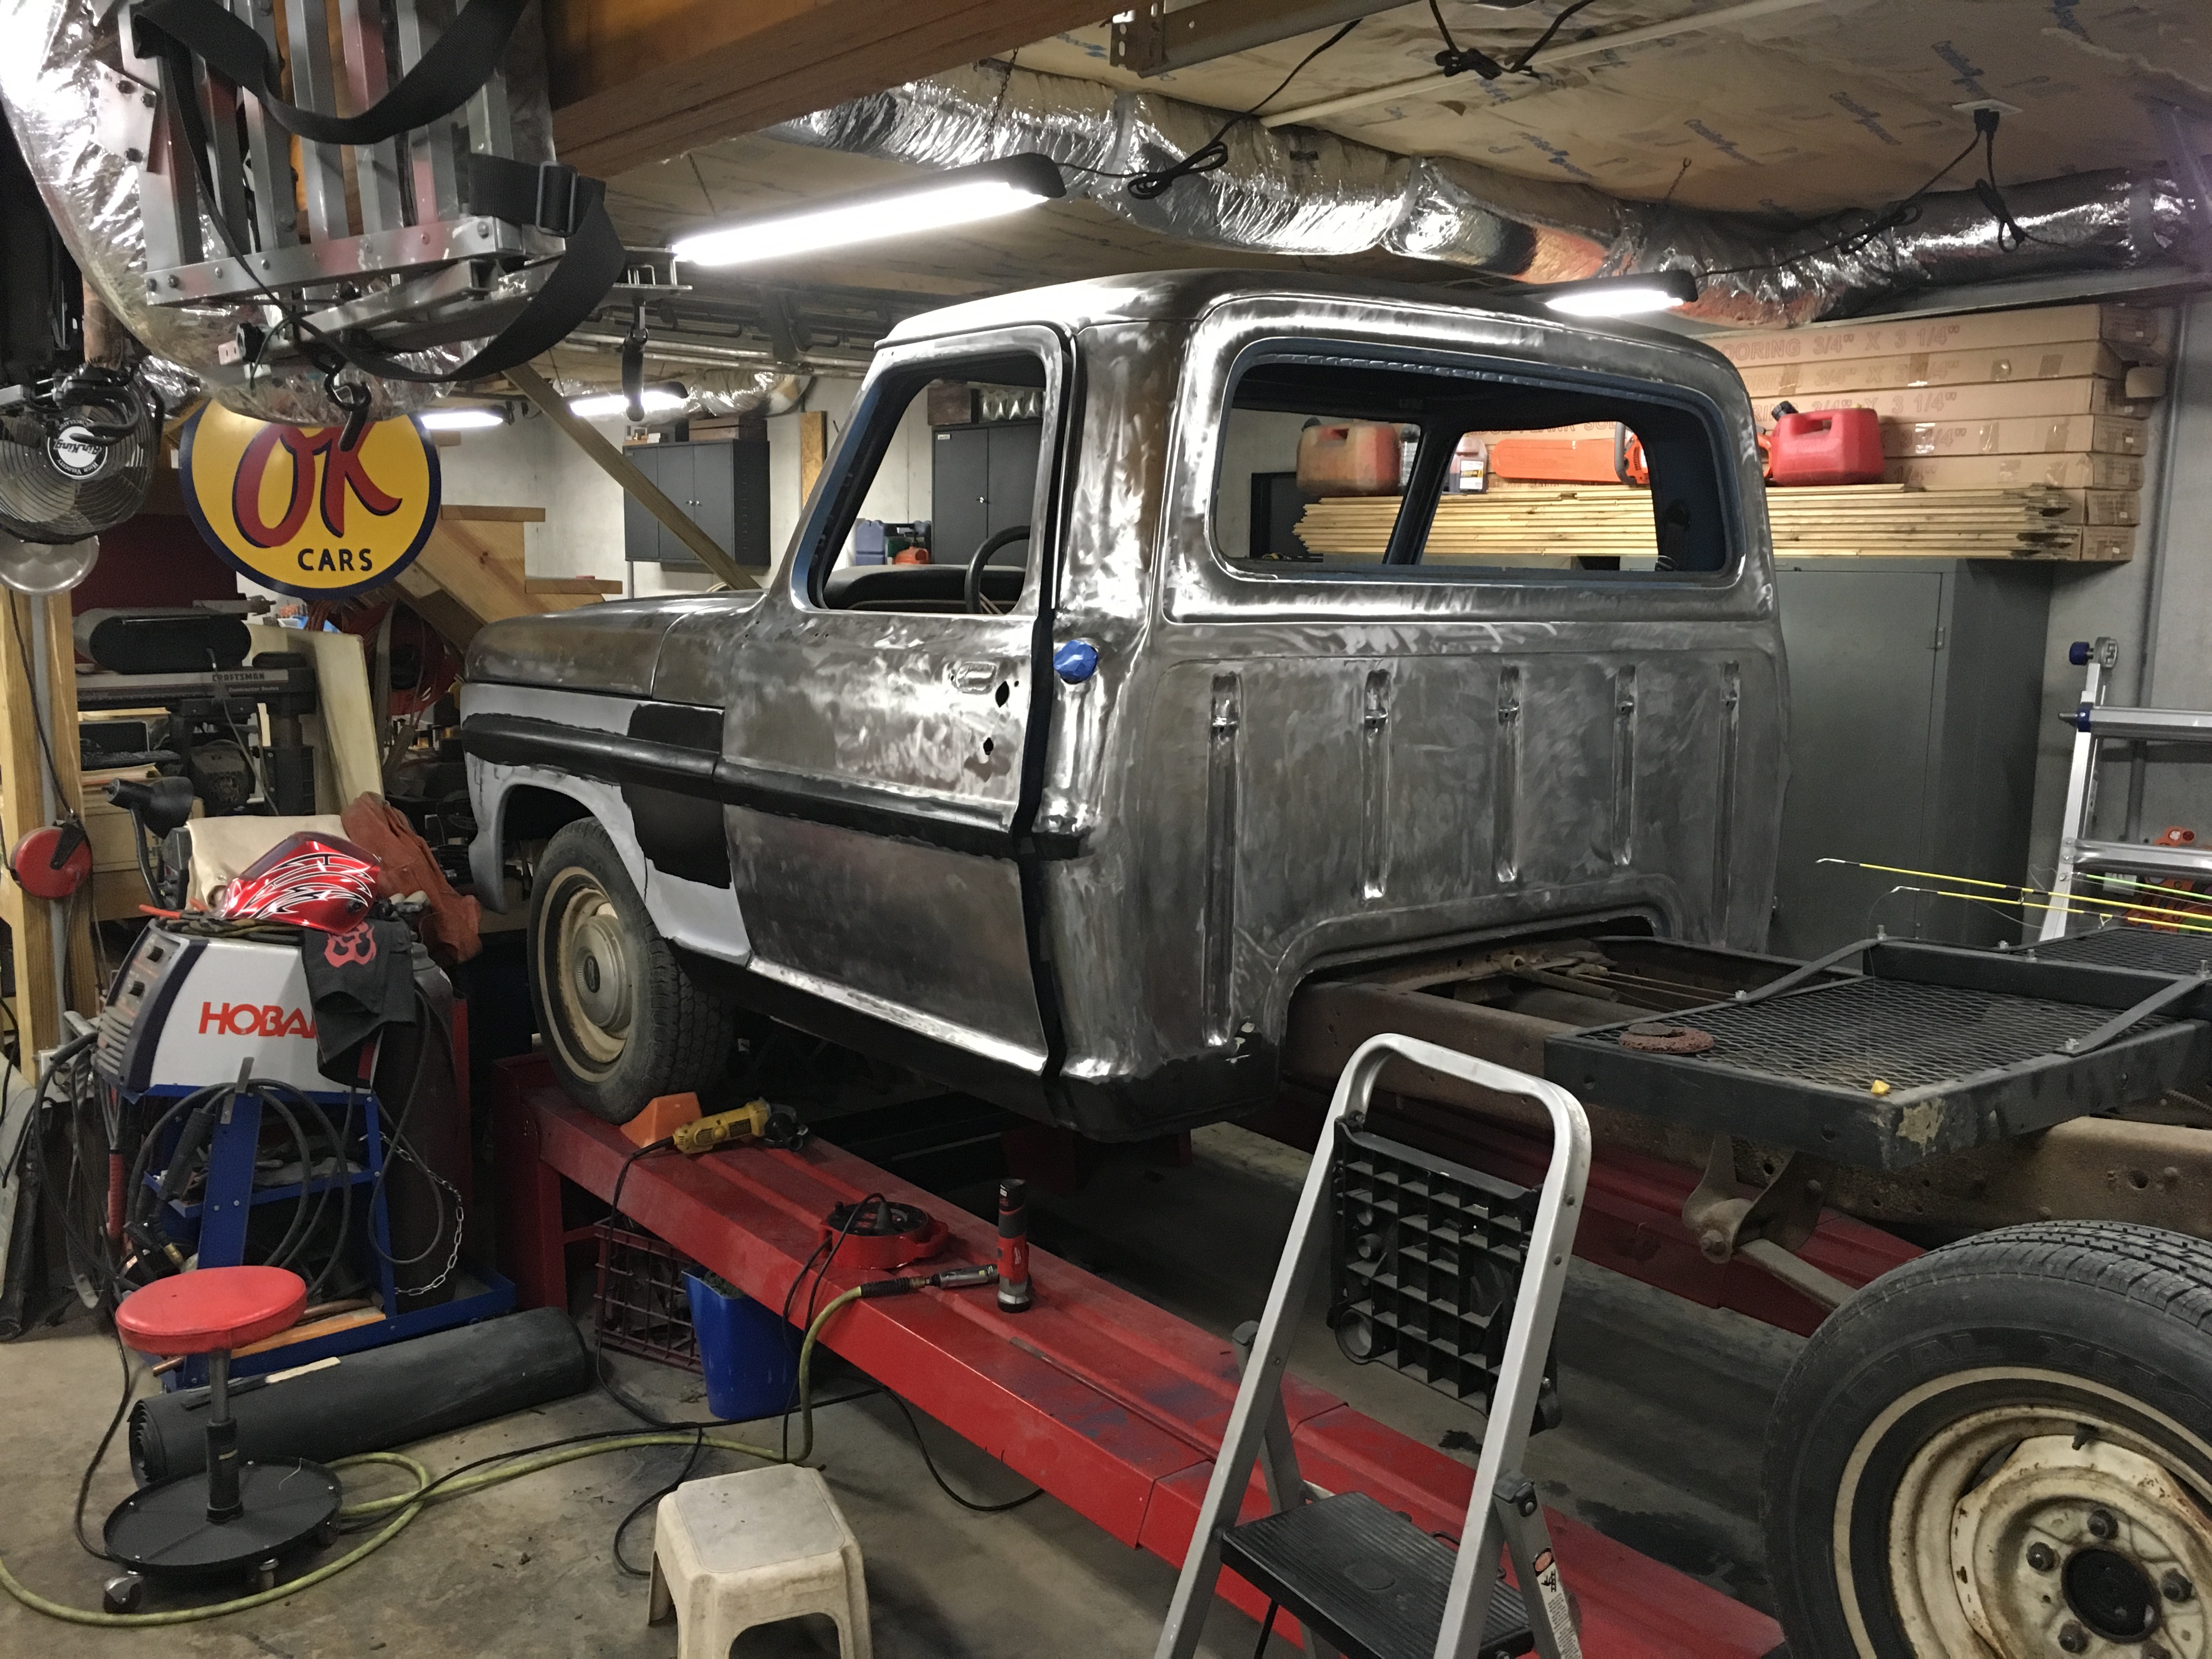
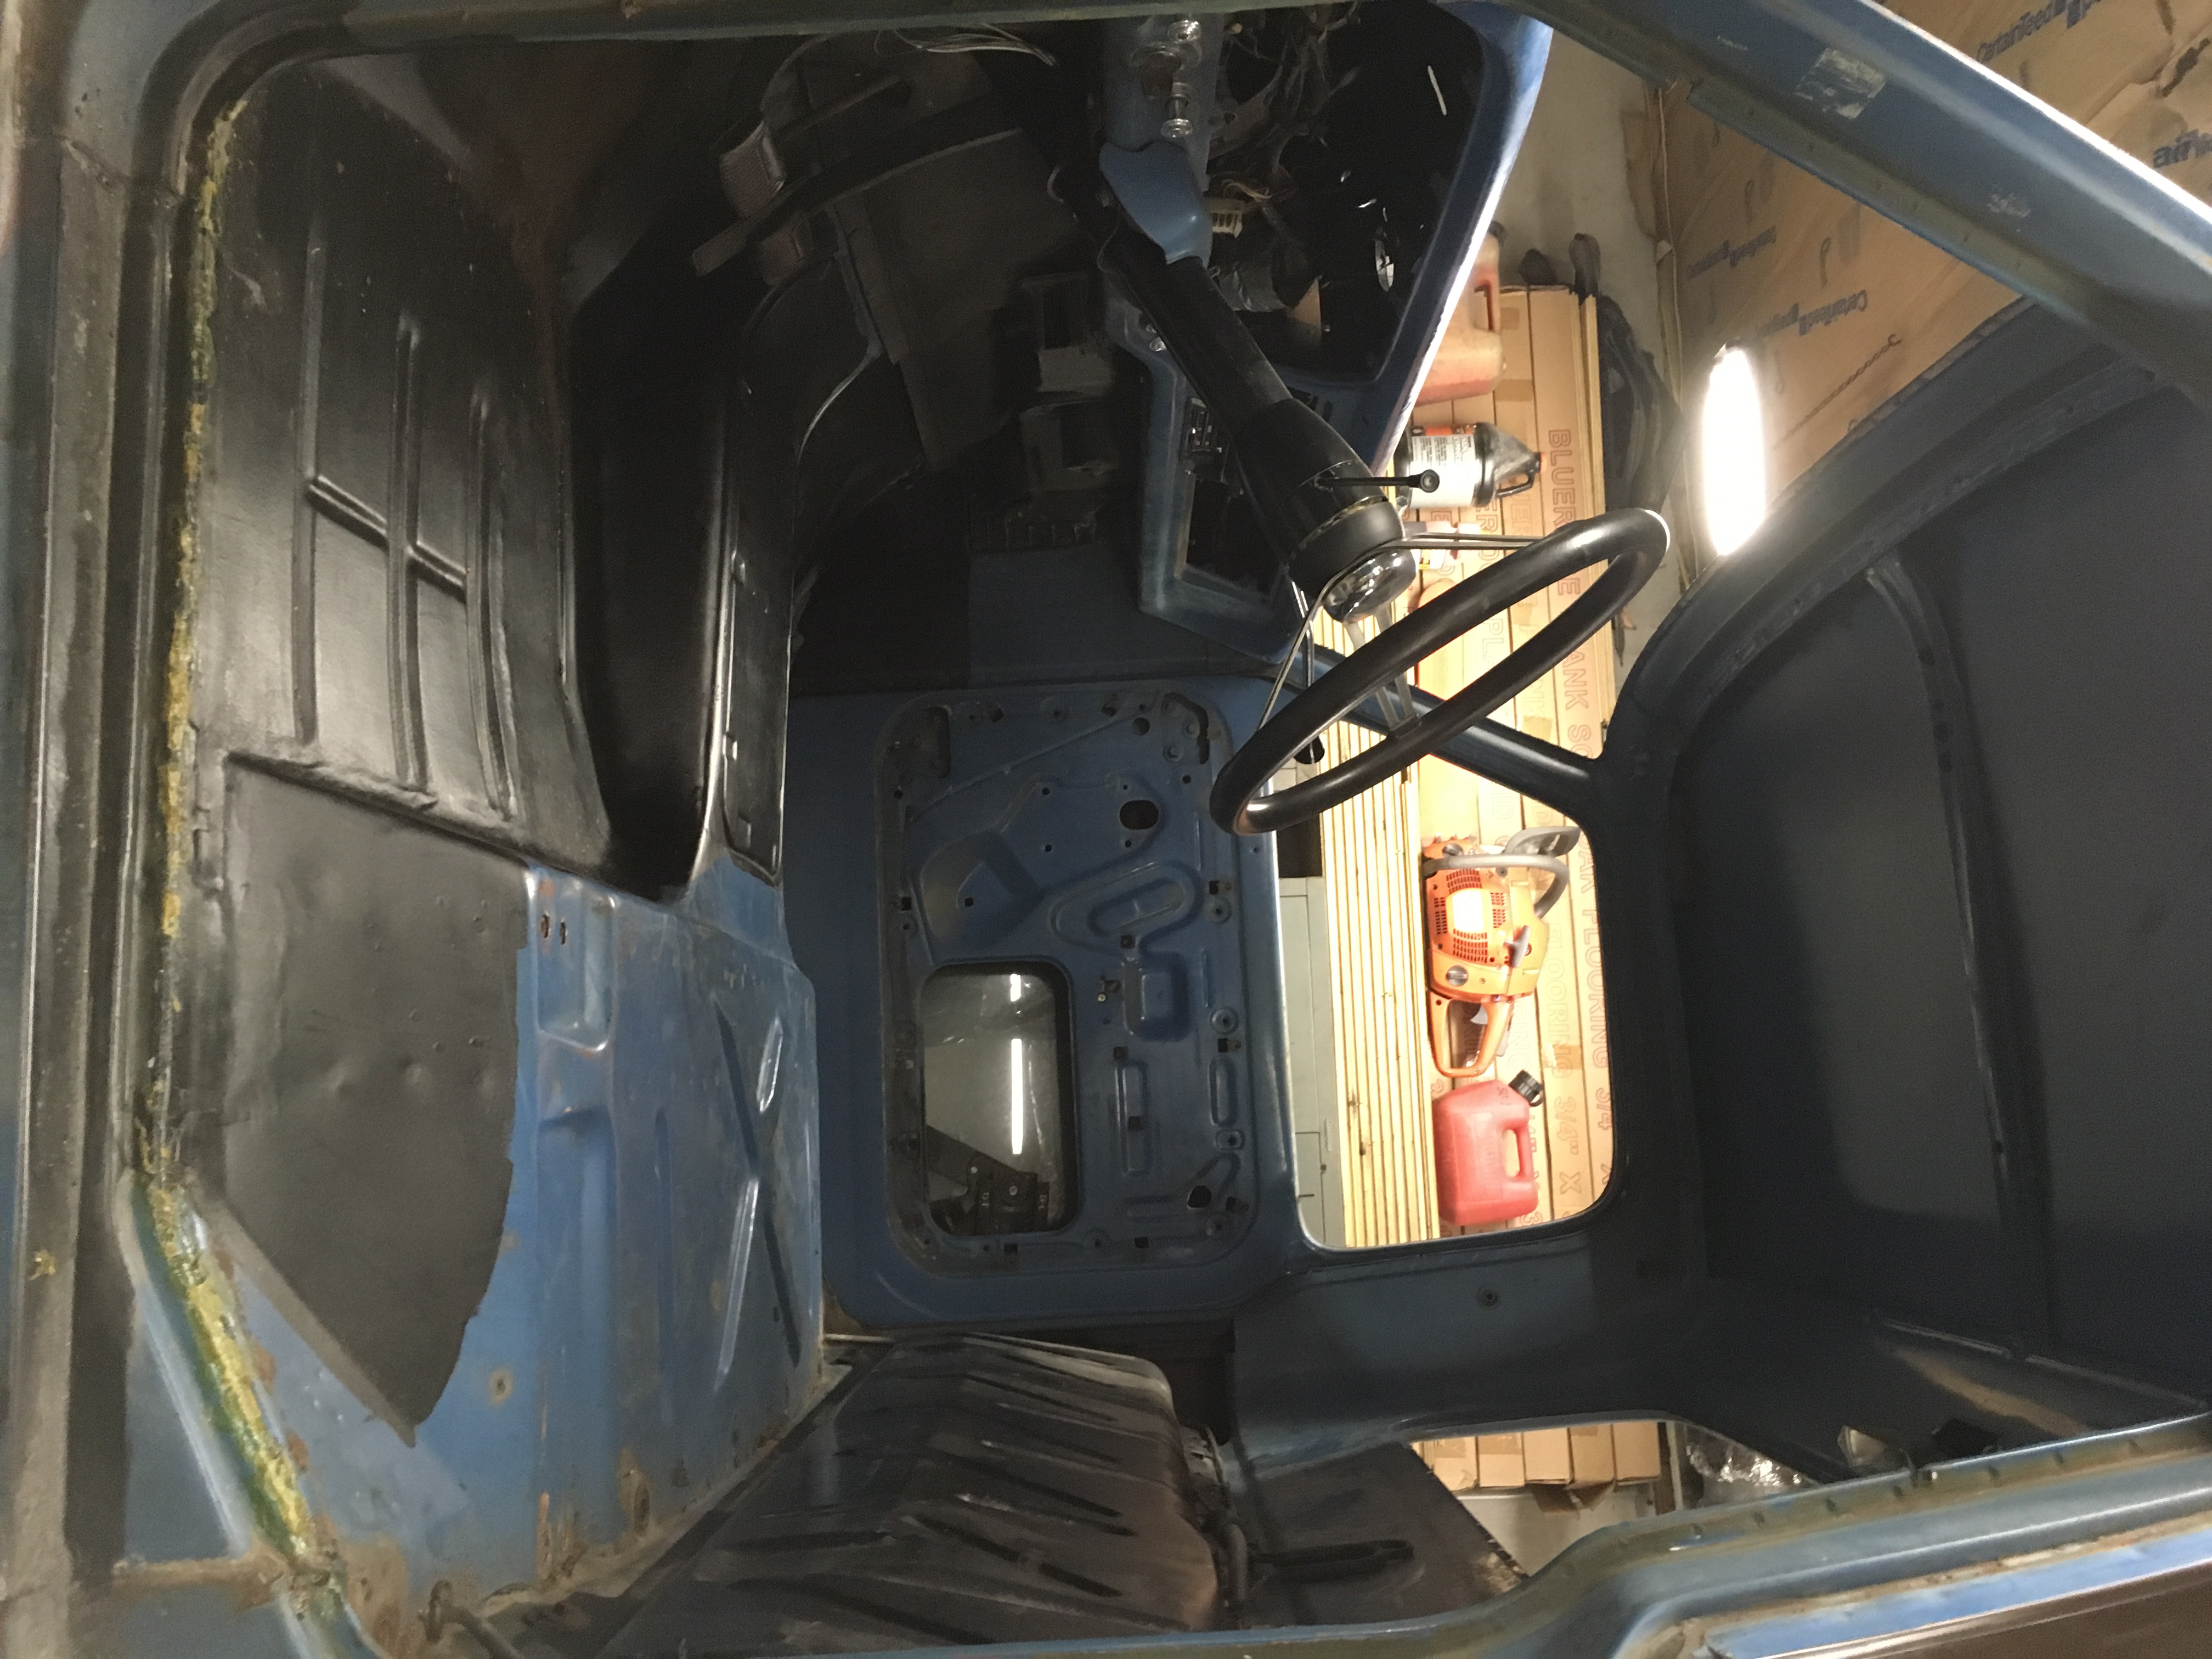
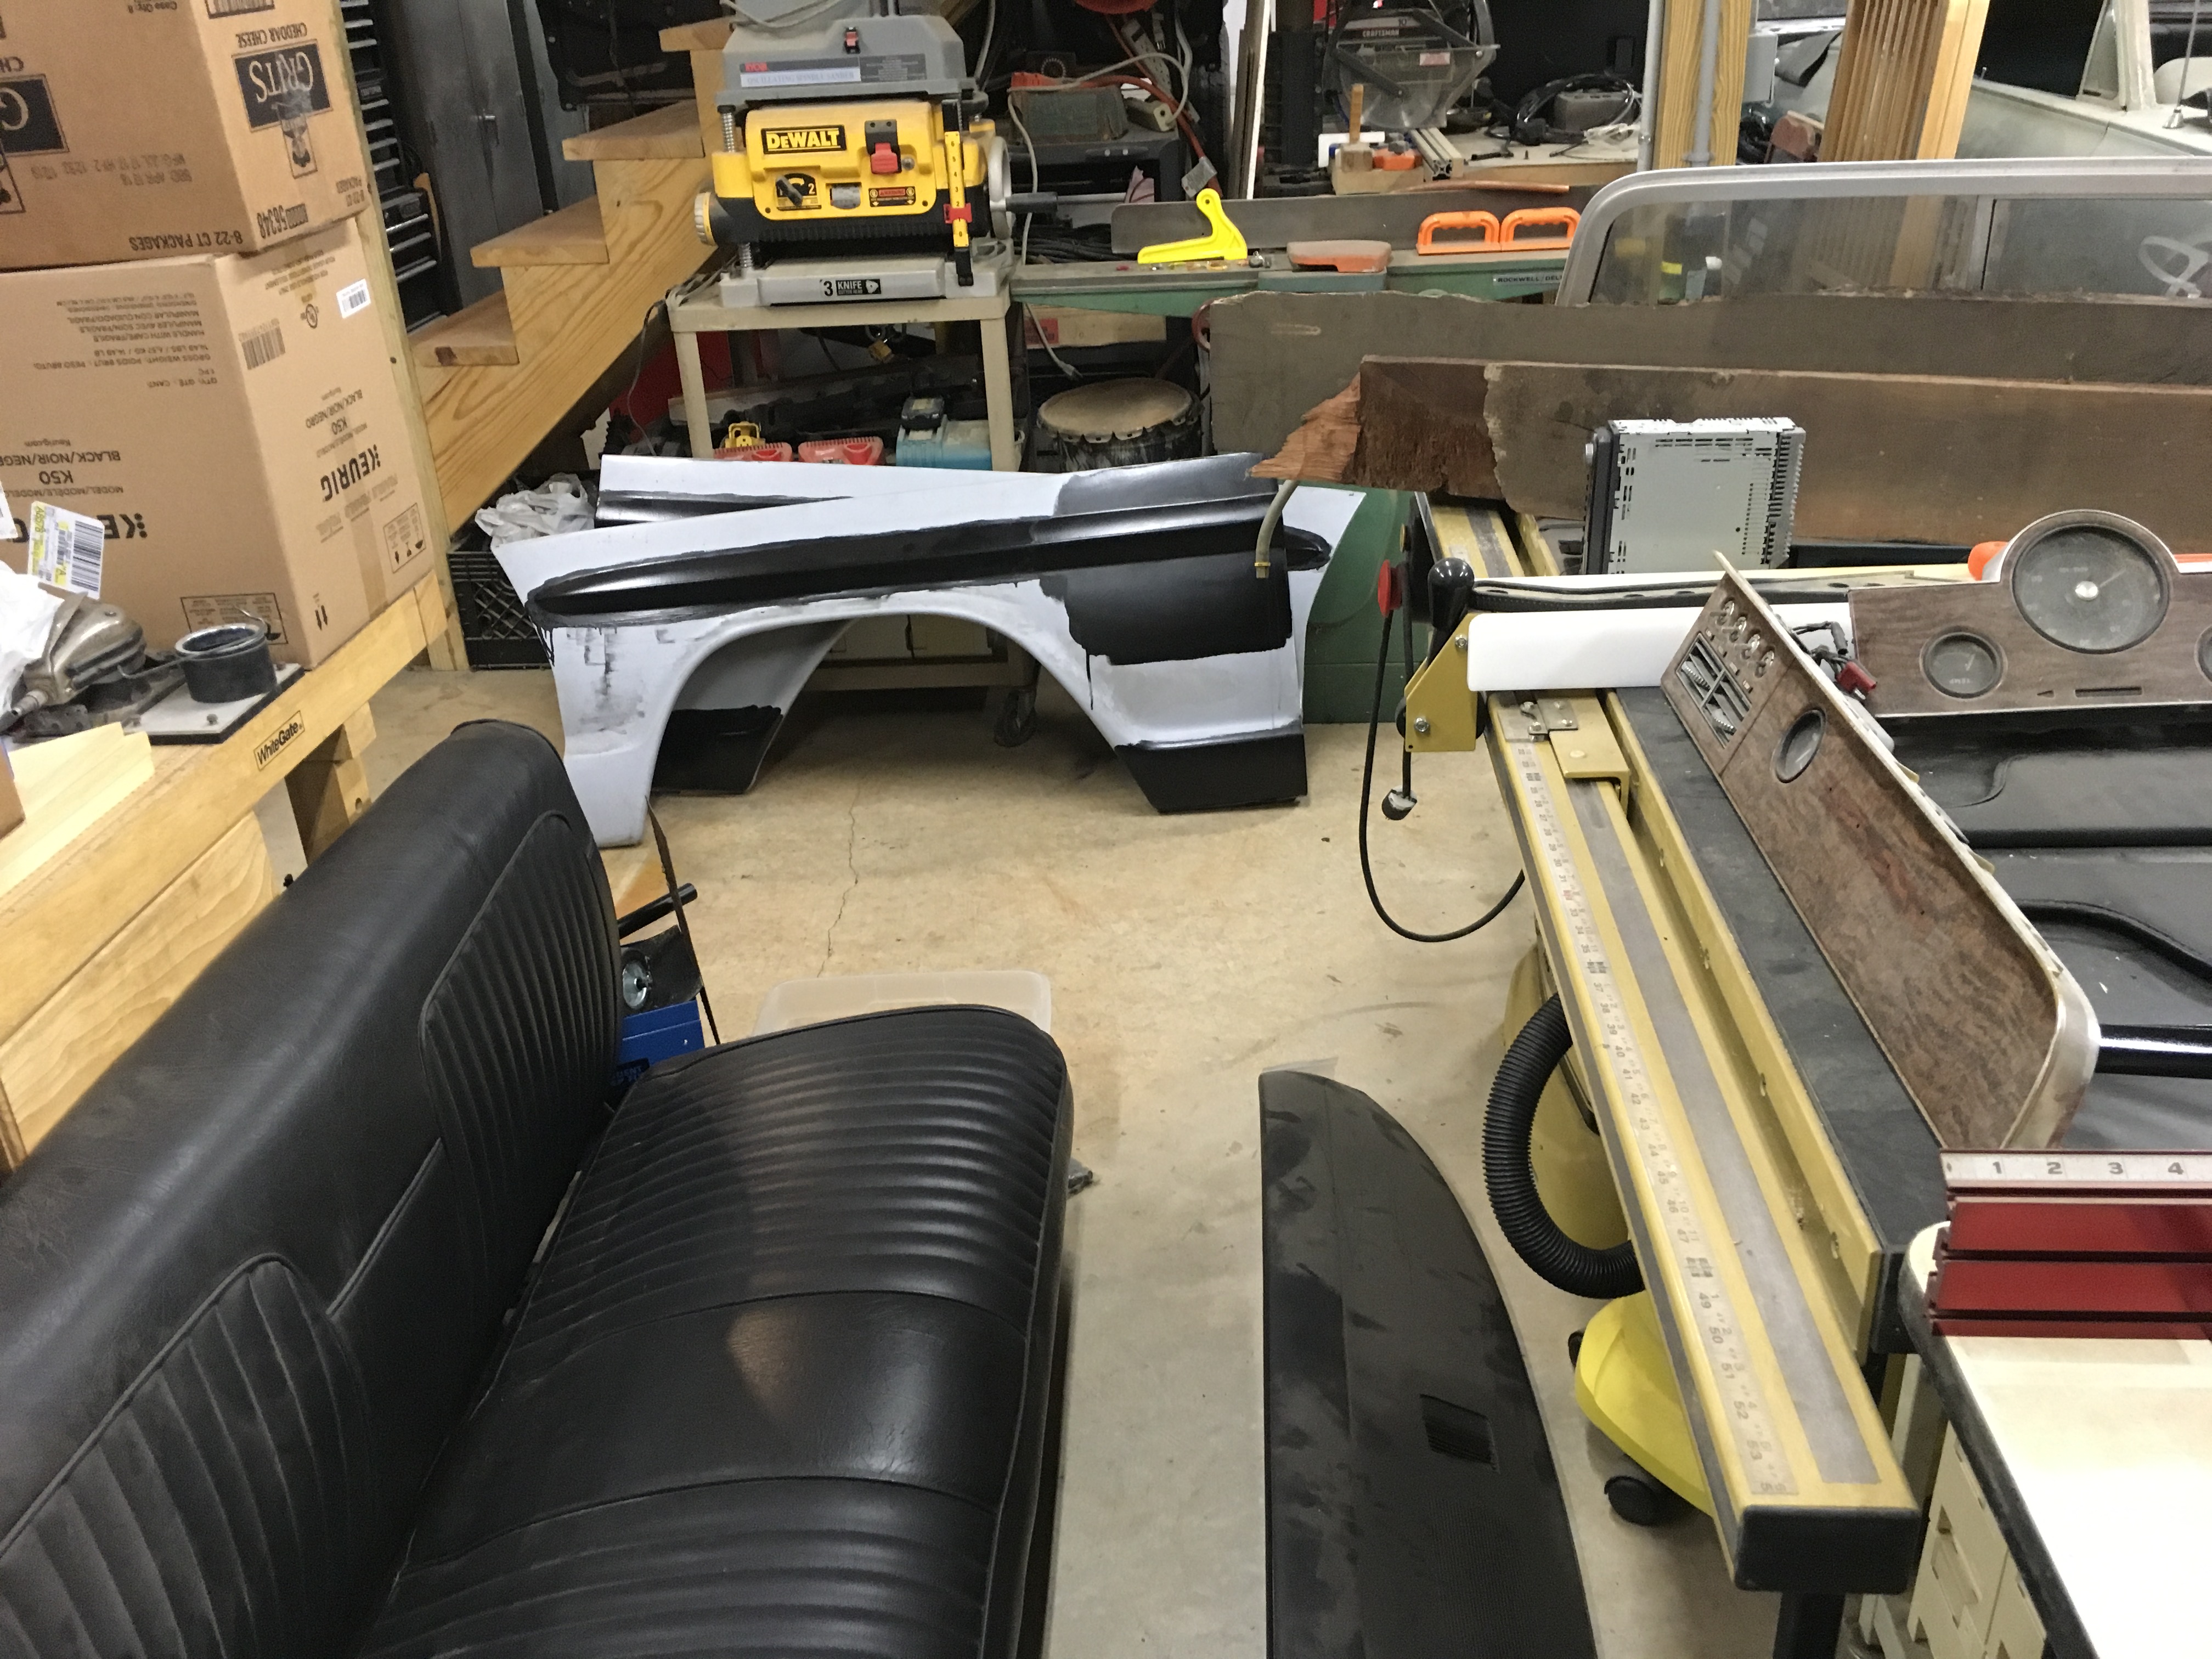
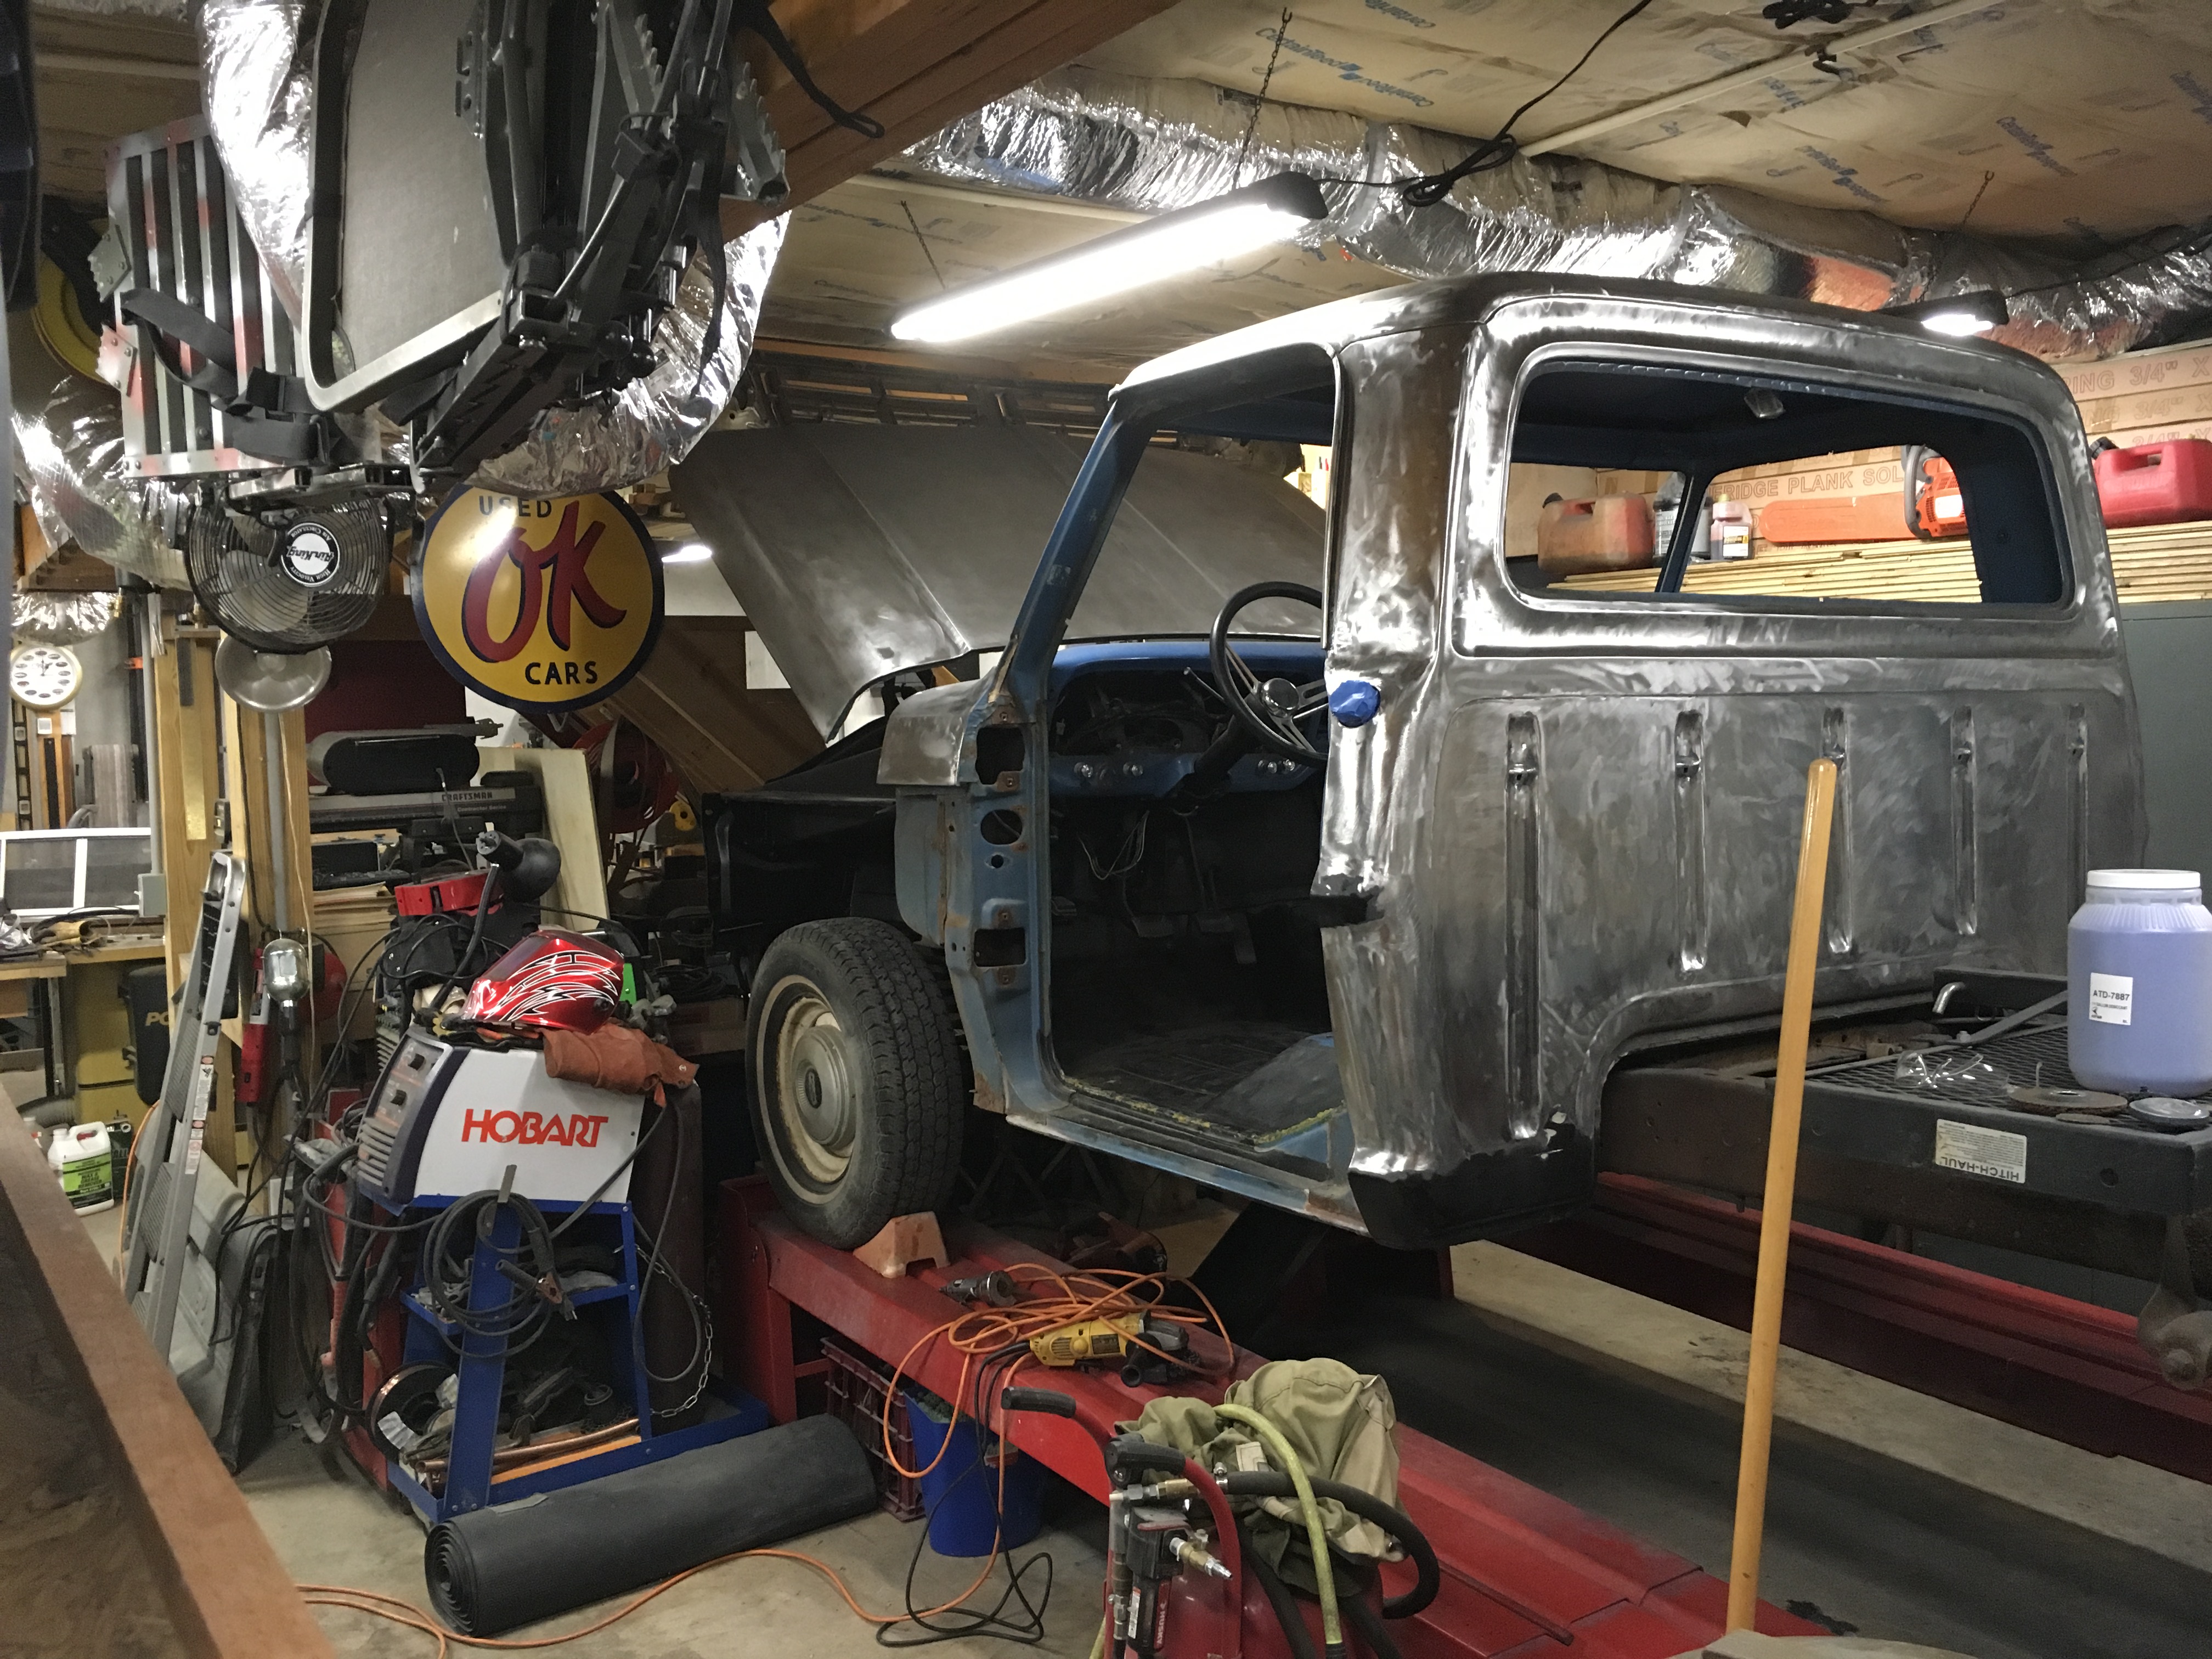
Well, this restoration has dragged out way longer than I ever expected. I guess that’s the case for lots of people. Hard to believe I’ve done almost nothing since the last spurt of activity 4 years ago. Got super busy at work while I geared up for retirement. Retired, spent a year getting our house prepped to sell, sold, bought a new house, dealt with some family health issues, etc, etc. Had the F100 mostly reassembled and used it briefly during our move. Spent another year adjusting and getting the new house the way we wanted and now split our time there and at our cabin where my shop and toys are located.
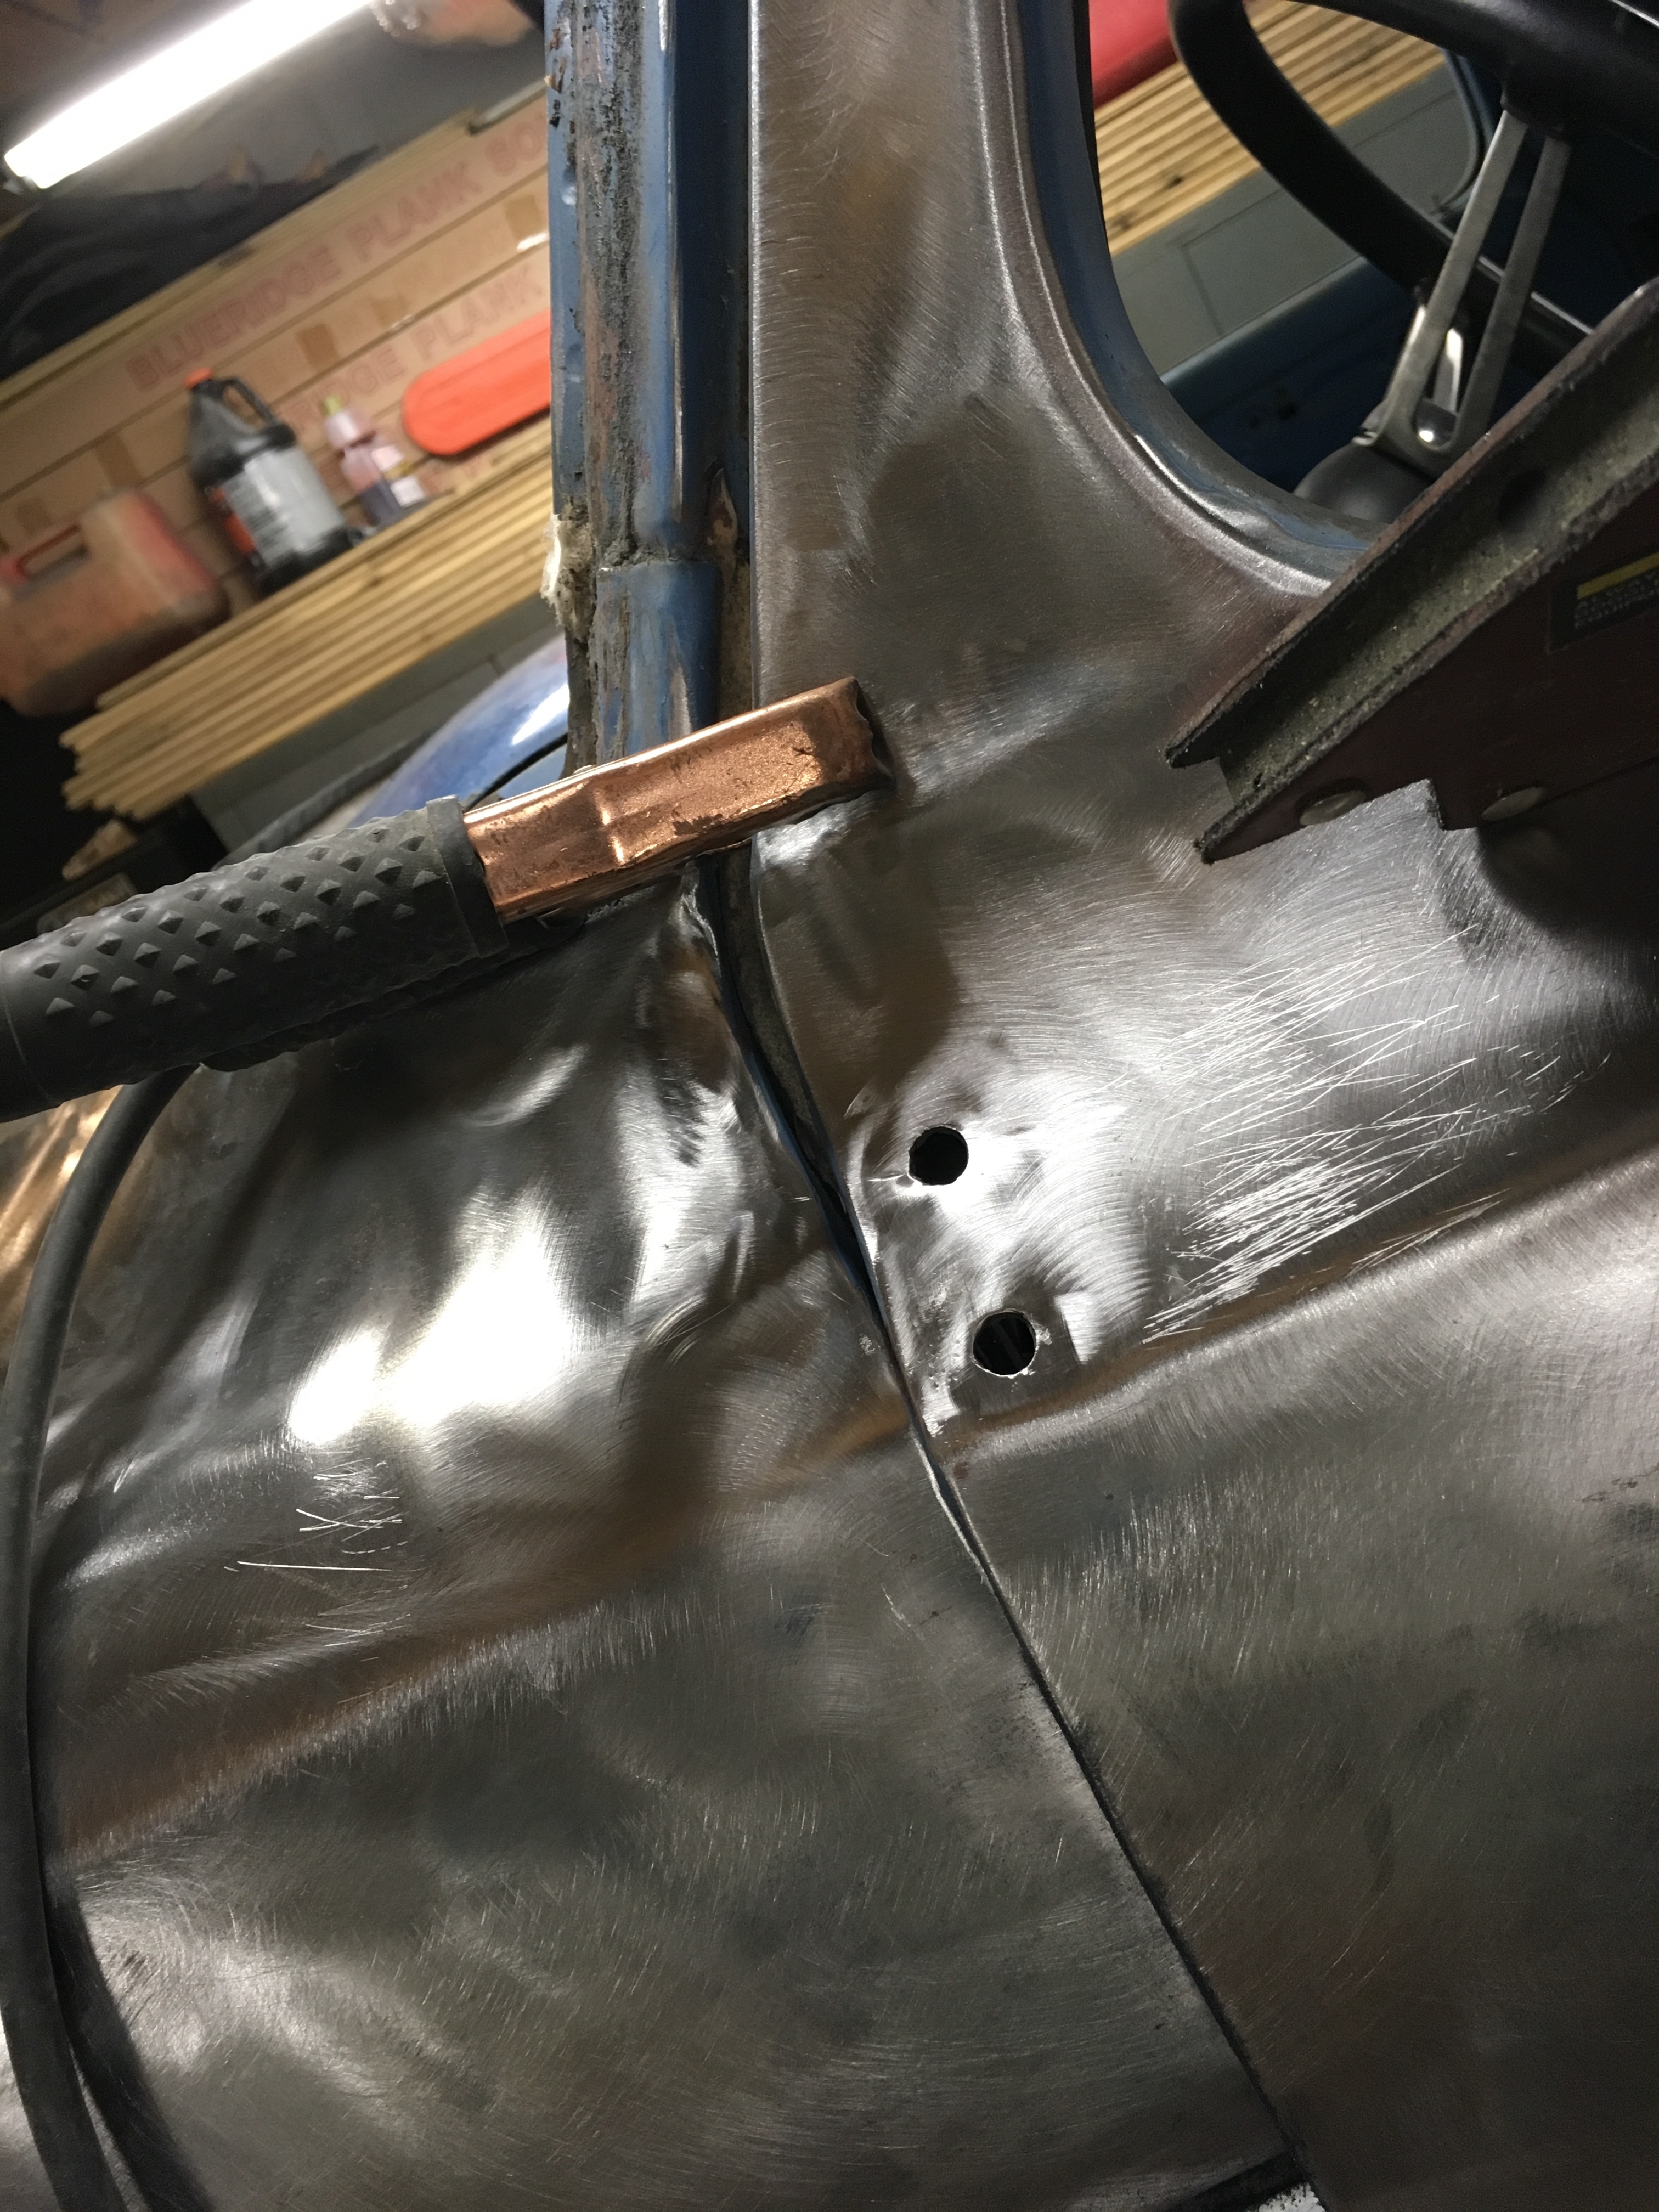
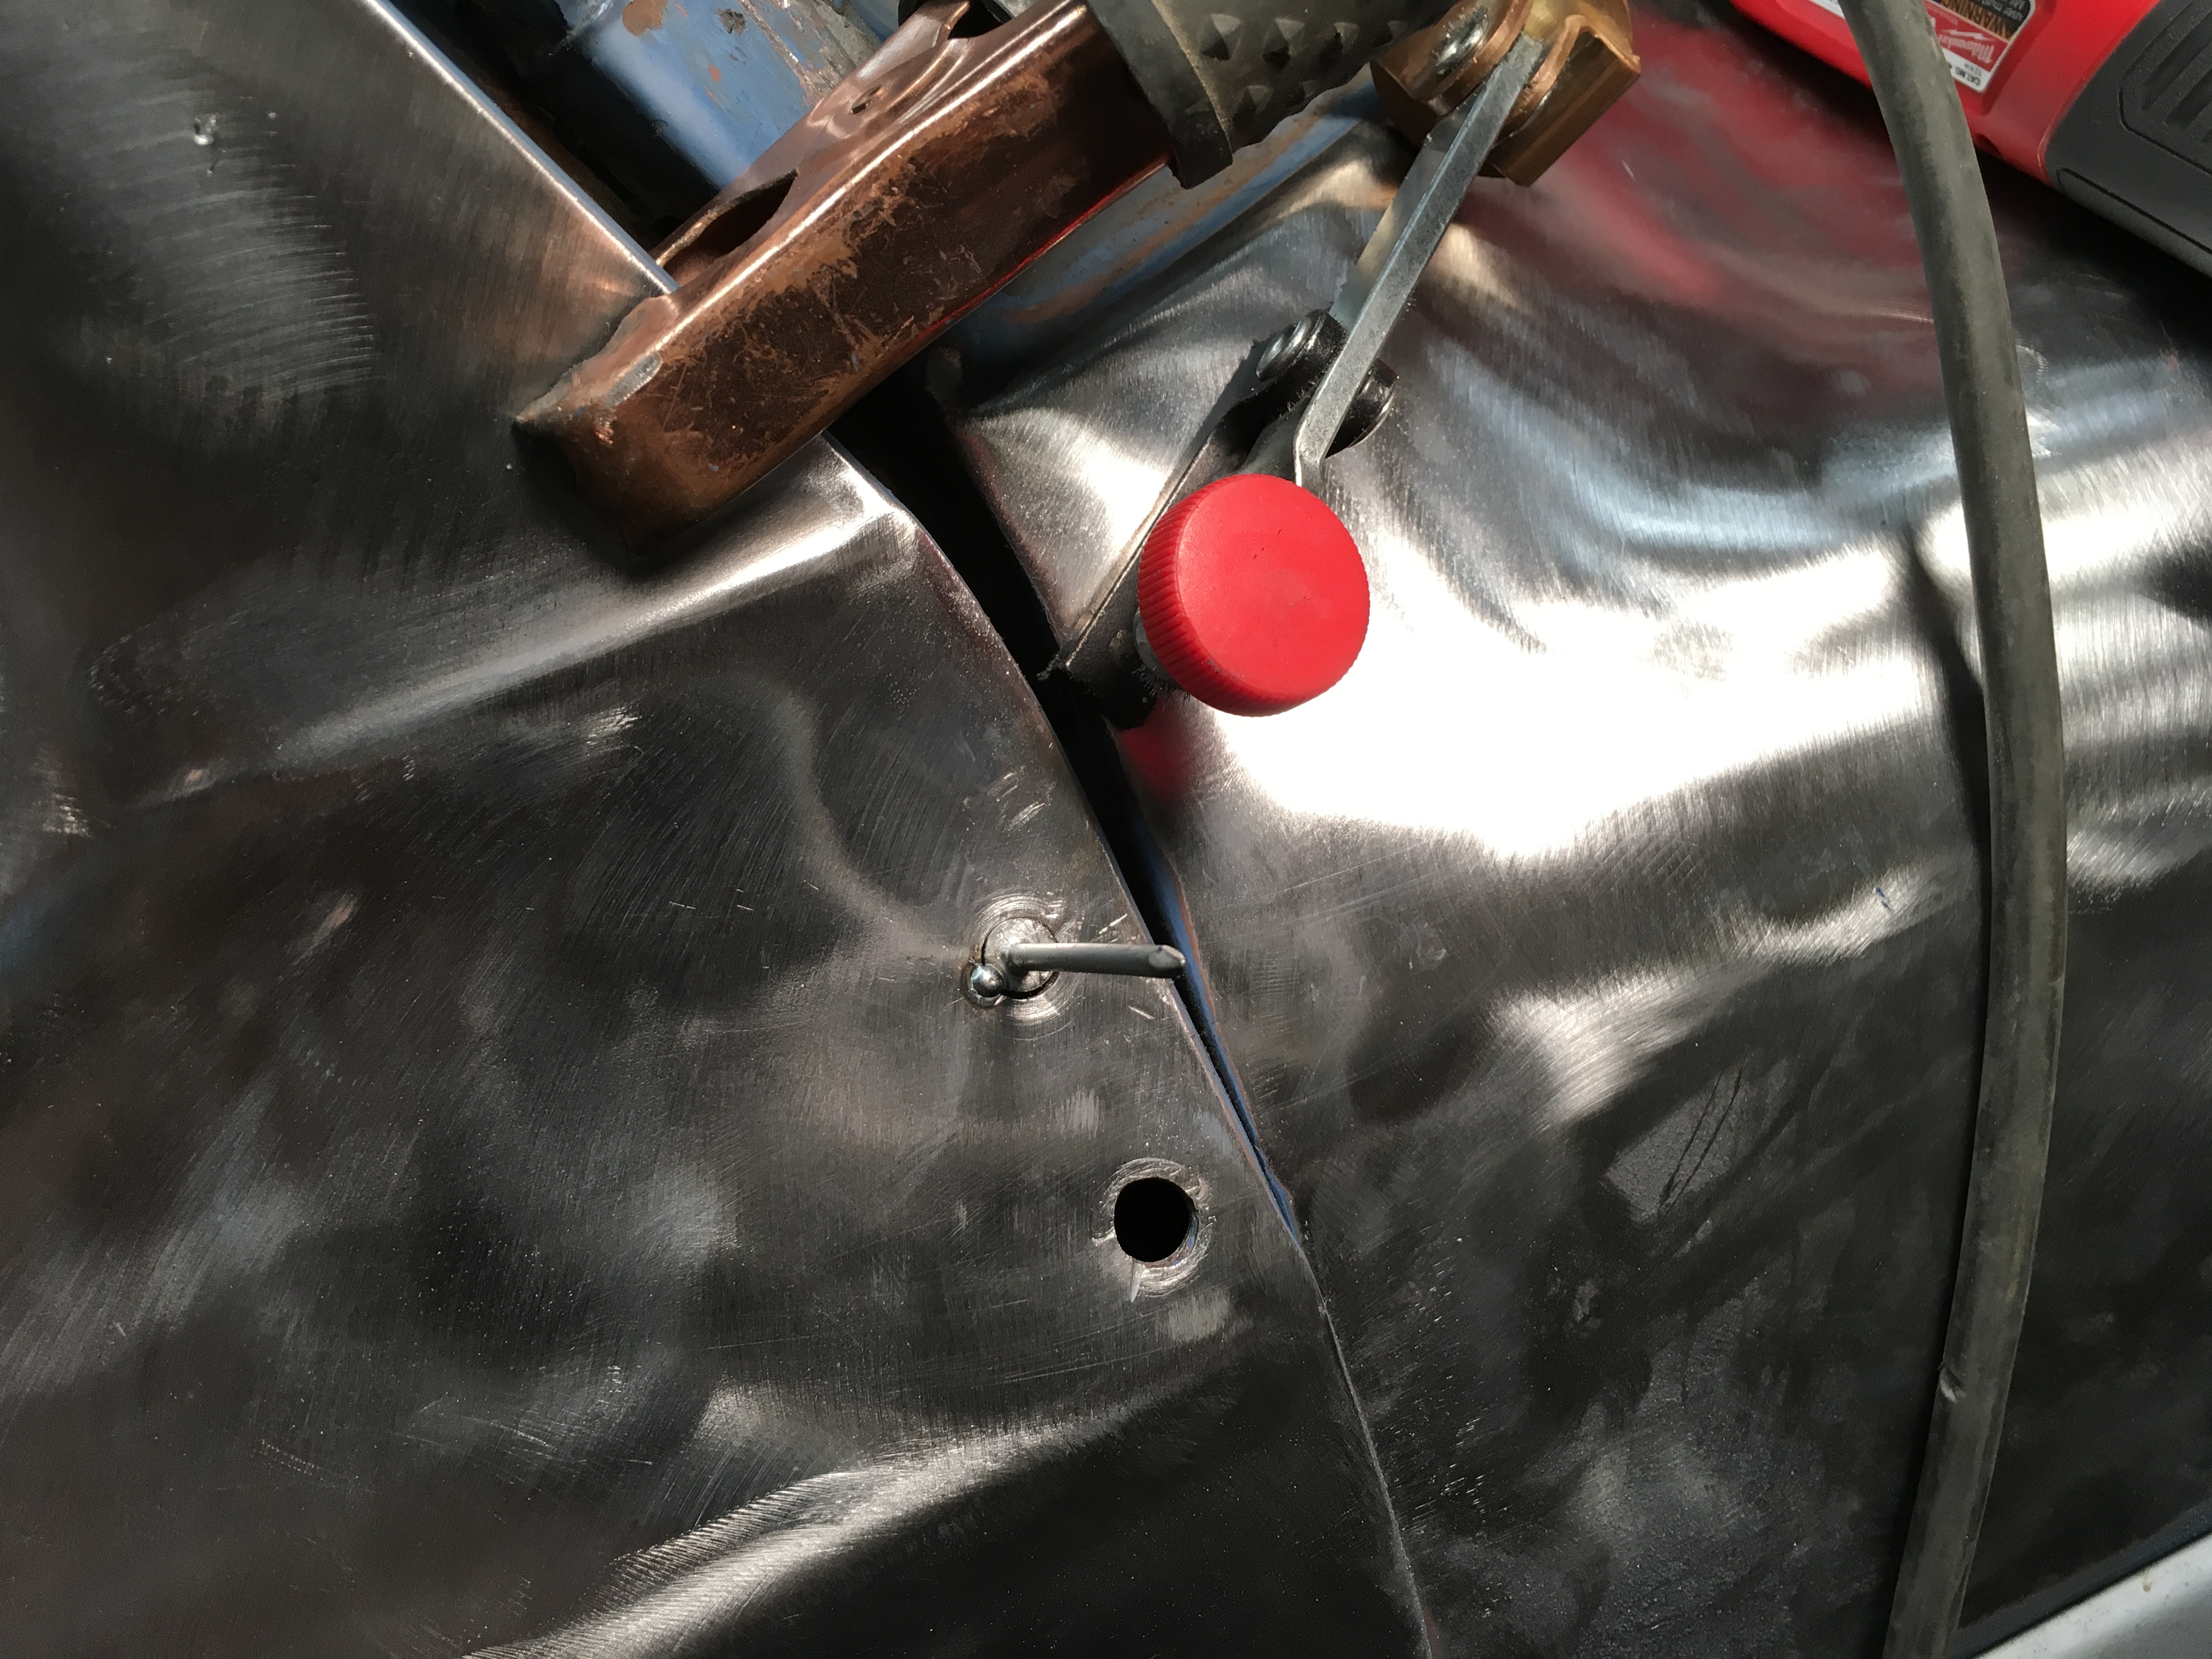
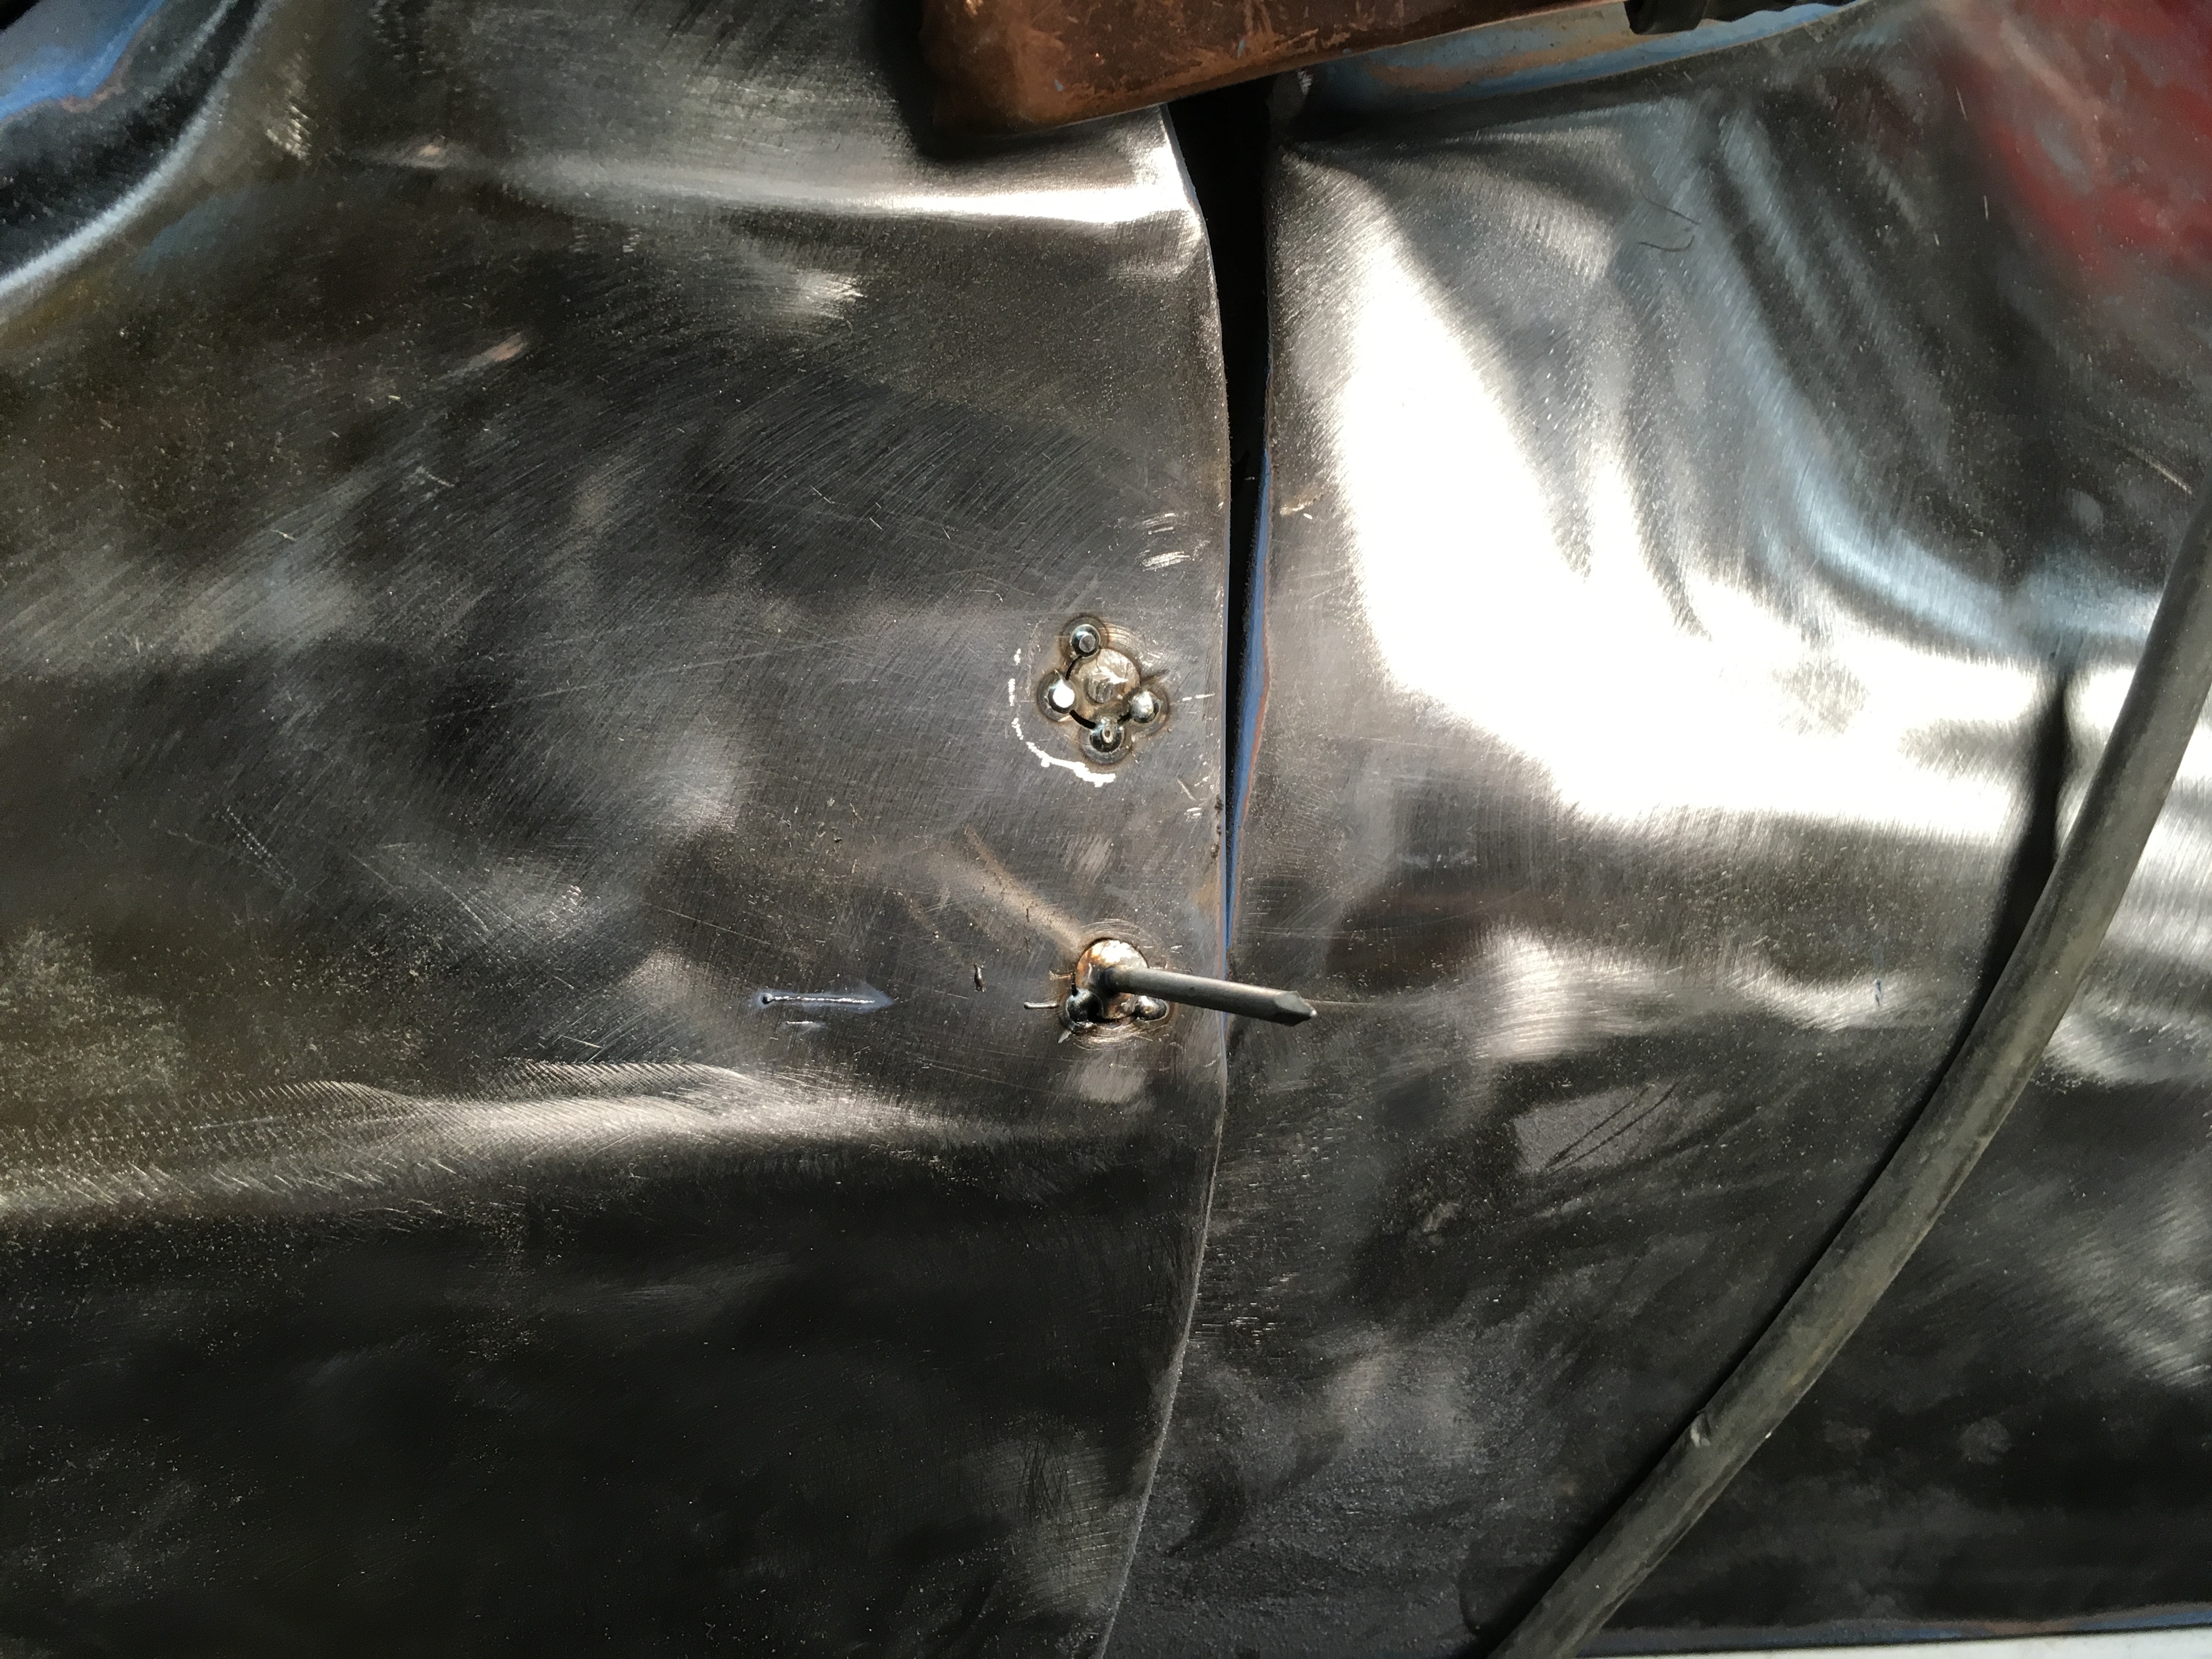
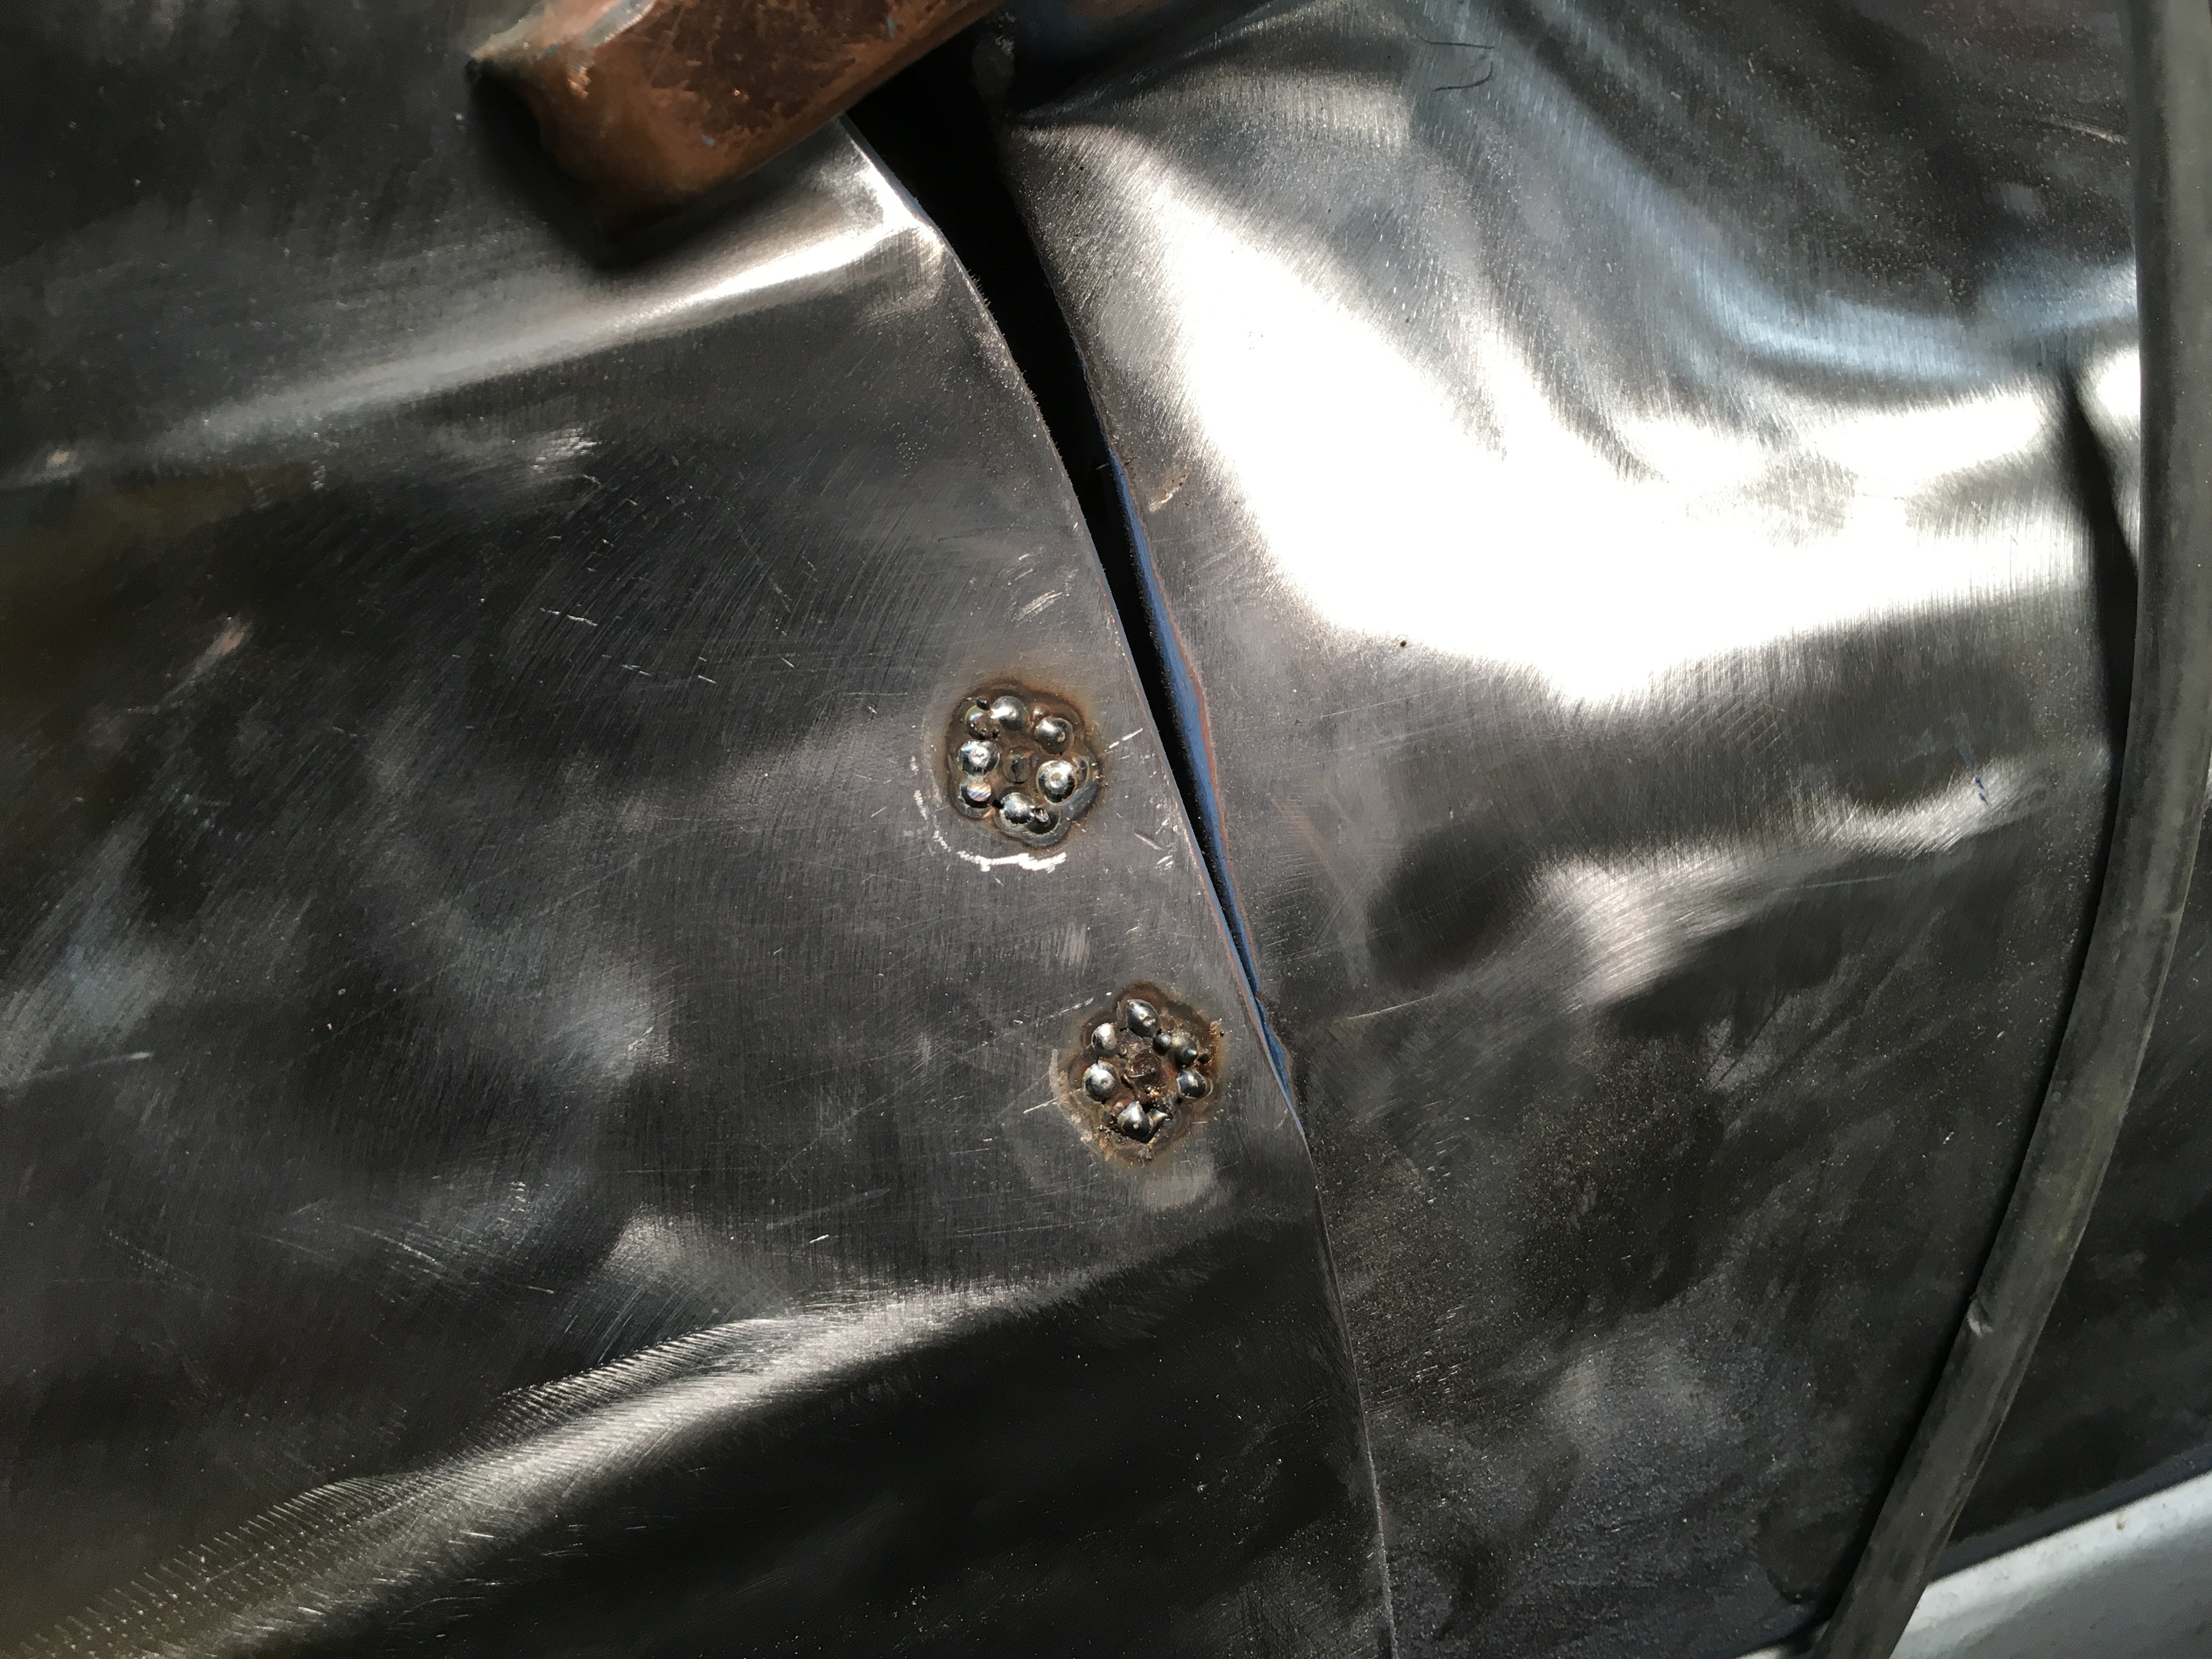
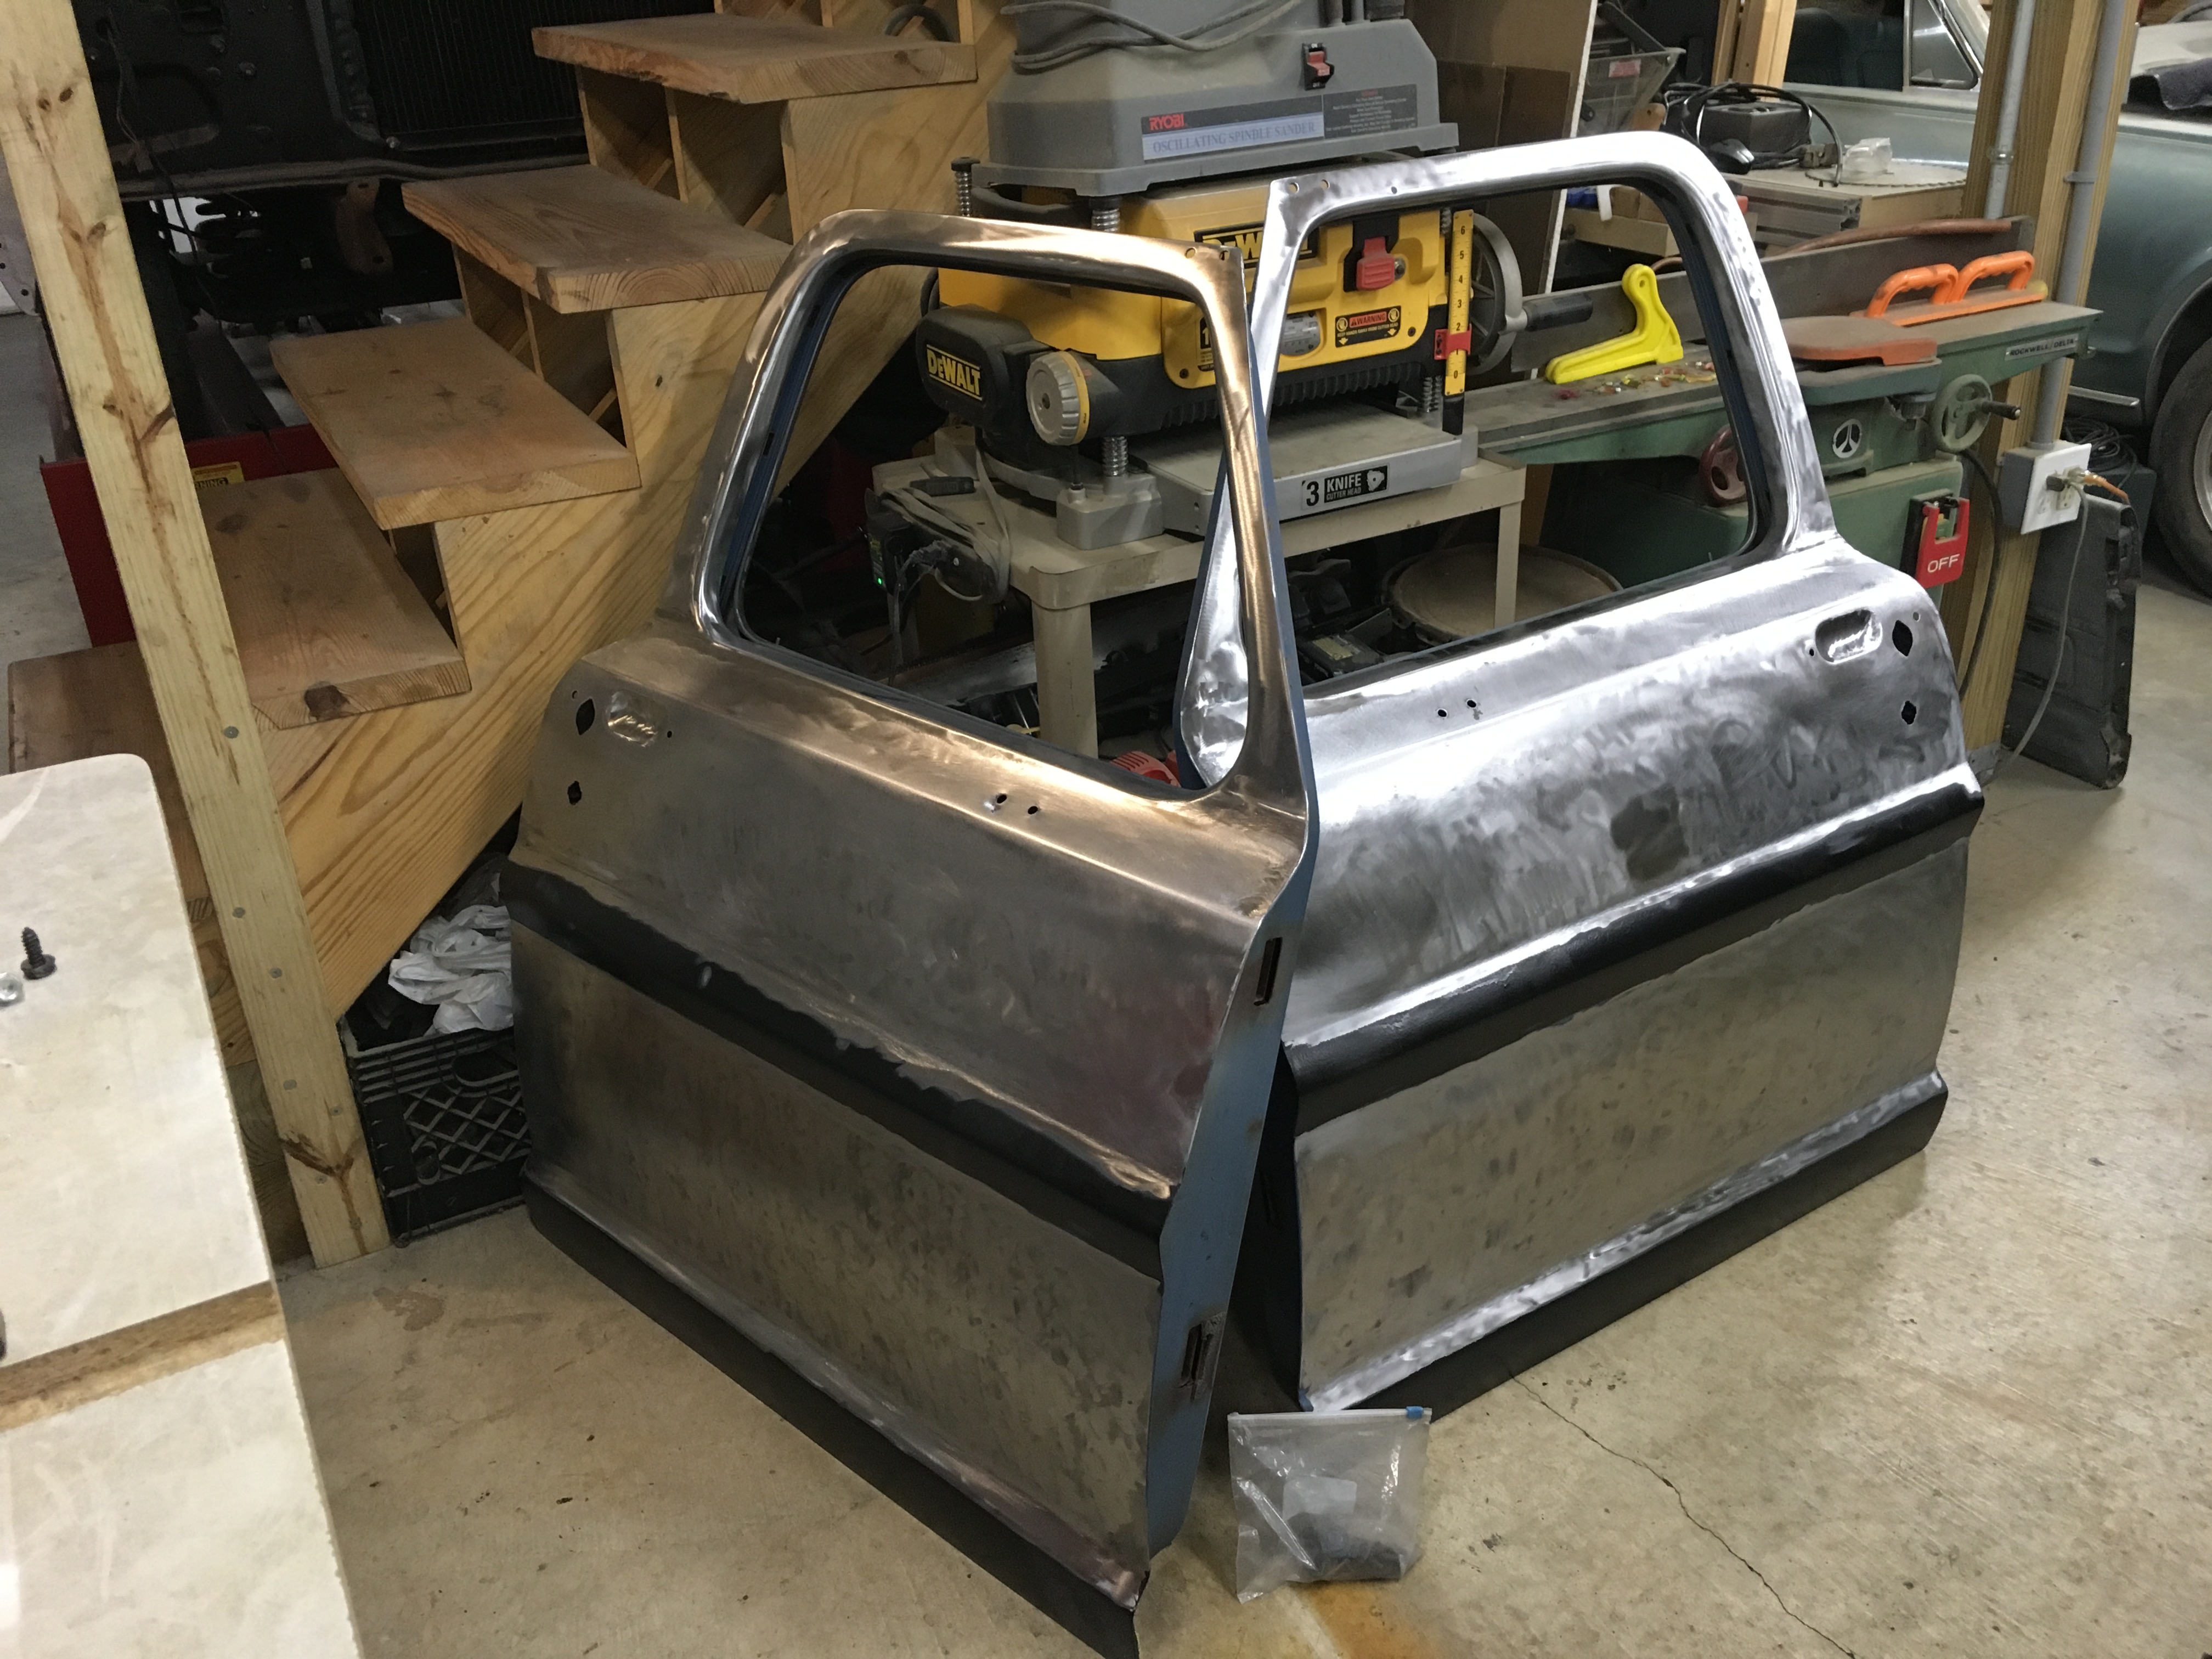
Last year while doing a little work and trying to get motivated to get back at it I had a minor fiasco that set me back even further. I had lowered the back of my KwikLift ramps and was climbing in after removing the wheel chocks. It popped out of gear, emergency brake didn’t hold, and it rolled backwards. I was too slow getting to the brake and the slightly open door slammed into the edge of the garage... Now the driver side door and fender which I had already completed were screwed-up. Door took a vertical crease on the lower half, and it slammed into the front fender so hard it bent a crease through the bump a few inches forward of the door. The rear support was directly behind the crease in the bump and it was so bad I wasn’t able to pull it out with the stud welder. Had to cut the crease with the cutoff wheel, pull it back into shape and then weld it back up. Took me several days of bending, twisting and hammering to get them flat and straight again.
Have recently pulled some of the remaining minor dents here and there. Still have a few to get on the roof. Also filled the bolt holes on doors where the extra forward braves would normally go.
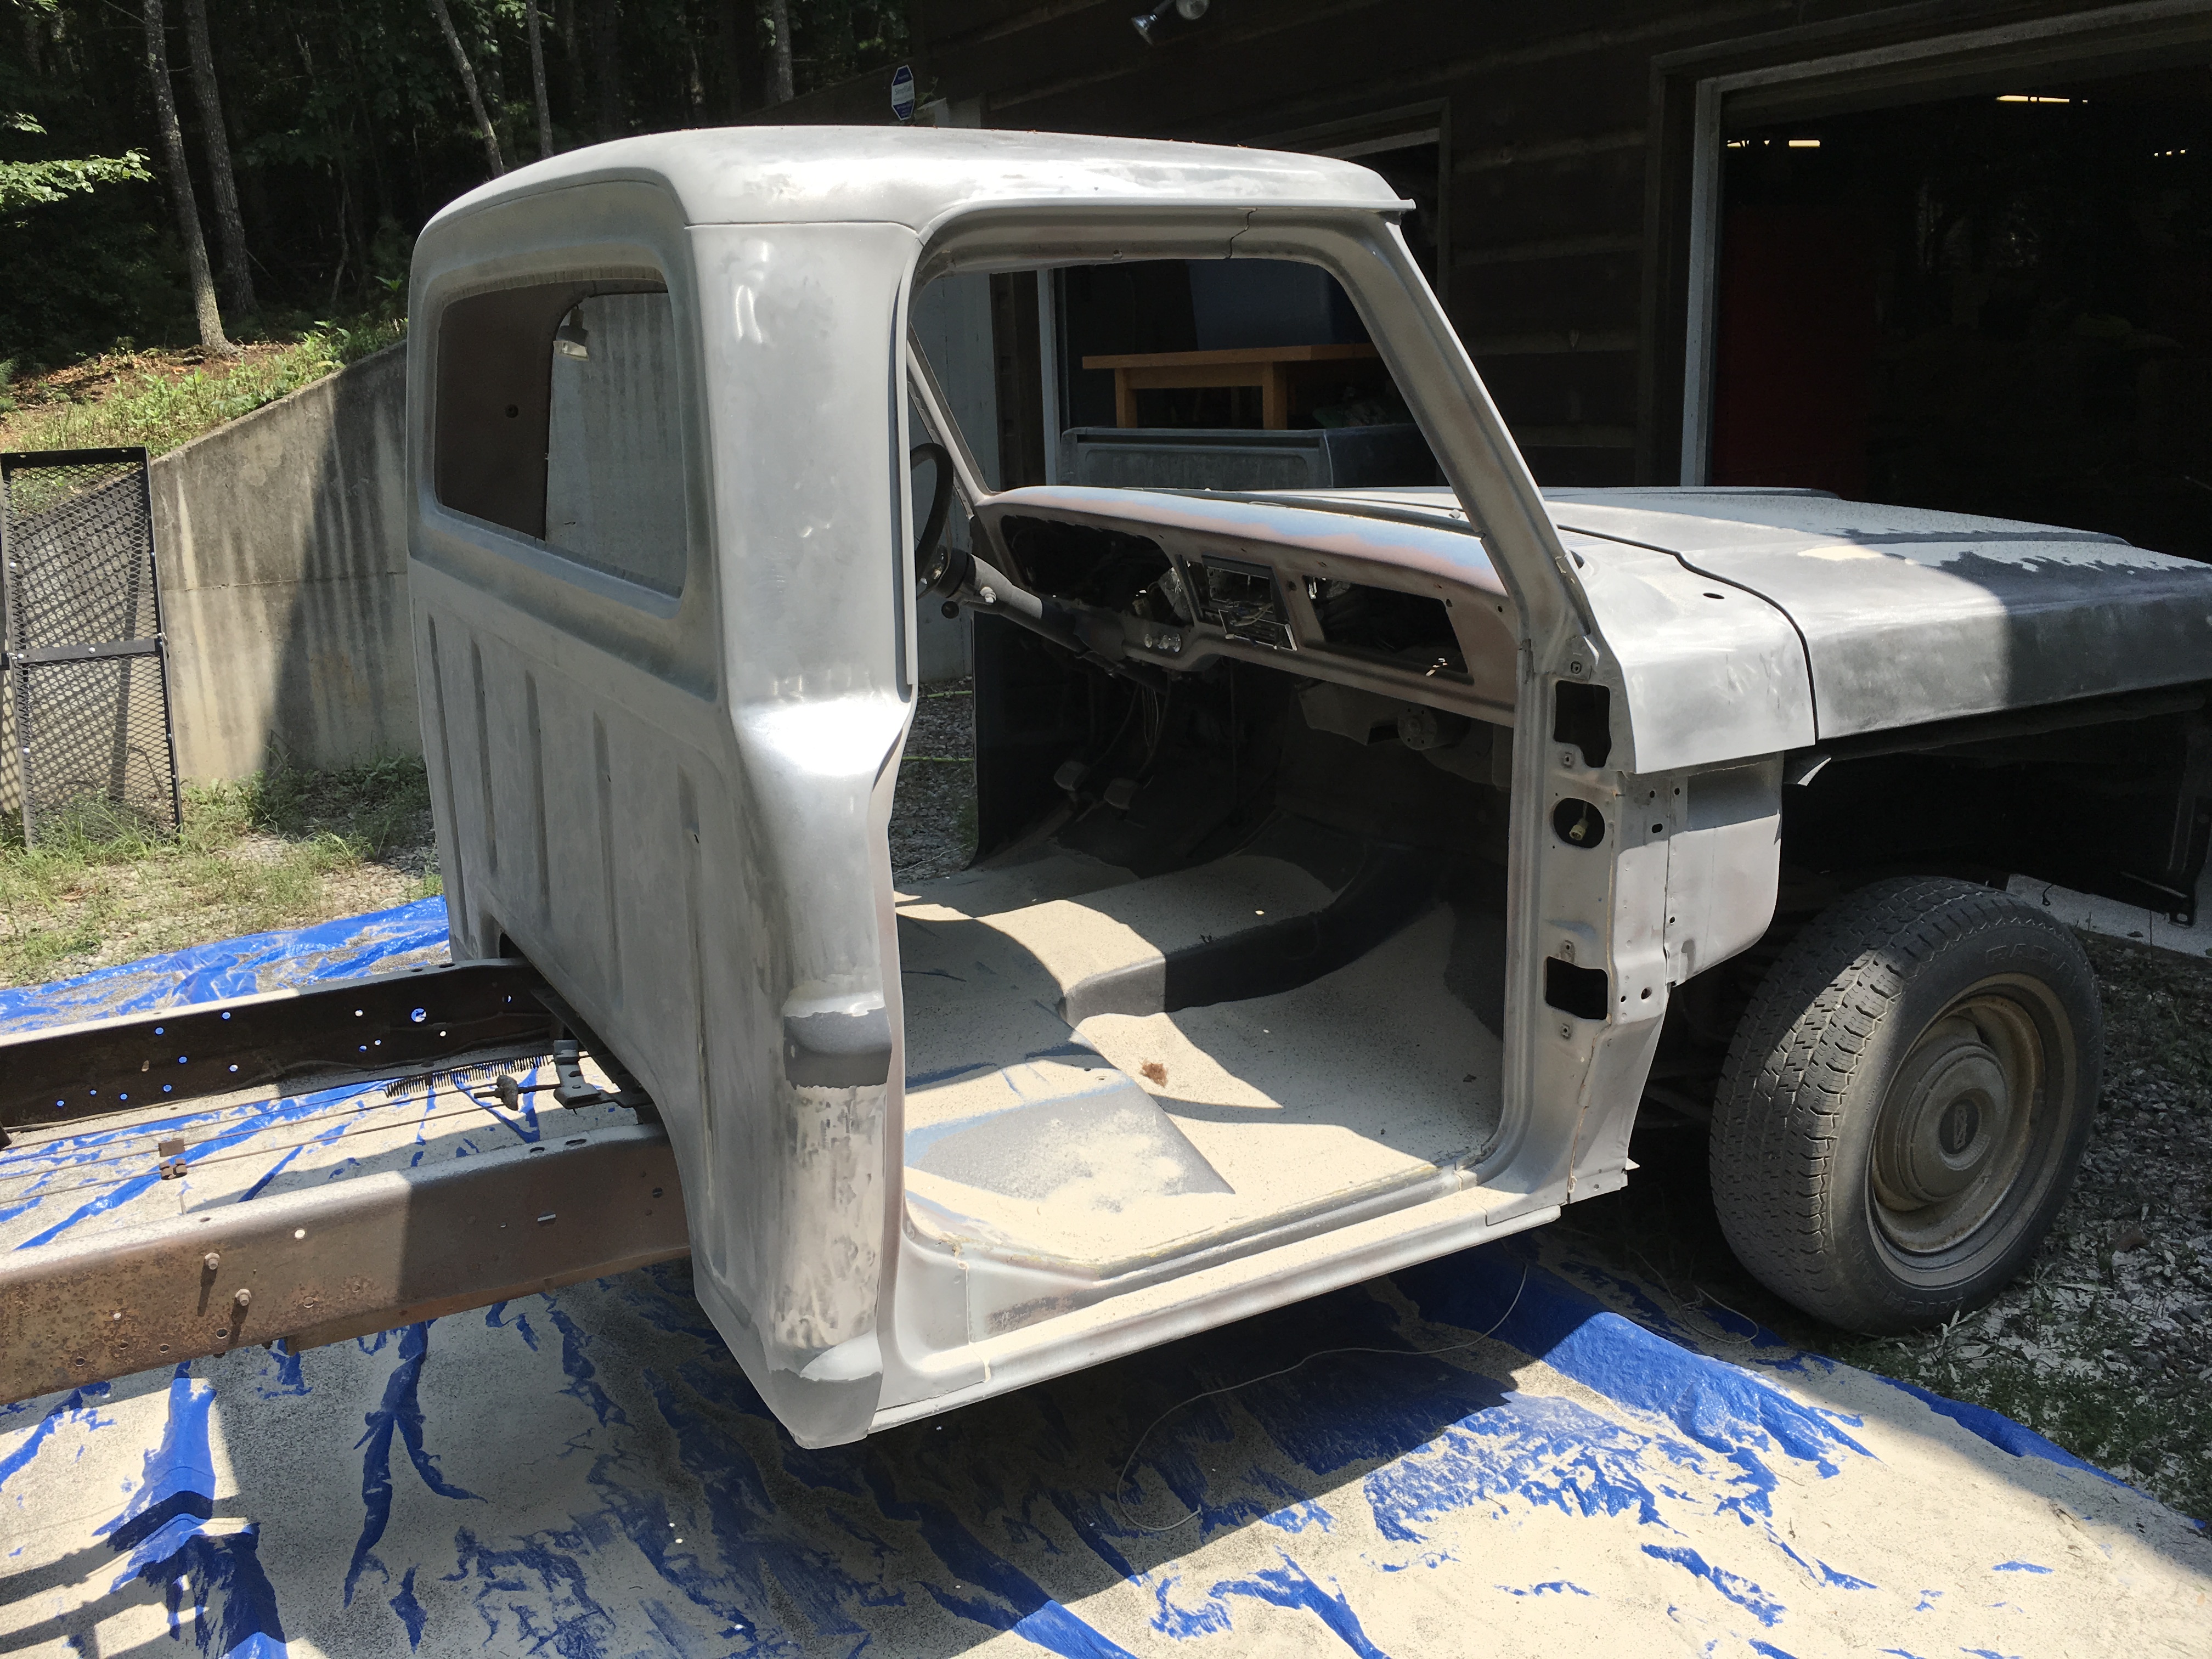
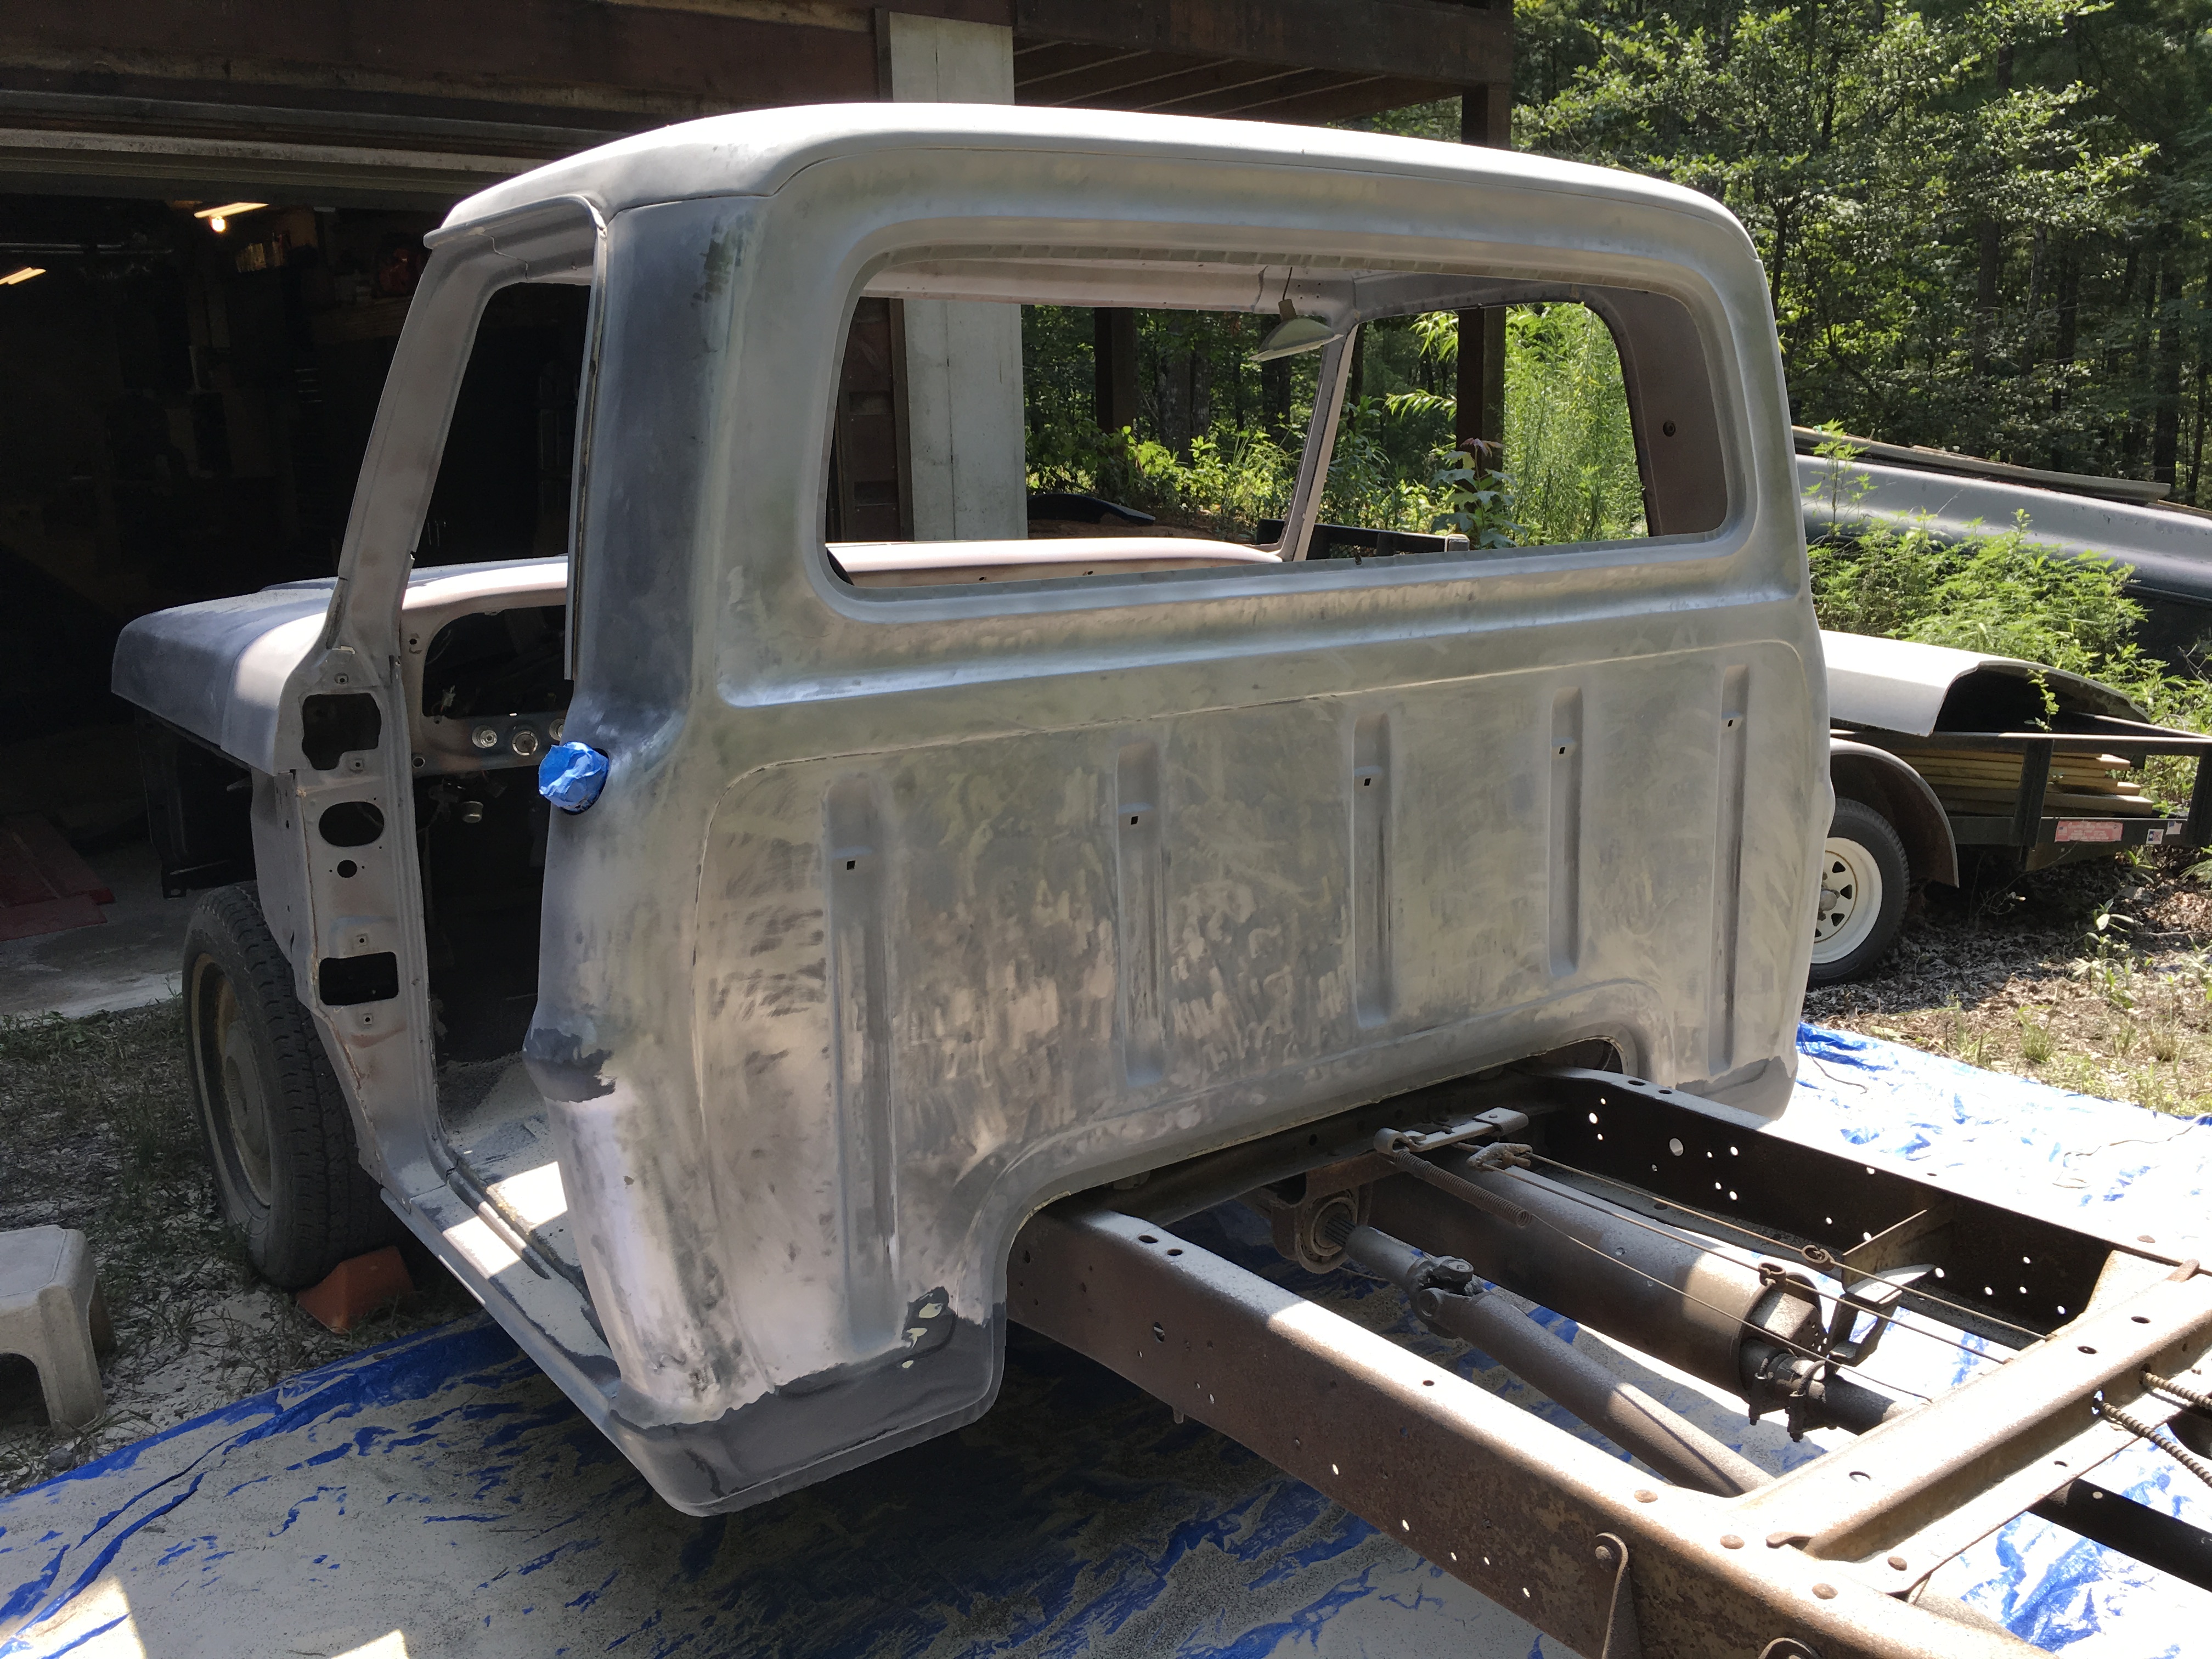
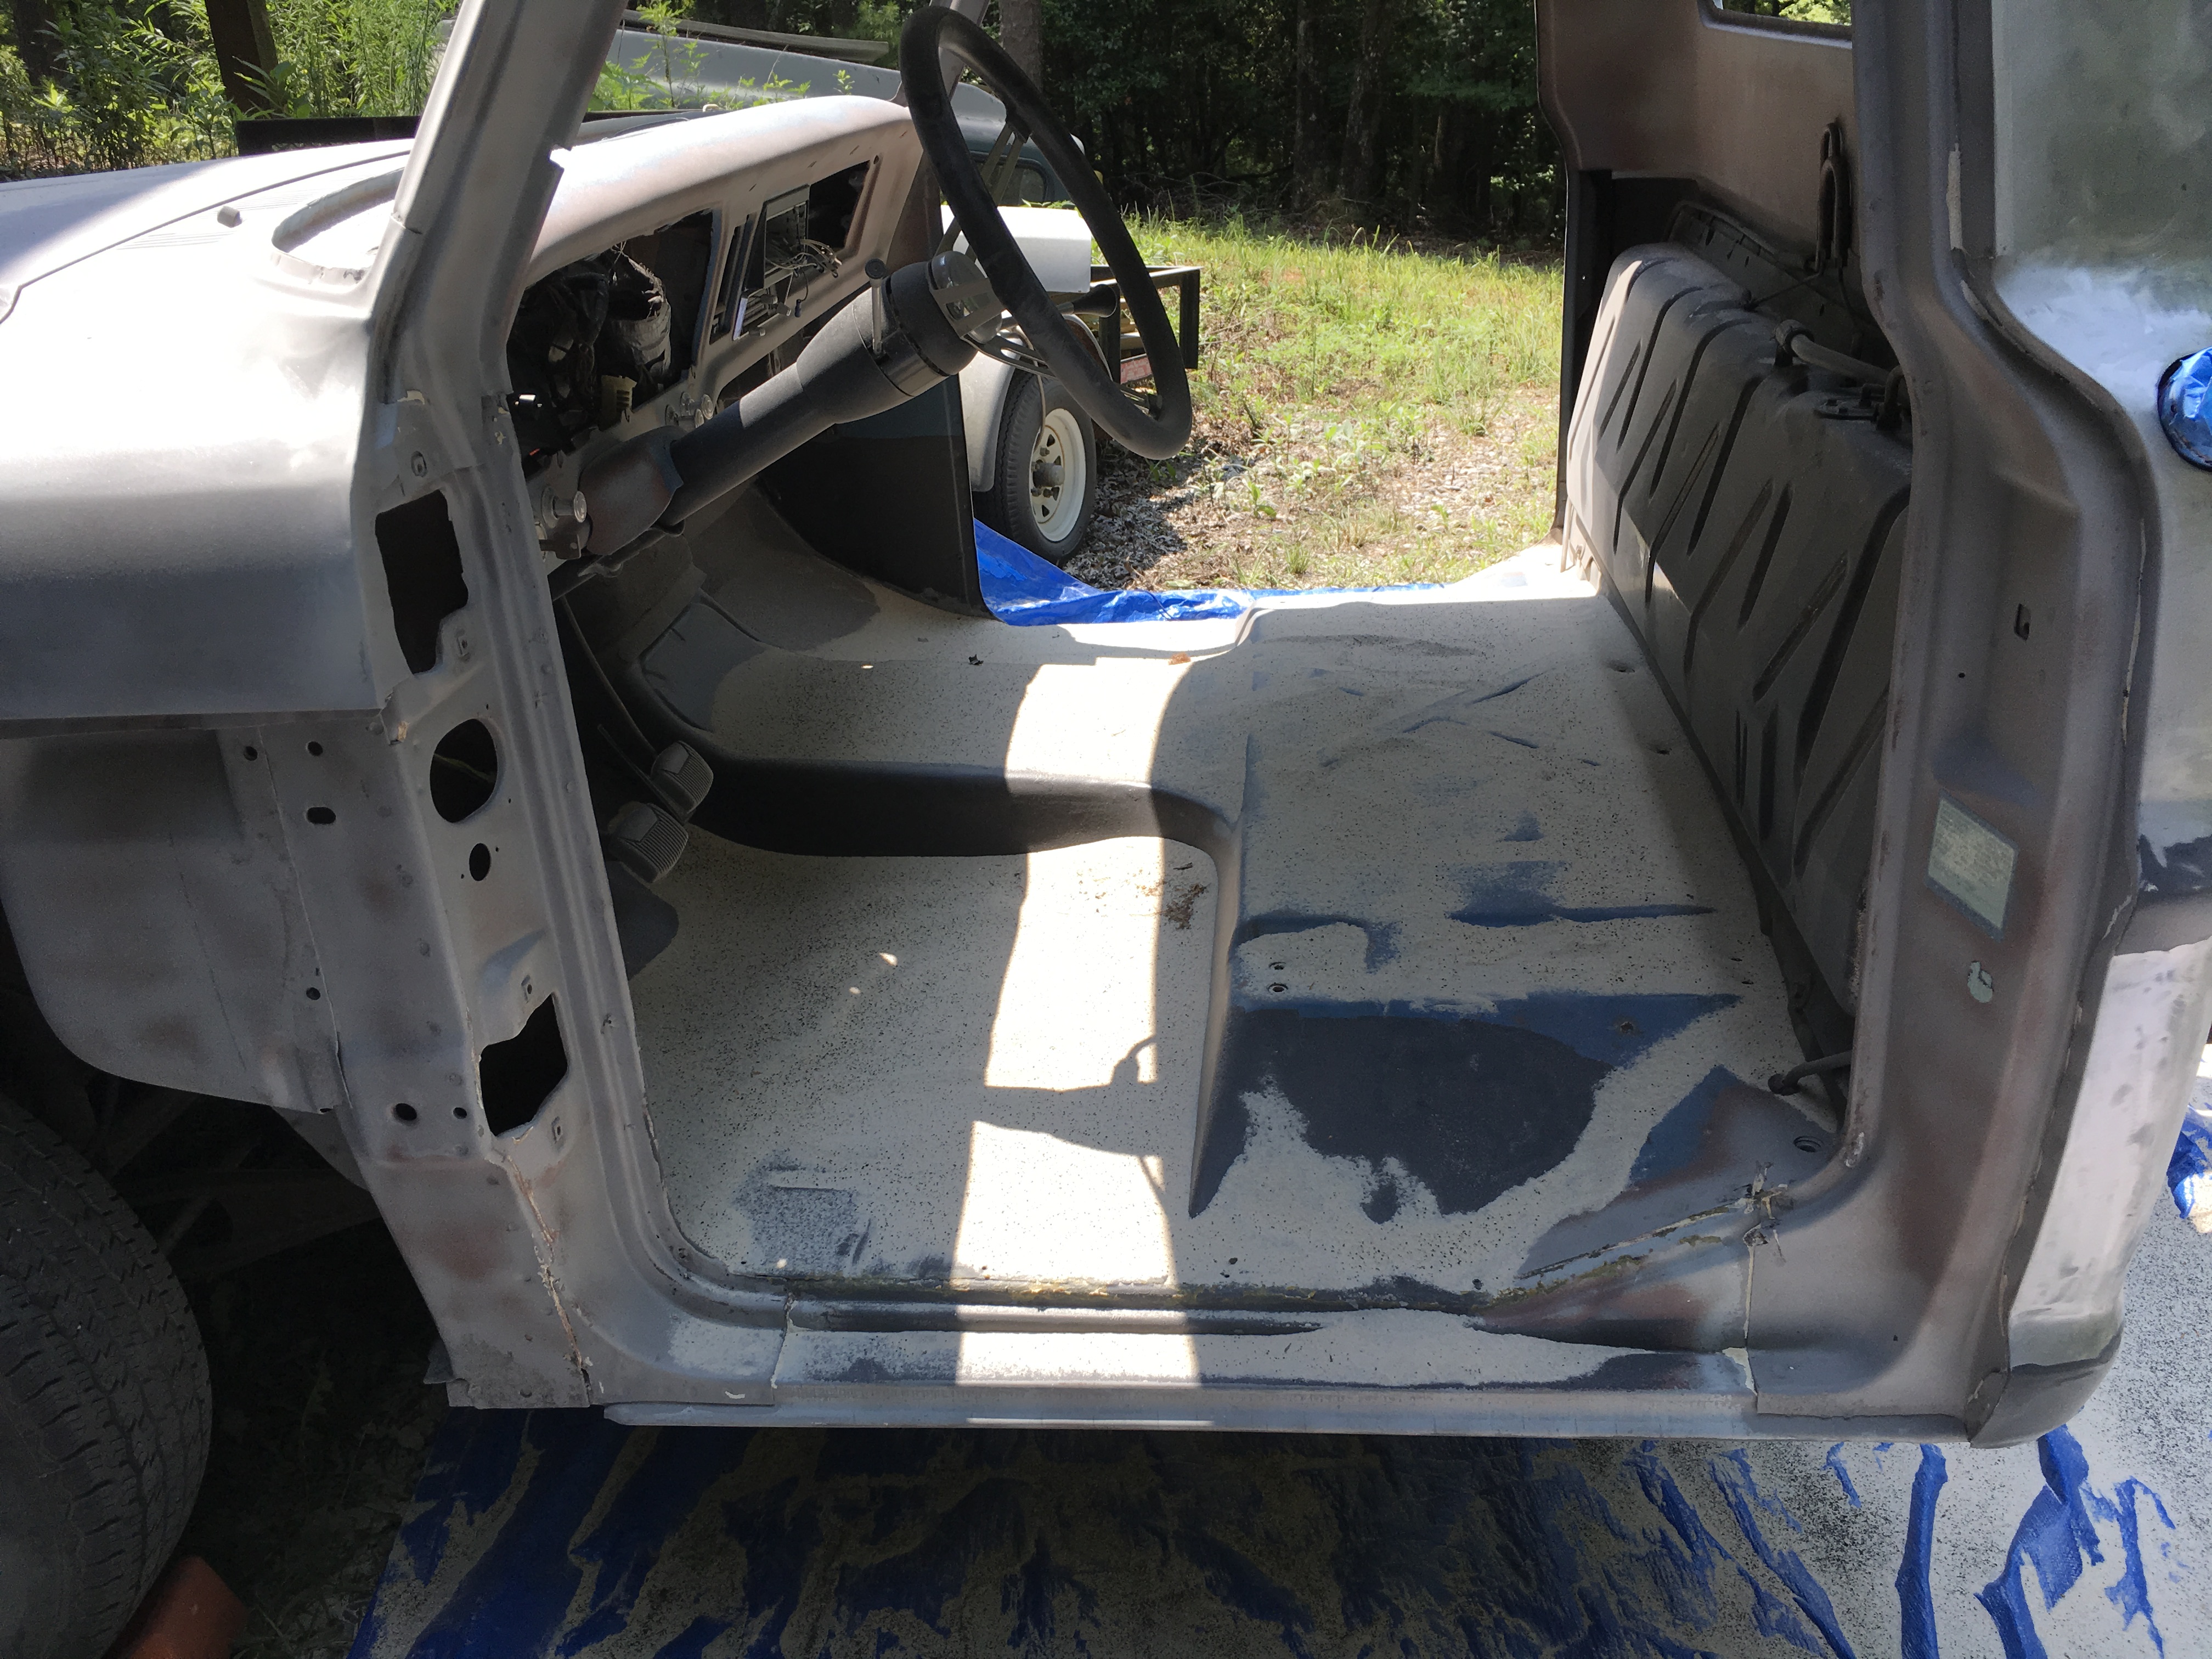
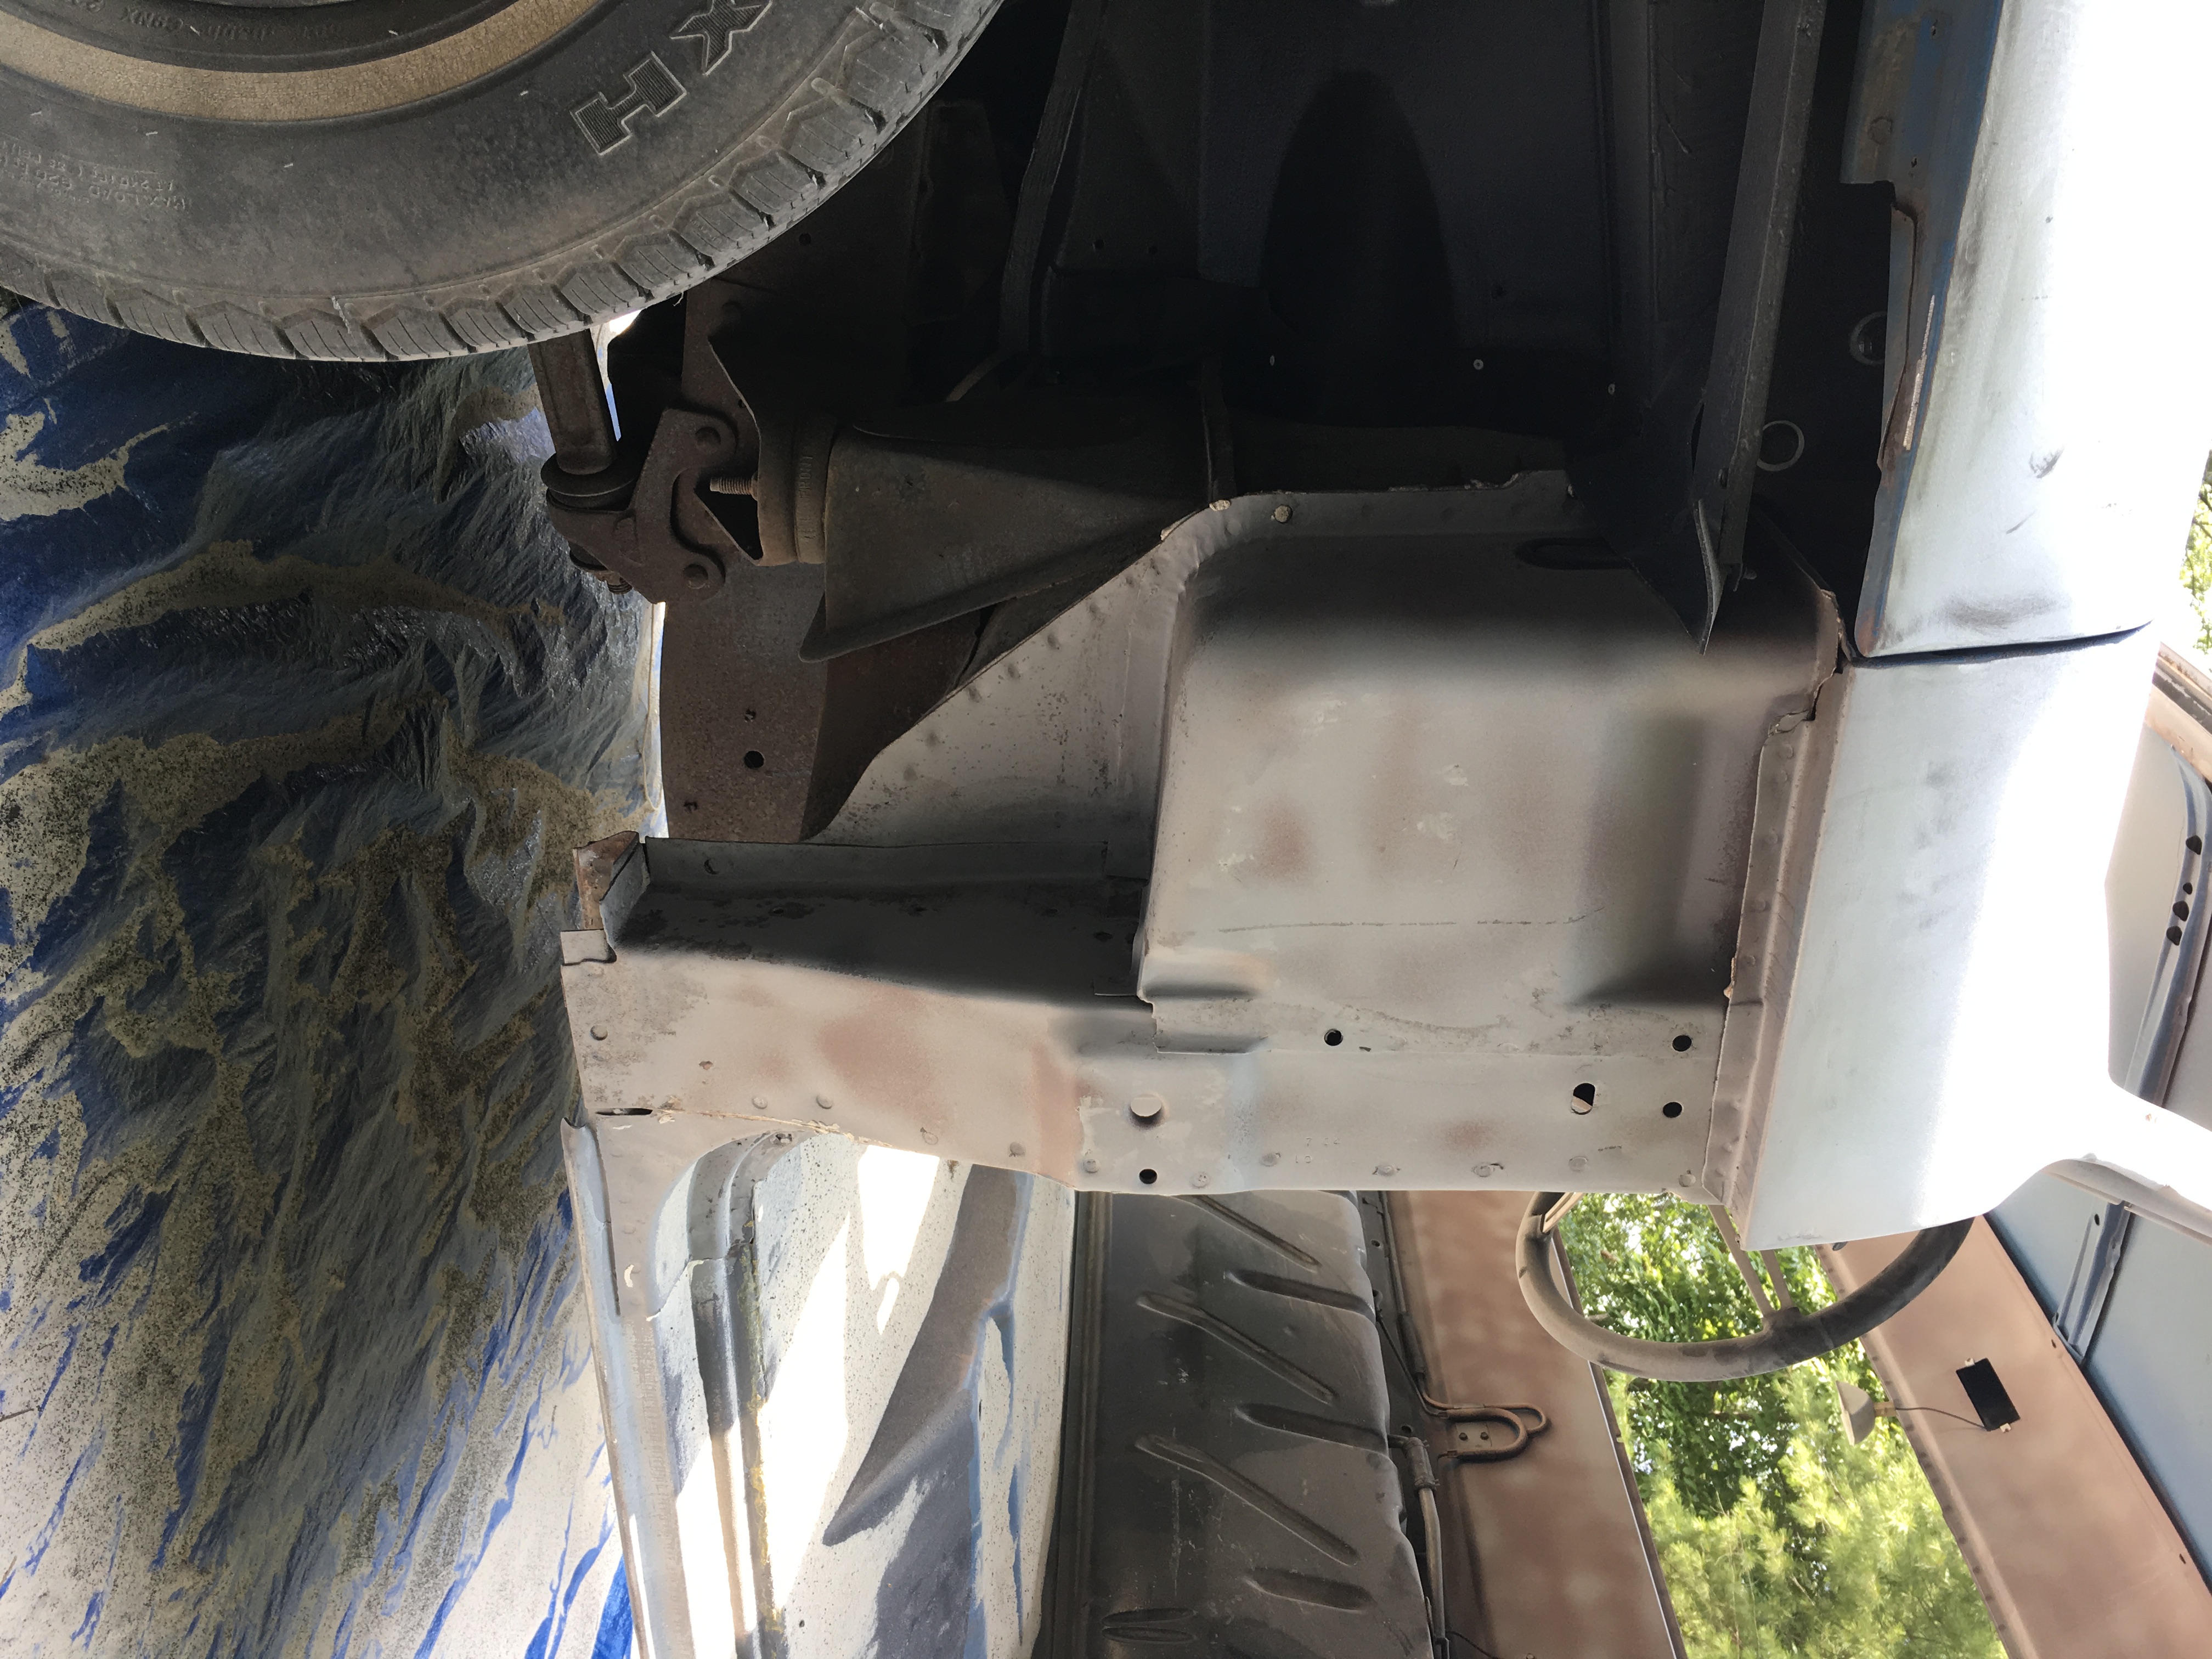
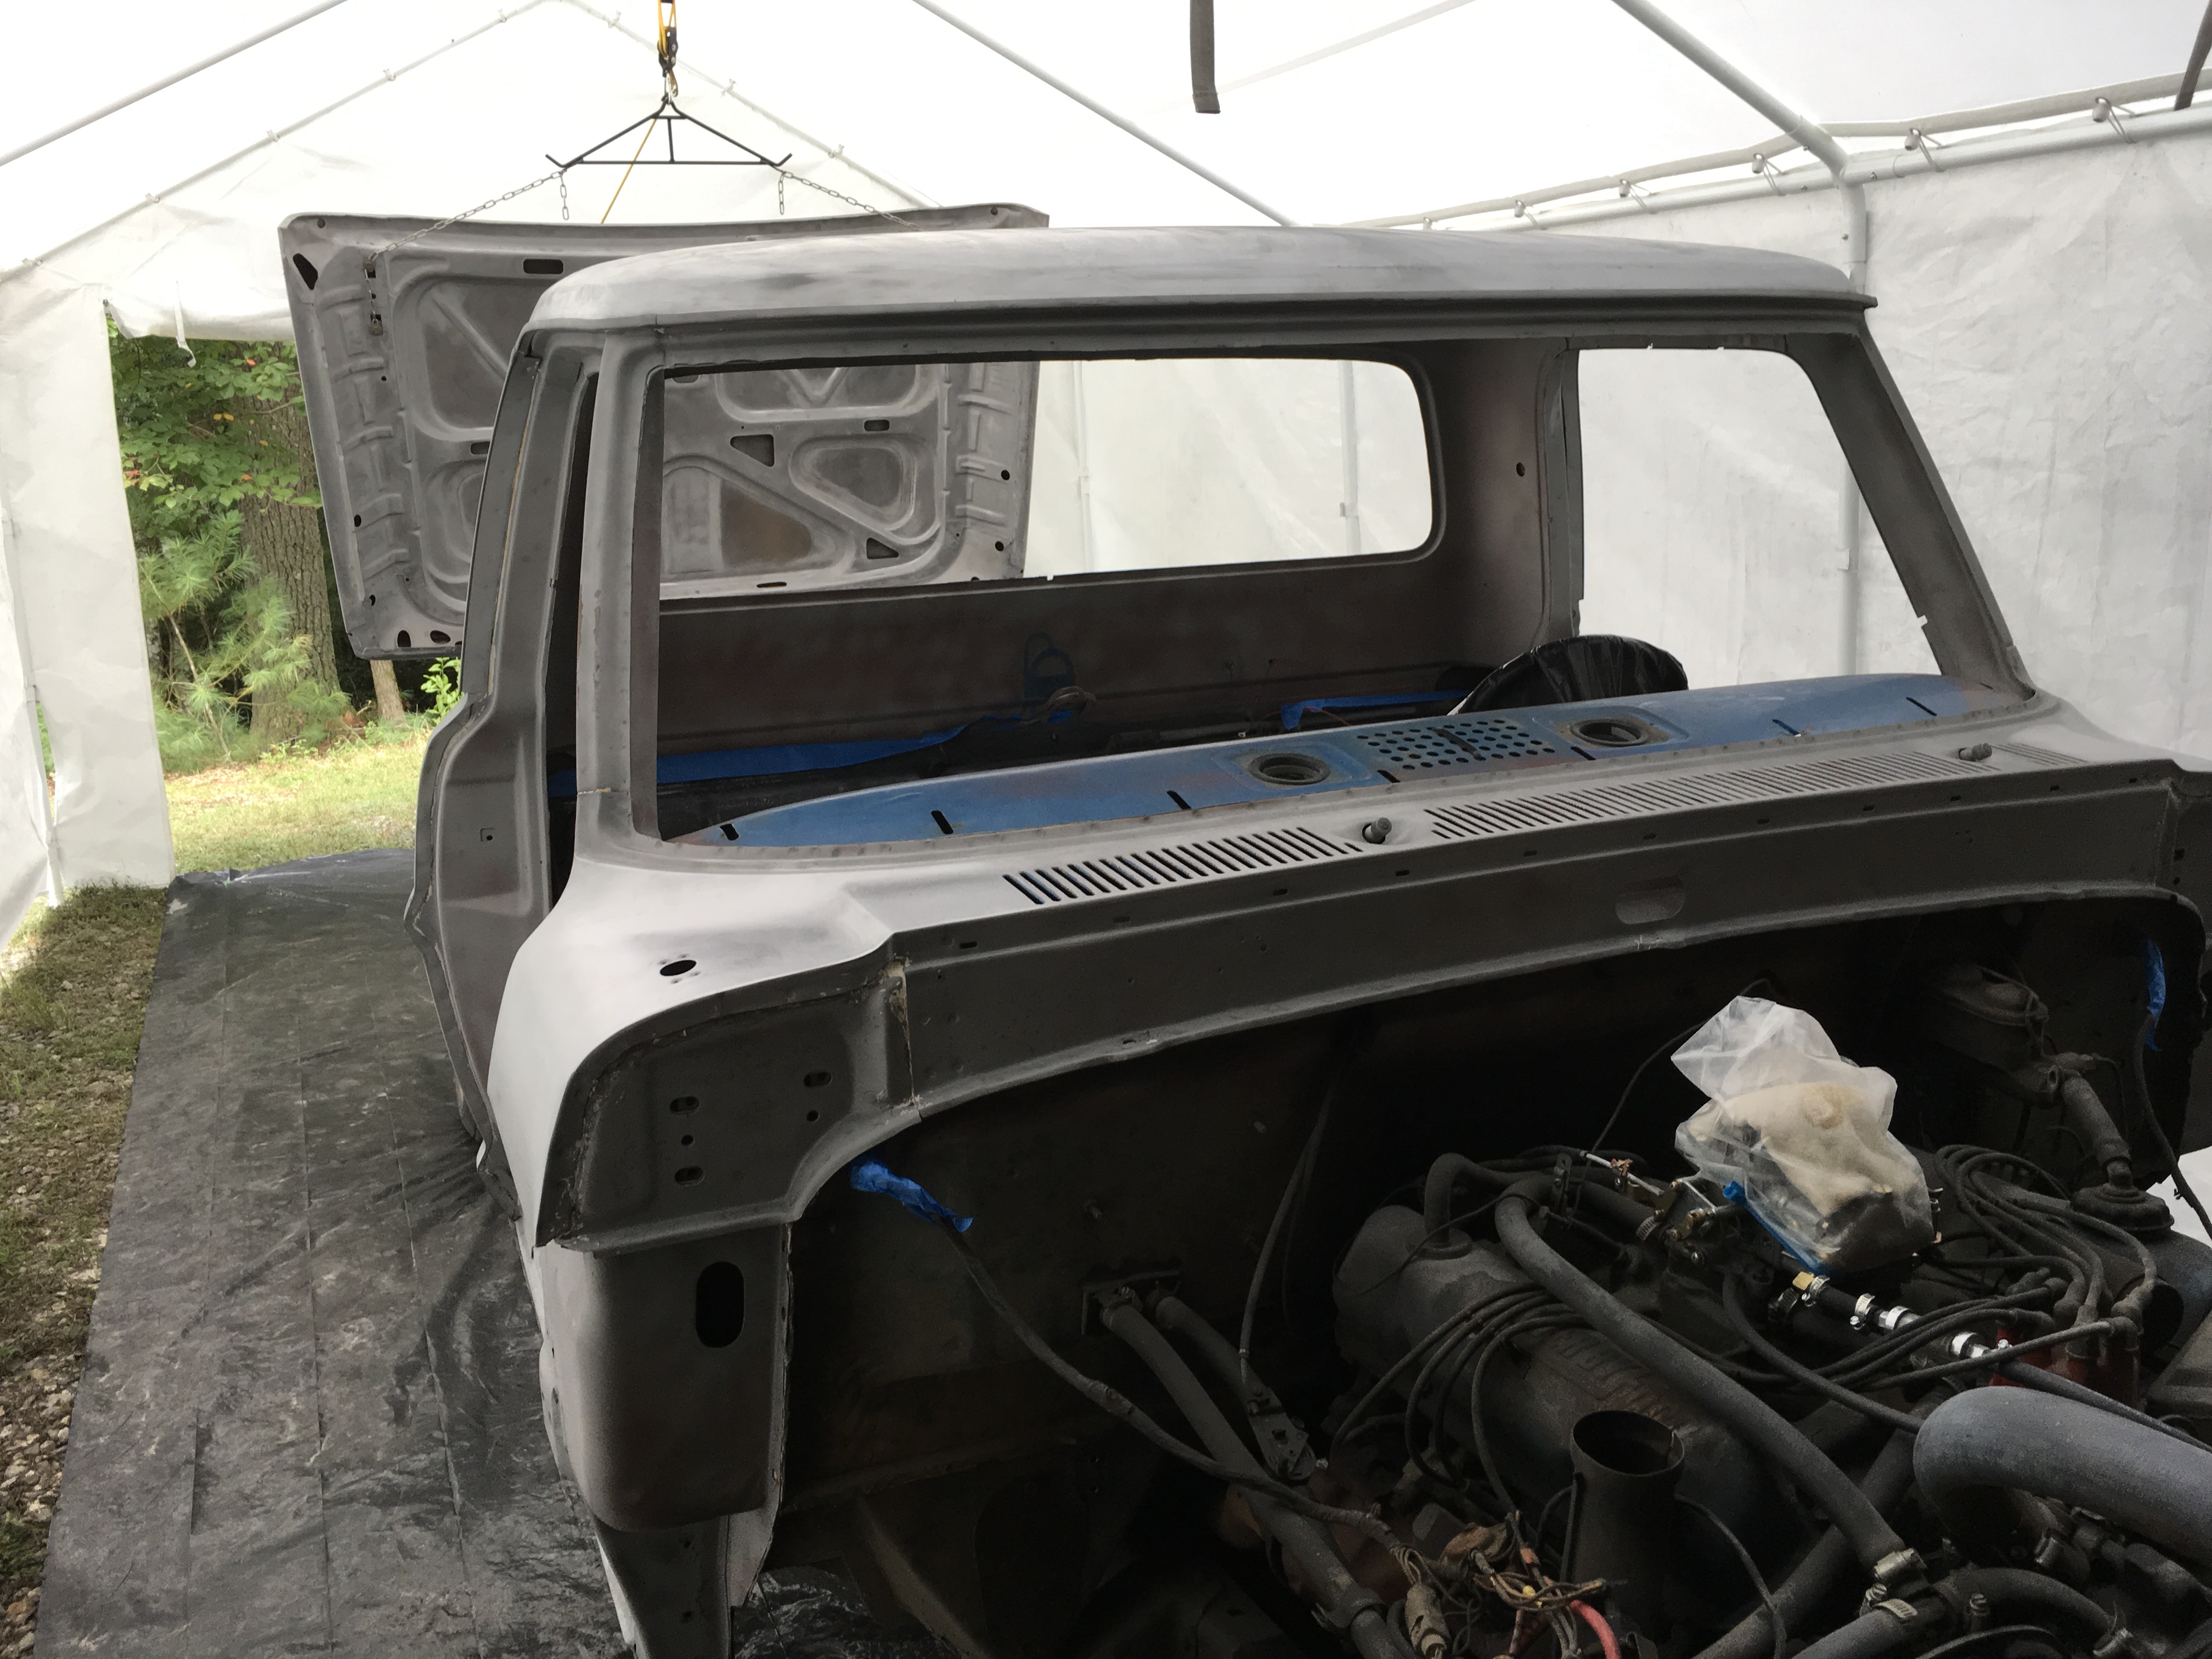
Mainly been removing paint with hopes to get it sprayed in epoxy primer over the next few weeks. Still have some hard-to-get nooks and crannies to grind or hit with the sandblaster. Plus the underside of the hood which I have been dreading. Stripped out the interior again, removed all panels from cab again, took out all the glass, and pulled all door hardware. I’ll need to spray down with Ospho and lightly sand the bare metal one last time prior to spraying the epoxy. Only flash rust anywhere though are the spots where I touched or leaned with my sweaty clothes.
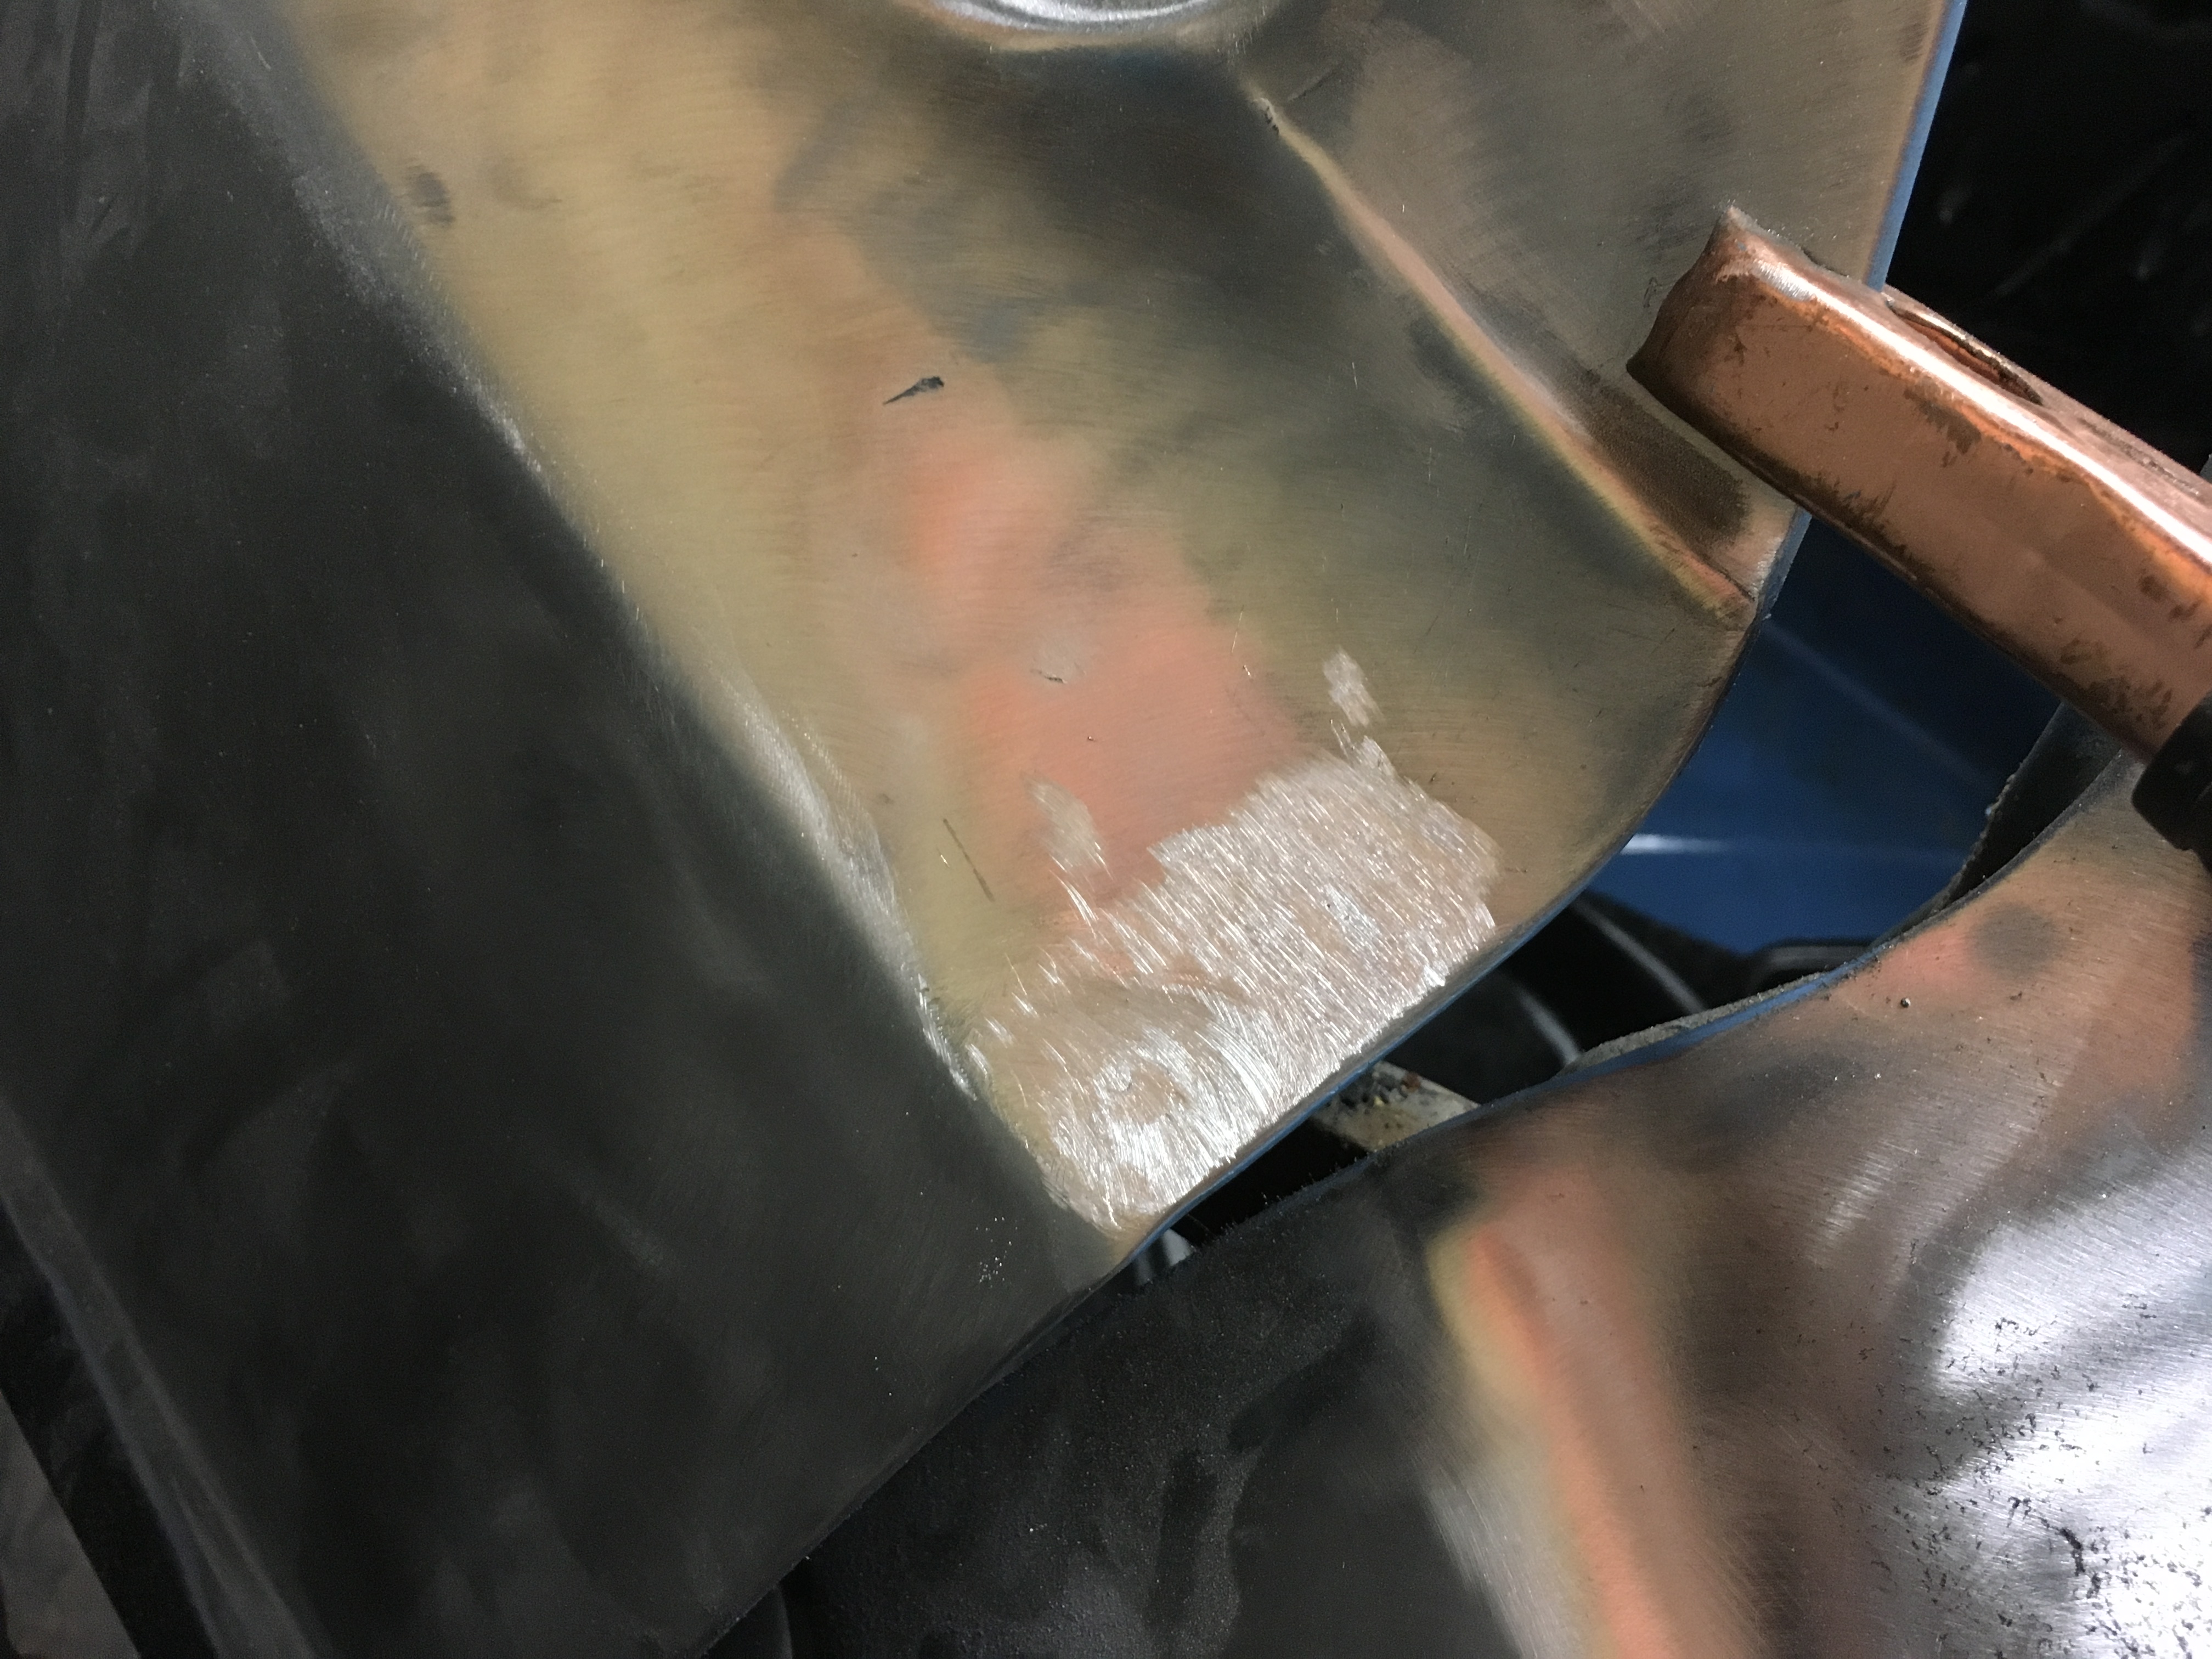
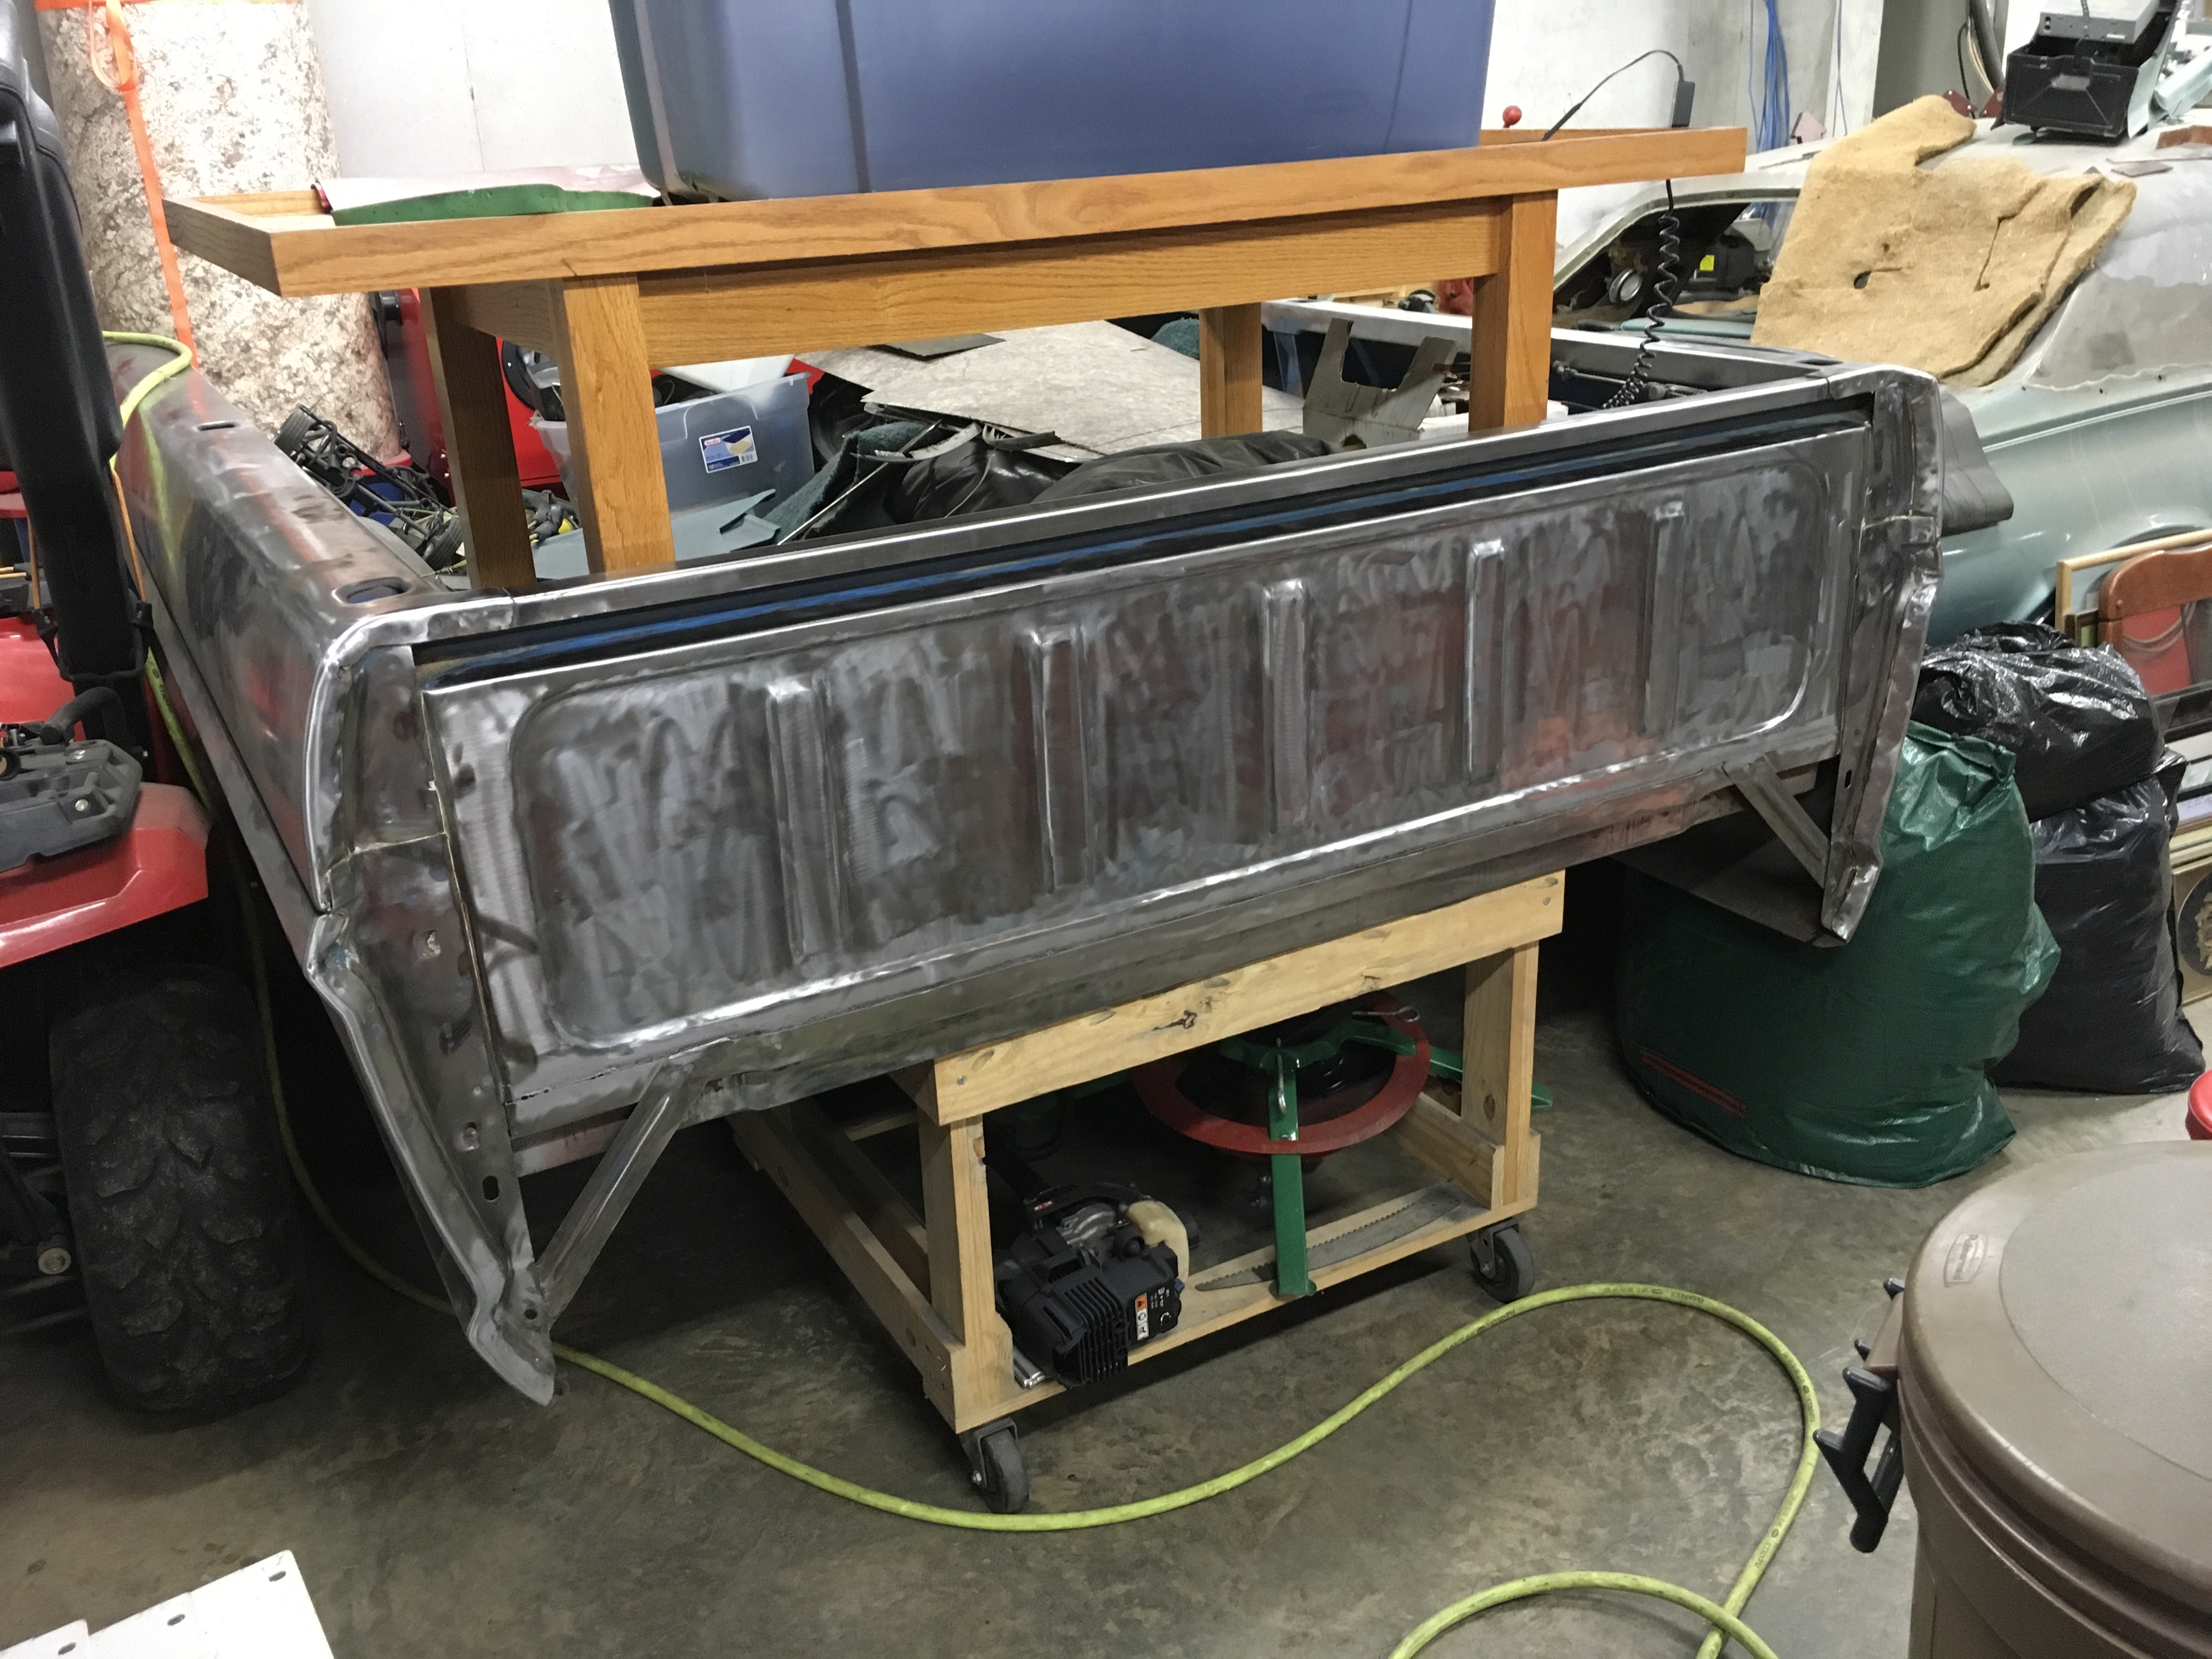
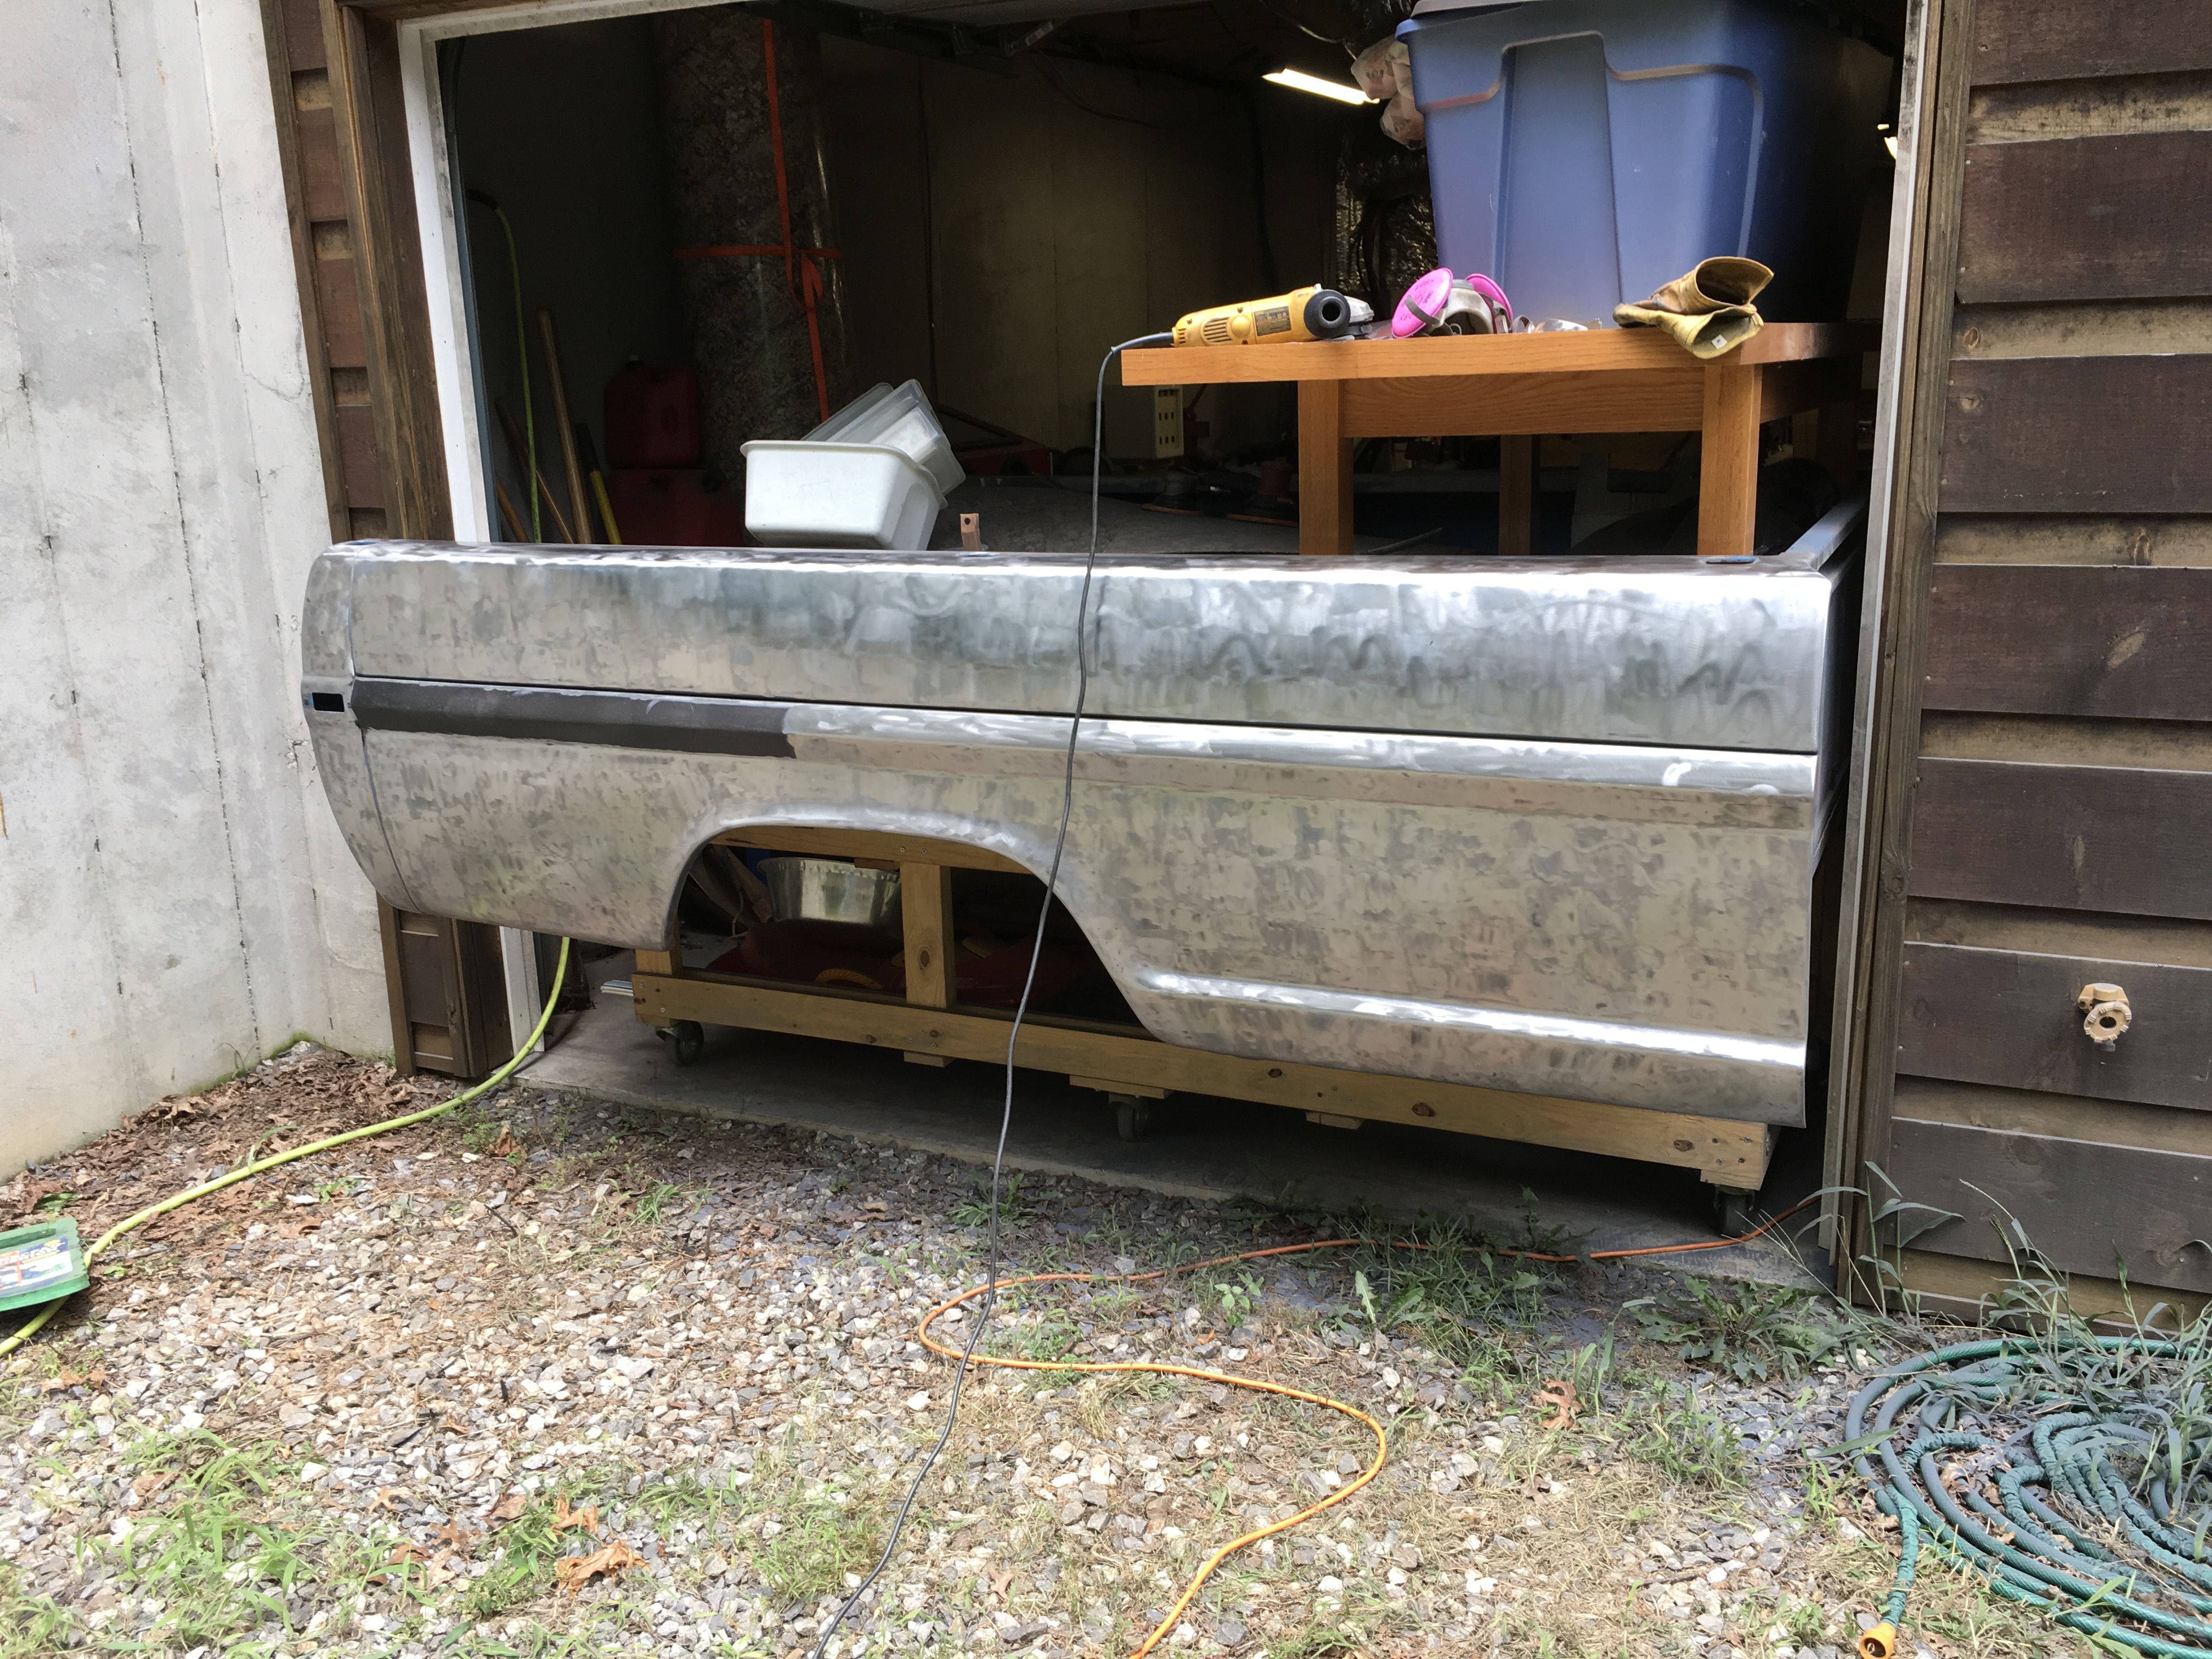
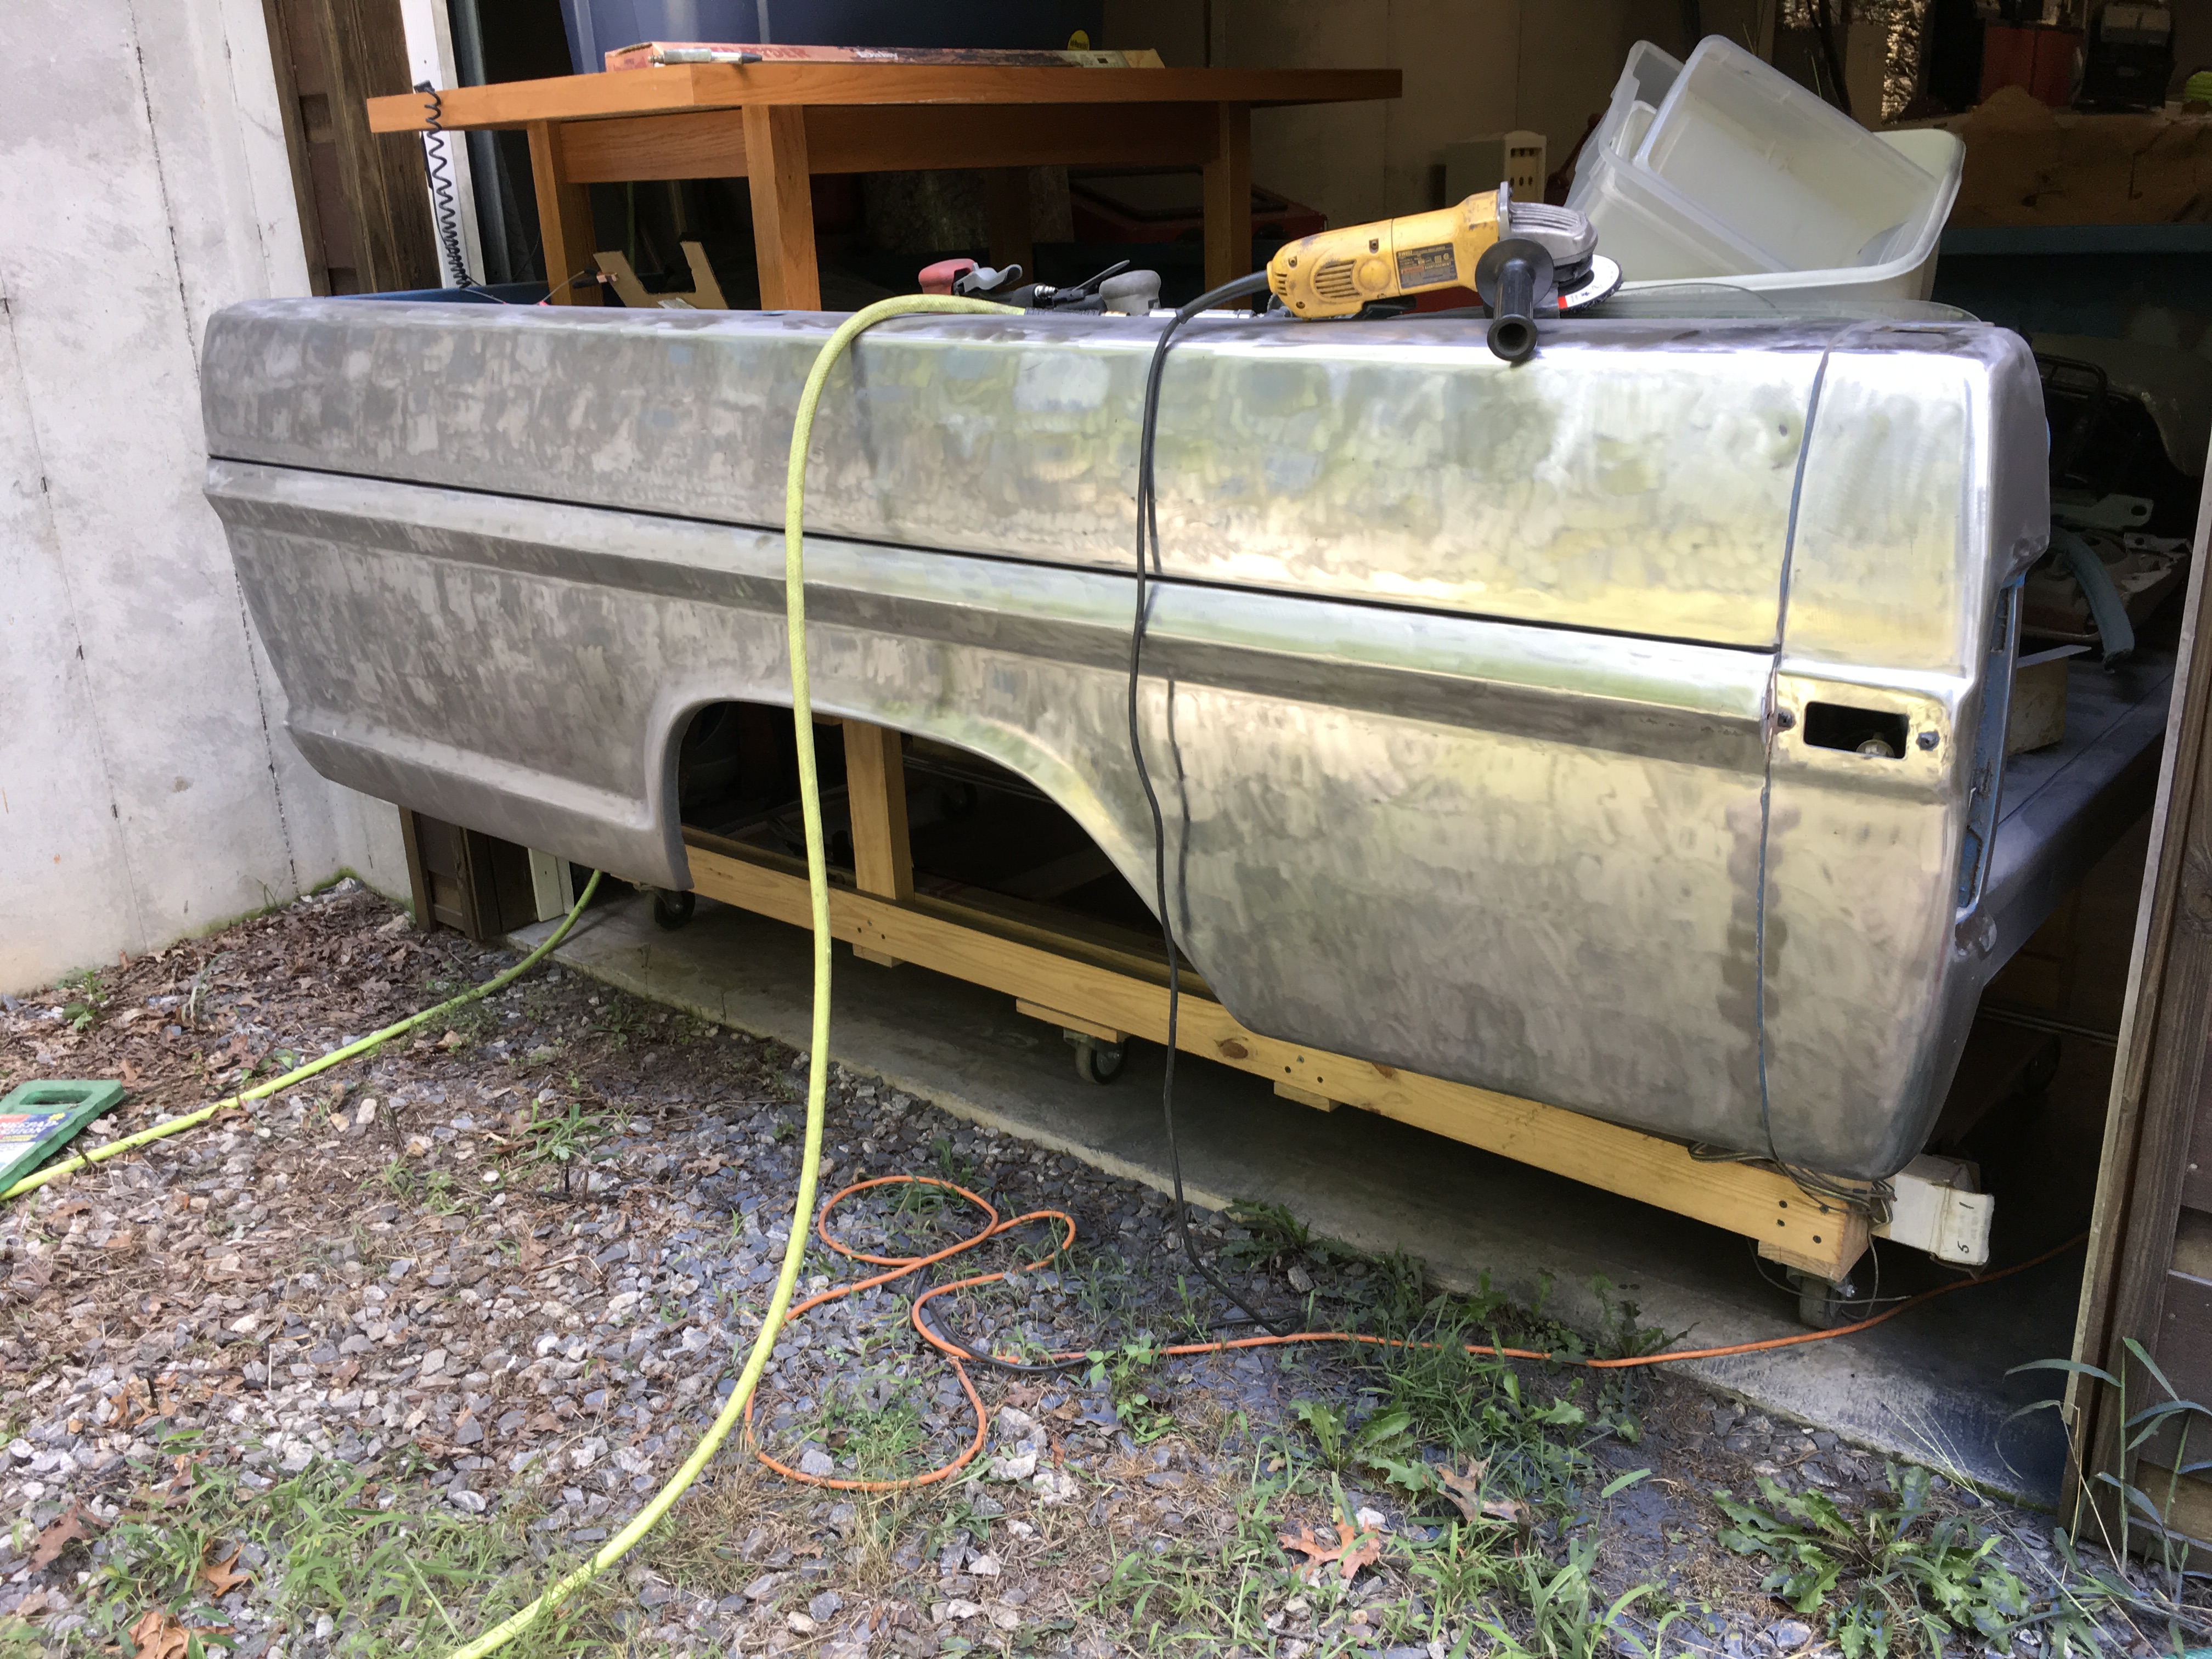
- jzjames
- 100% FORDified!

- Posts: 1785
- Joined: Sun Jan 09, 2005 2:59 pm
- Location: Washington, Windy Point
Re: Finally back around to my 72 F100
I know. It’s damn demoralizing when you spring the door like that. I did the same thing to one of my hobby cars last fall - a Honda CRX.
I also was able to get it straightened out, but it takes a lot of determination to follow through and not just abandon the whole thing.
All the work is very neat. Keep going and get that thing completed!
I also was able to get it straightened out, but it takes a lot of determination to follow through and not just abandon the whole thing.
All the work is very neat. Keep going and get that thing completed!
- sargentrs
- 100% FORDified!

- Posts: 9866
- Joined: Fri Jun 22, 2007 9:30 am
- Location: Georgia, Jasper
Re: Finally back around to my 72 F100
Great work! I feel your pain! I went wide open on mine for the first 3 years then life happened. Project's been stalled for 5 years now with no hope in the near future. Watching work like yours and other members keeps me motivated though. Keep us updated, I need the encouragement! 

Randy
1970 F100 Sport Custom Limited LWB, 302cid, 3 on the tree. NO A/C, NO P/S, NO P/B. Currently in 1000 pcs while rebuilding. Project thread: http://www.fordification.com/forum/view ... 22&t=59995 Plan: 351w, C4, LSD, pwr front disc, p/s, a/c, bucket seats, new interior and paint.
1987 F-150 XLT Lariat, 5.0/C6 auto.
- MAK
- Blue Oval Fan

- Posts: 529
- Joined: Tue Dec 21, 2004 9:35 am
- Location: Georgia, Blairsville - Florida, Flagler Beach
- Contact:
Re: Finally back around to my 72 F100
jZJames Always like the old CRXs. Do you have any pics posted of your work on it?
Sargentrs Watching the progress of others here helps me too. Not sure if it’s the encouragement of what mine might be able to look like again one day or the shame of having it sit so long with no progress
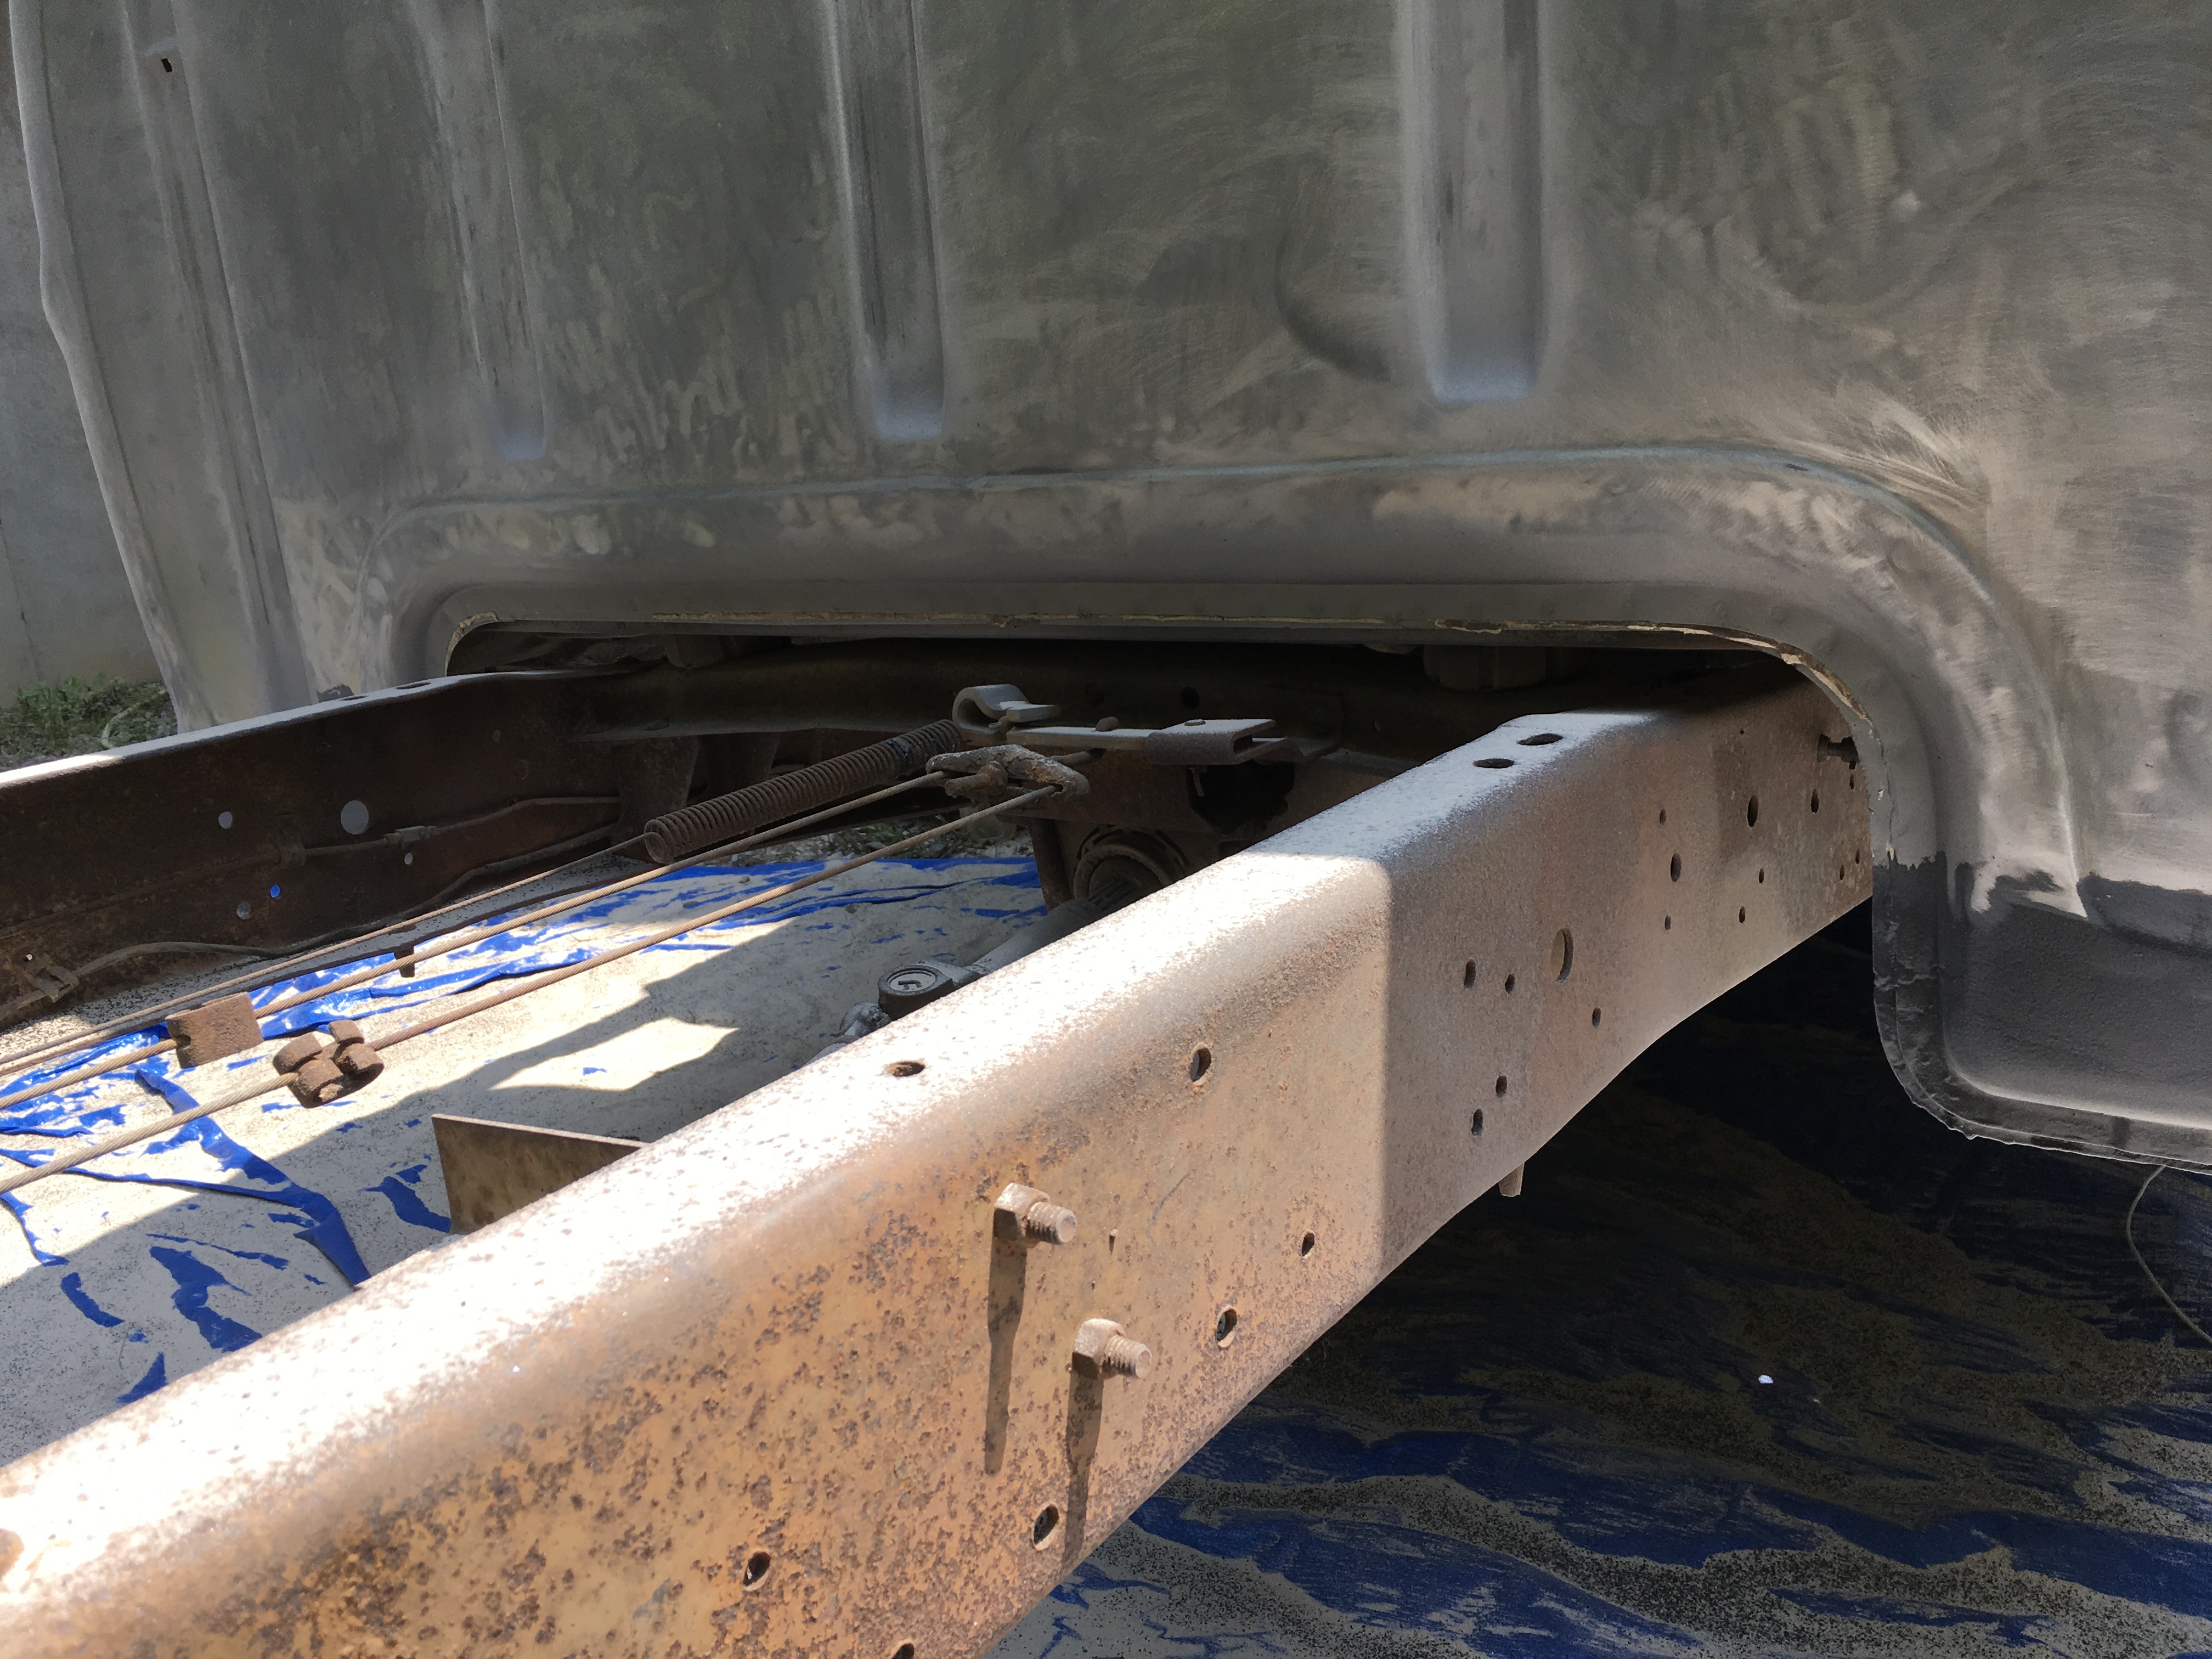
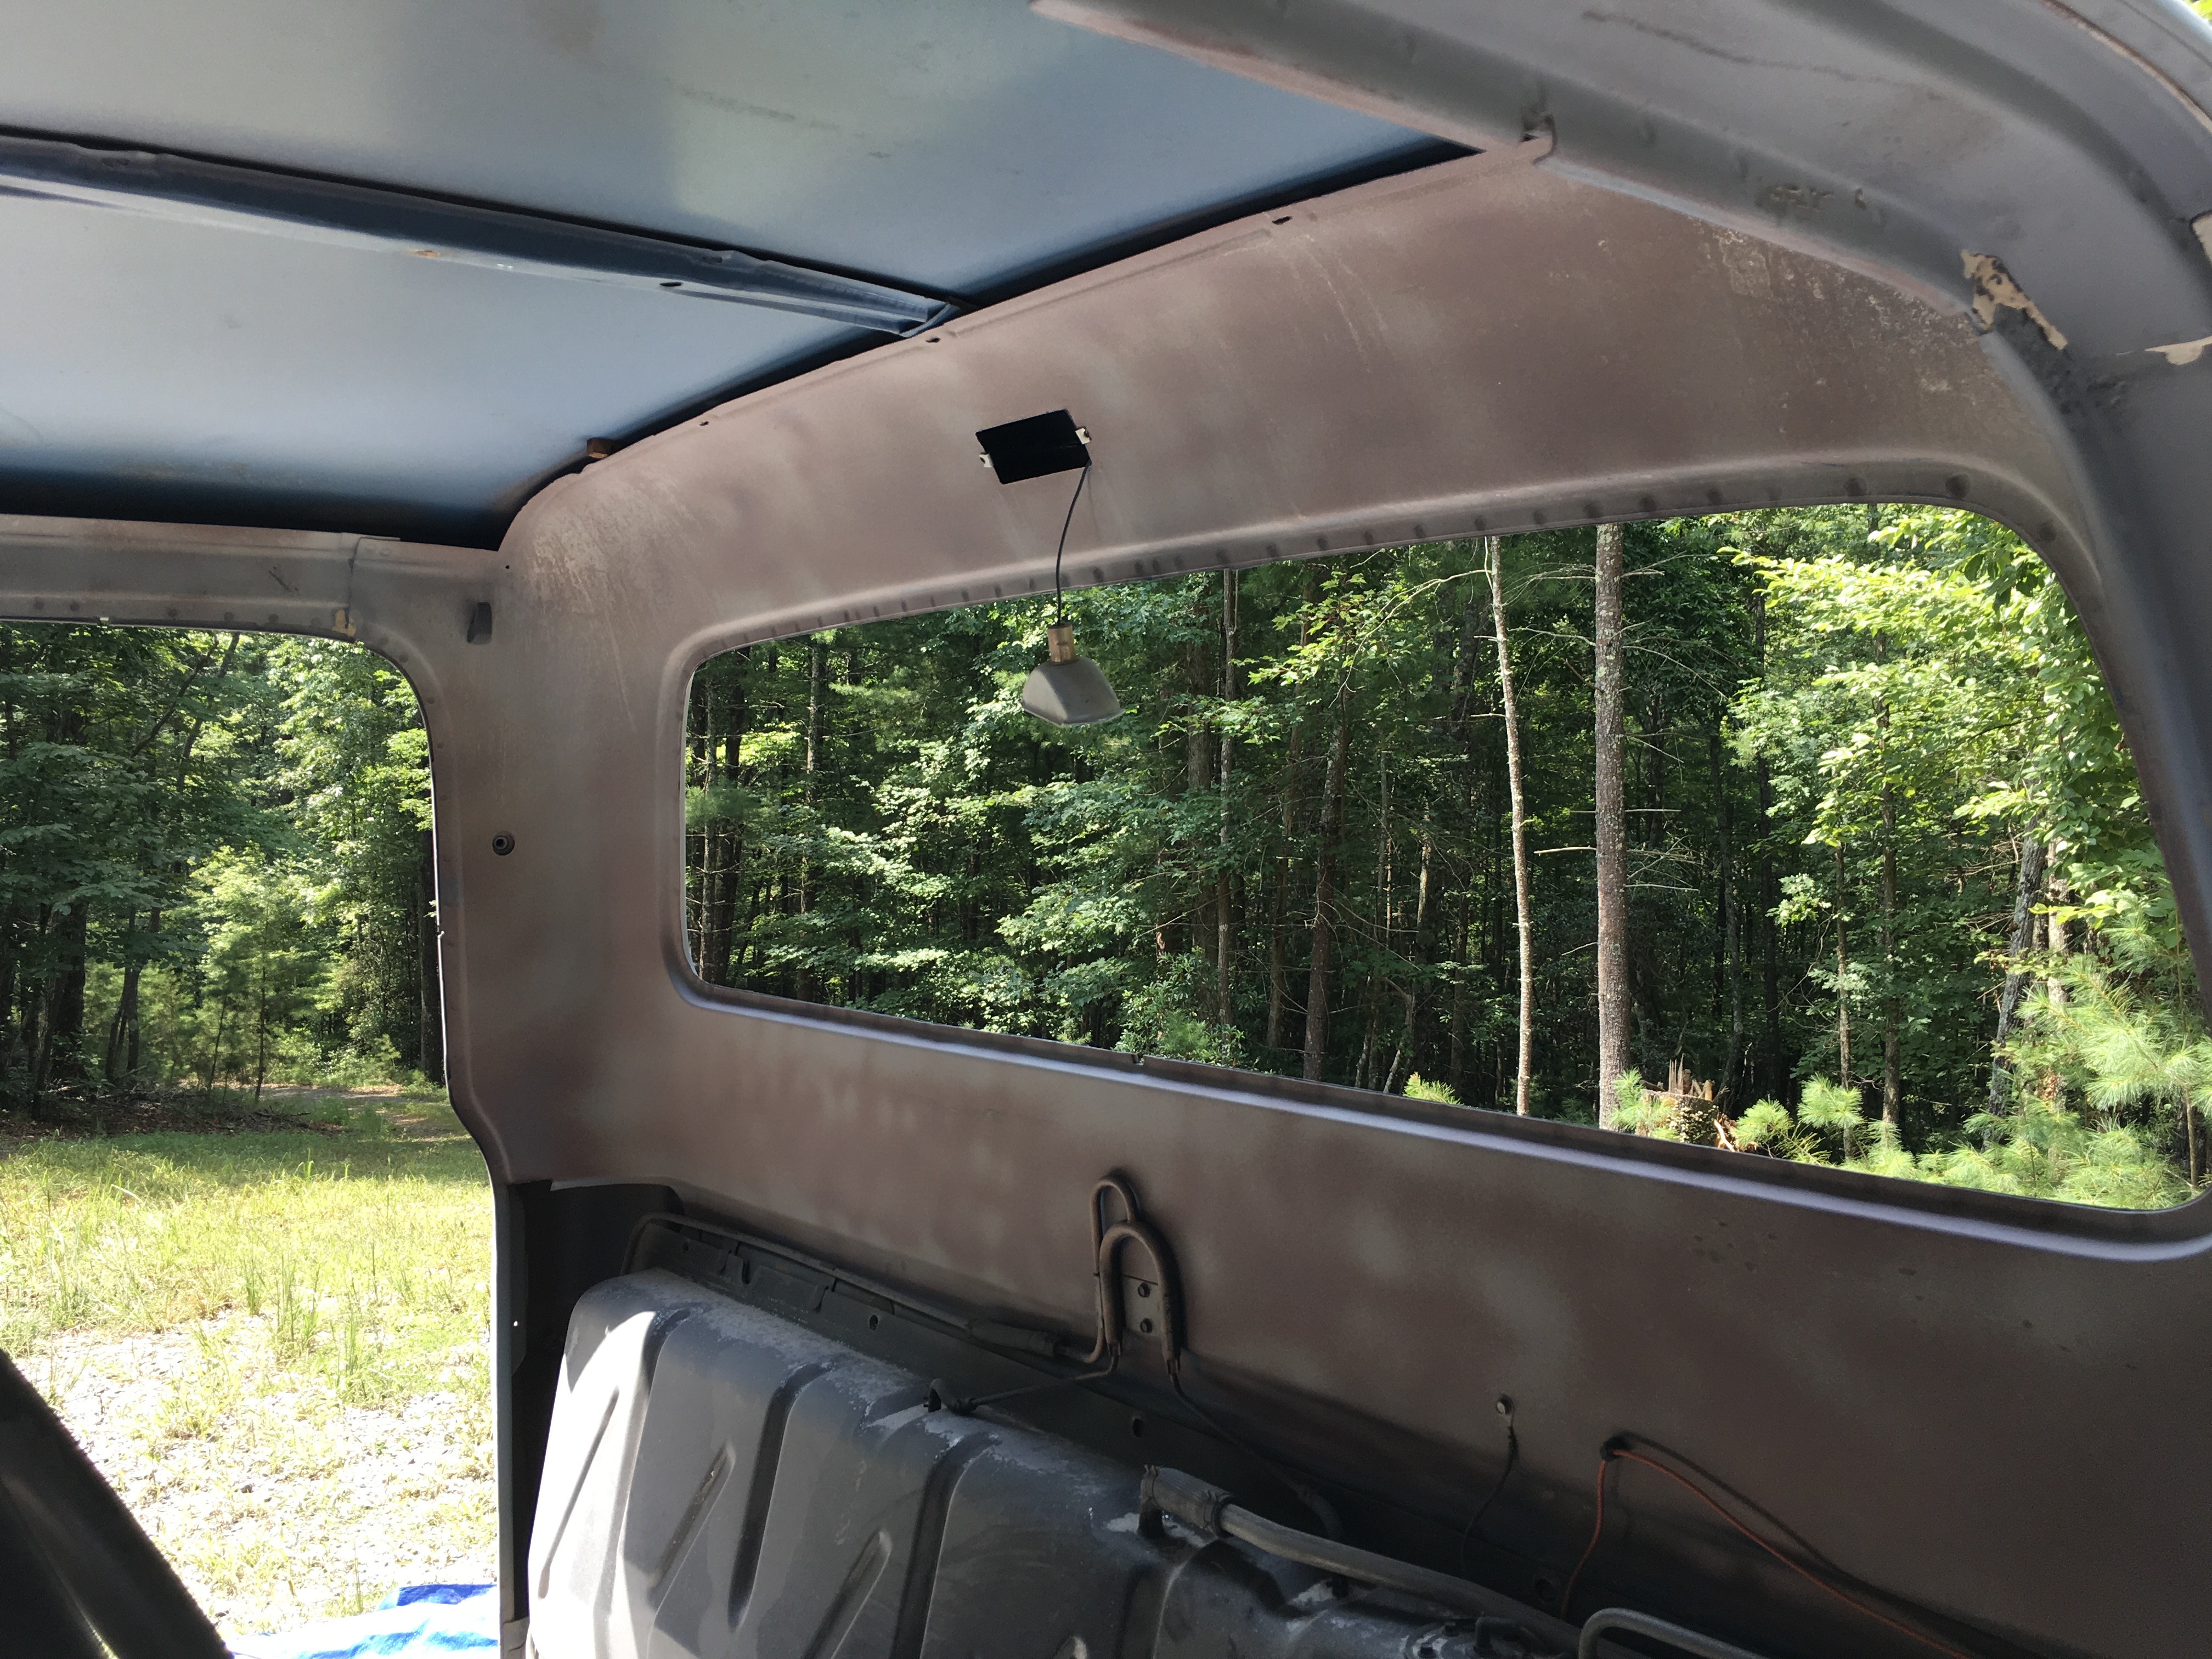
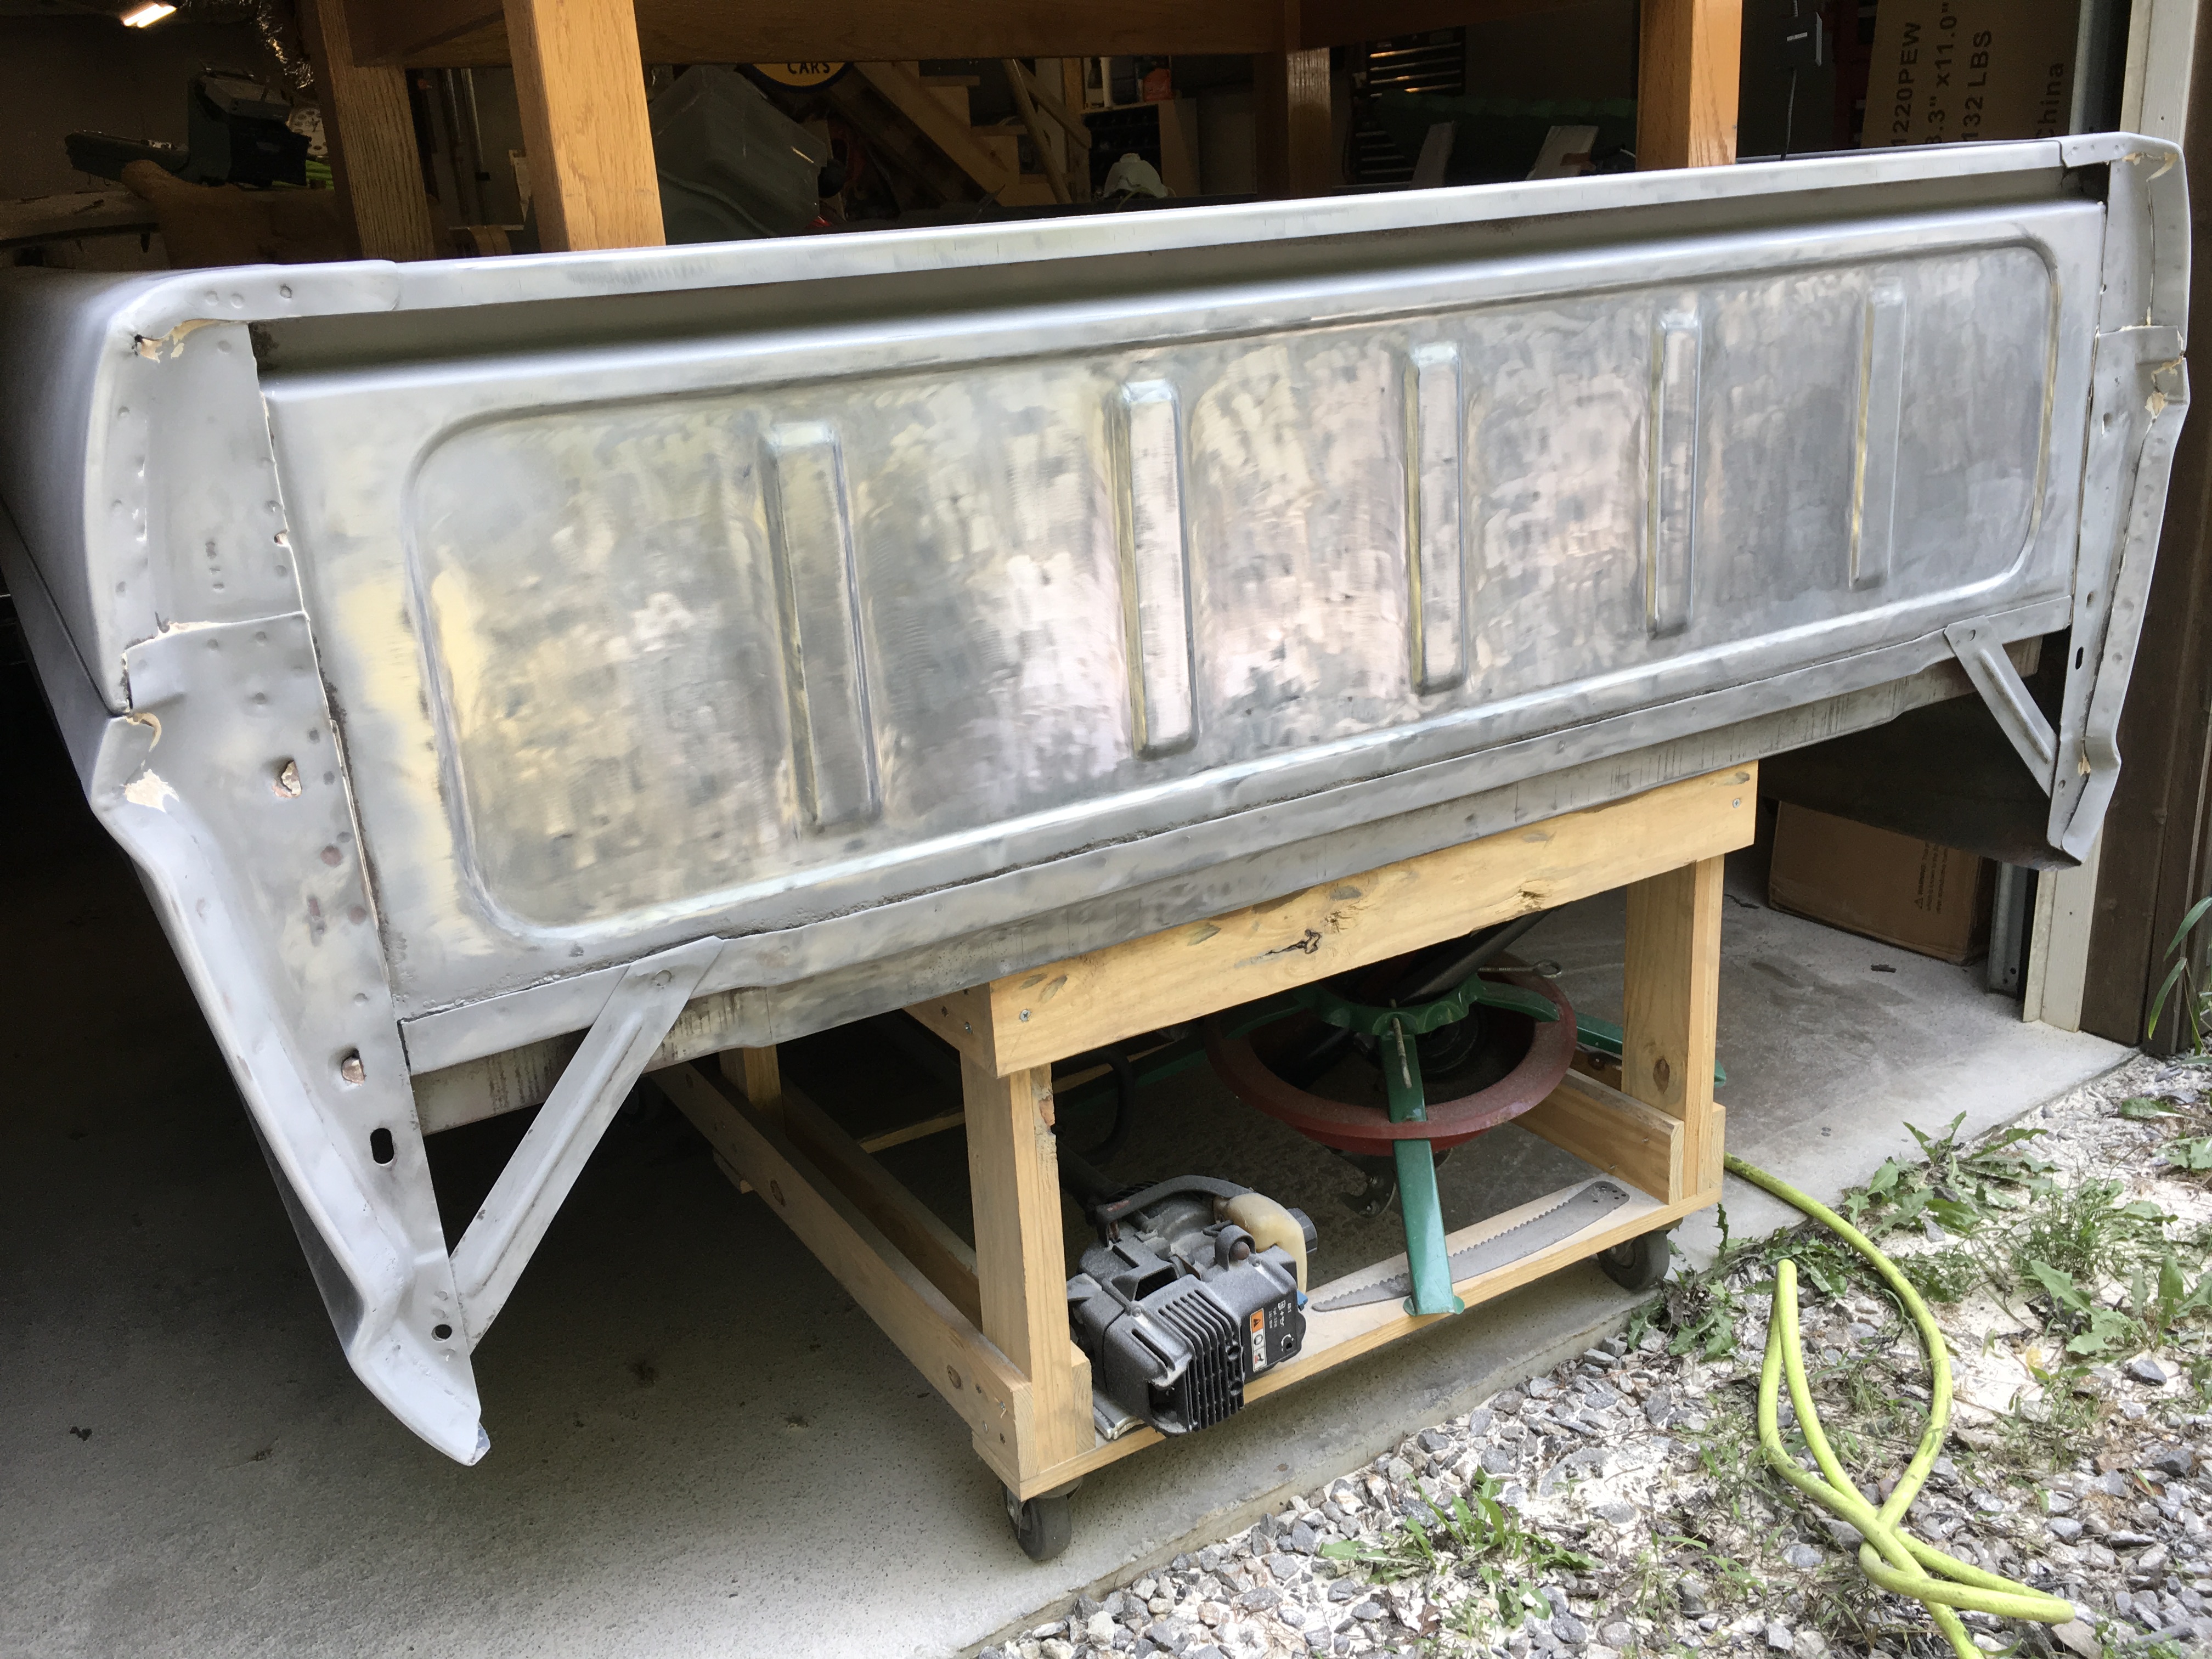
My hope is to get ii sprayed in epoxy primer in the next two to three weeks before we head back to Florida. We won’t be back up here until late Sept, and then hunting season will have my attention and it will be too cold to get any paint or filler work done. I got some sandblasting done earlier this week on the door jambs, nooks and crannies all over cab and front of bed, parts of interior, etc that I couldn’t get to with the wire wheel or resin stripping discs. I’ve got a few days worth of digging out the putty and seam sealer and cleaning drip rails, etc. Then have to sandblast those areas again and tackle stripping the underside of the hood. I’ve found a few more pinholes I’ll need to weld-up and then Ospho and wash the cab roof and hood where I have some flash rust that’s not sanding right off easily. I’m more optimistic than I was a couple weeks ago that I’ll have time to get it sprayed.
- MAK
- Blue Oval Fan

- Posts: 529
- Joined: Tue Dec 21, 2004 9:35 am
- Location: Georgia, Blairsville - Florida, Flagler Beach
- Contact:
Re: Finally back around to my 72 F100
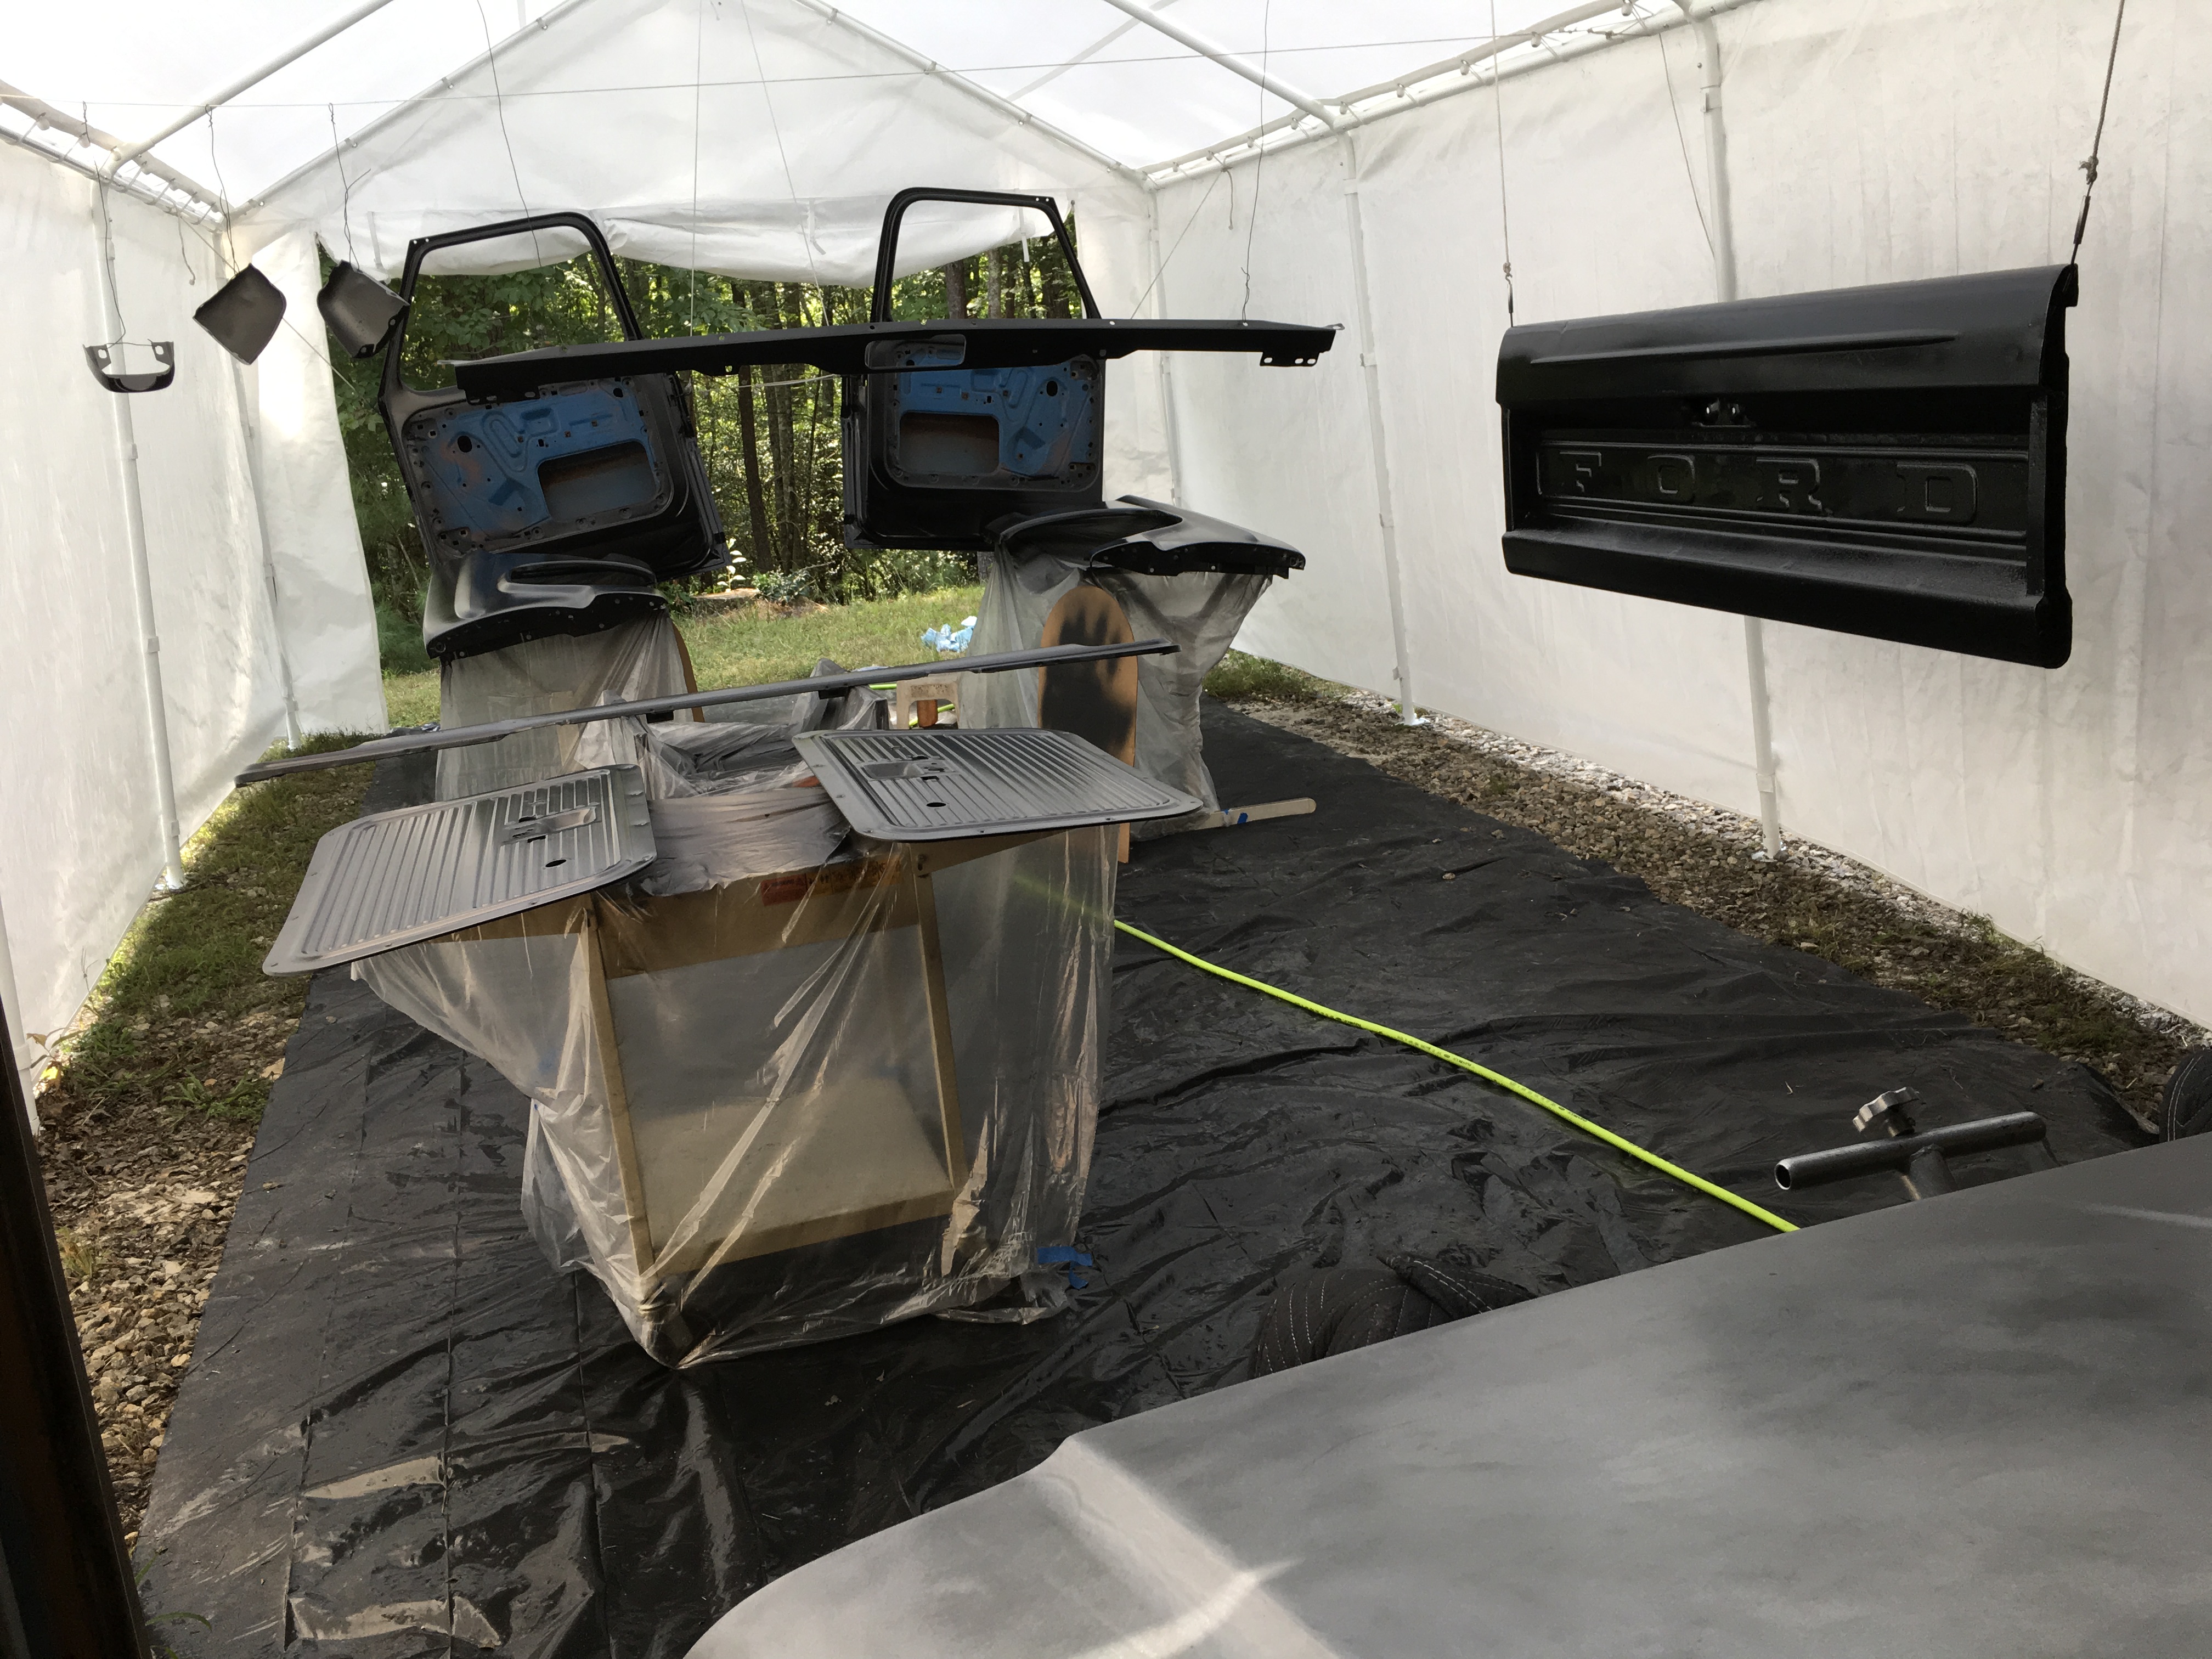
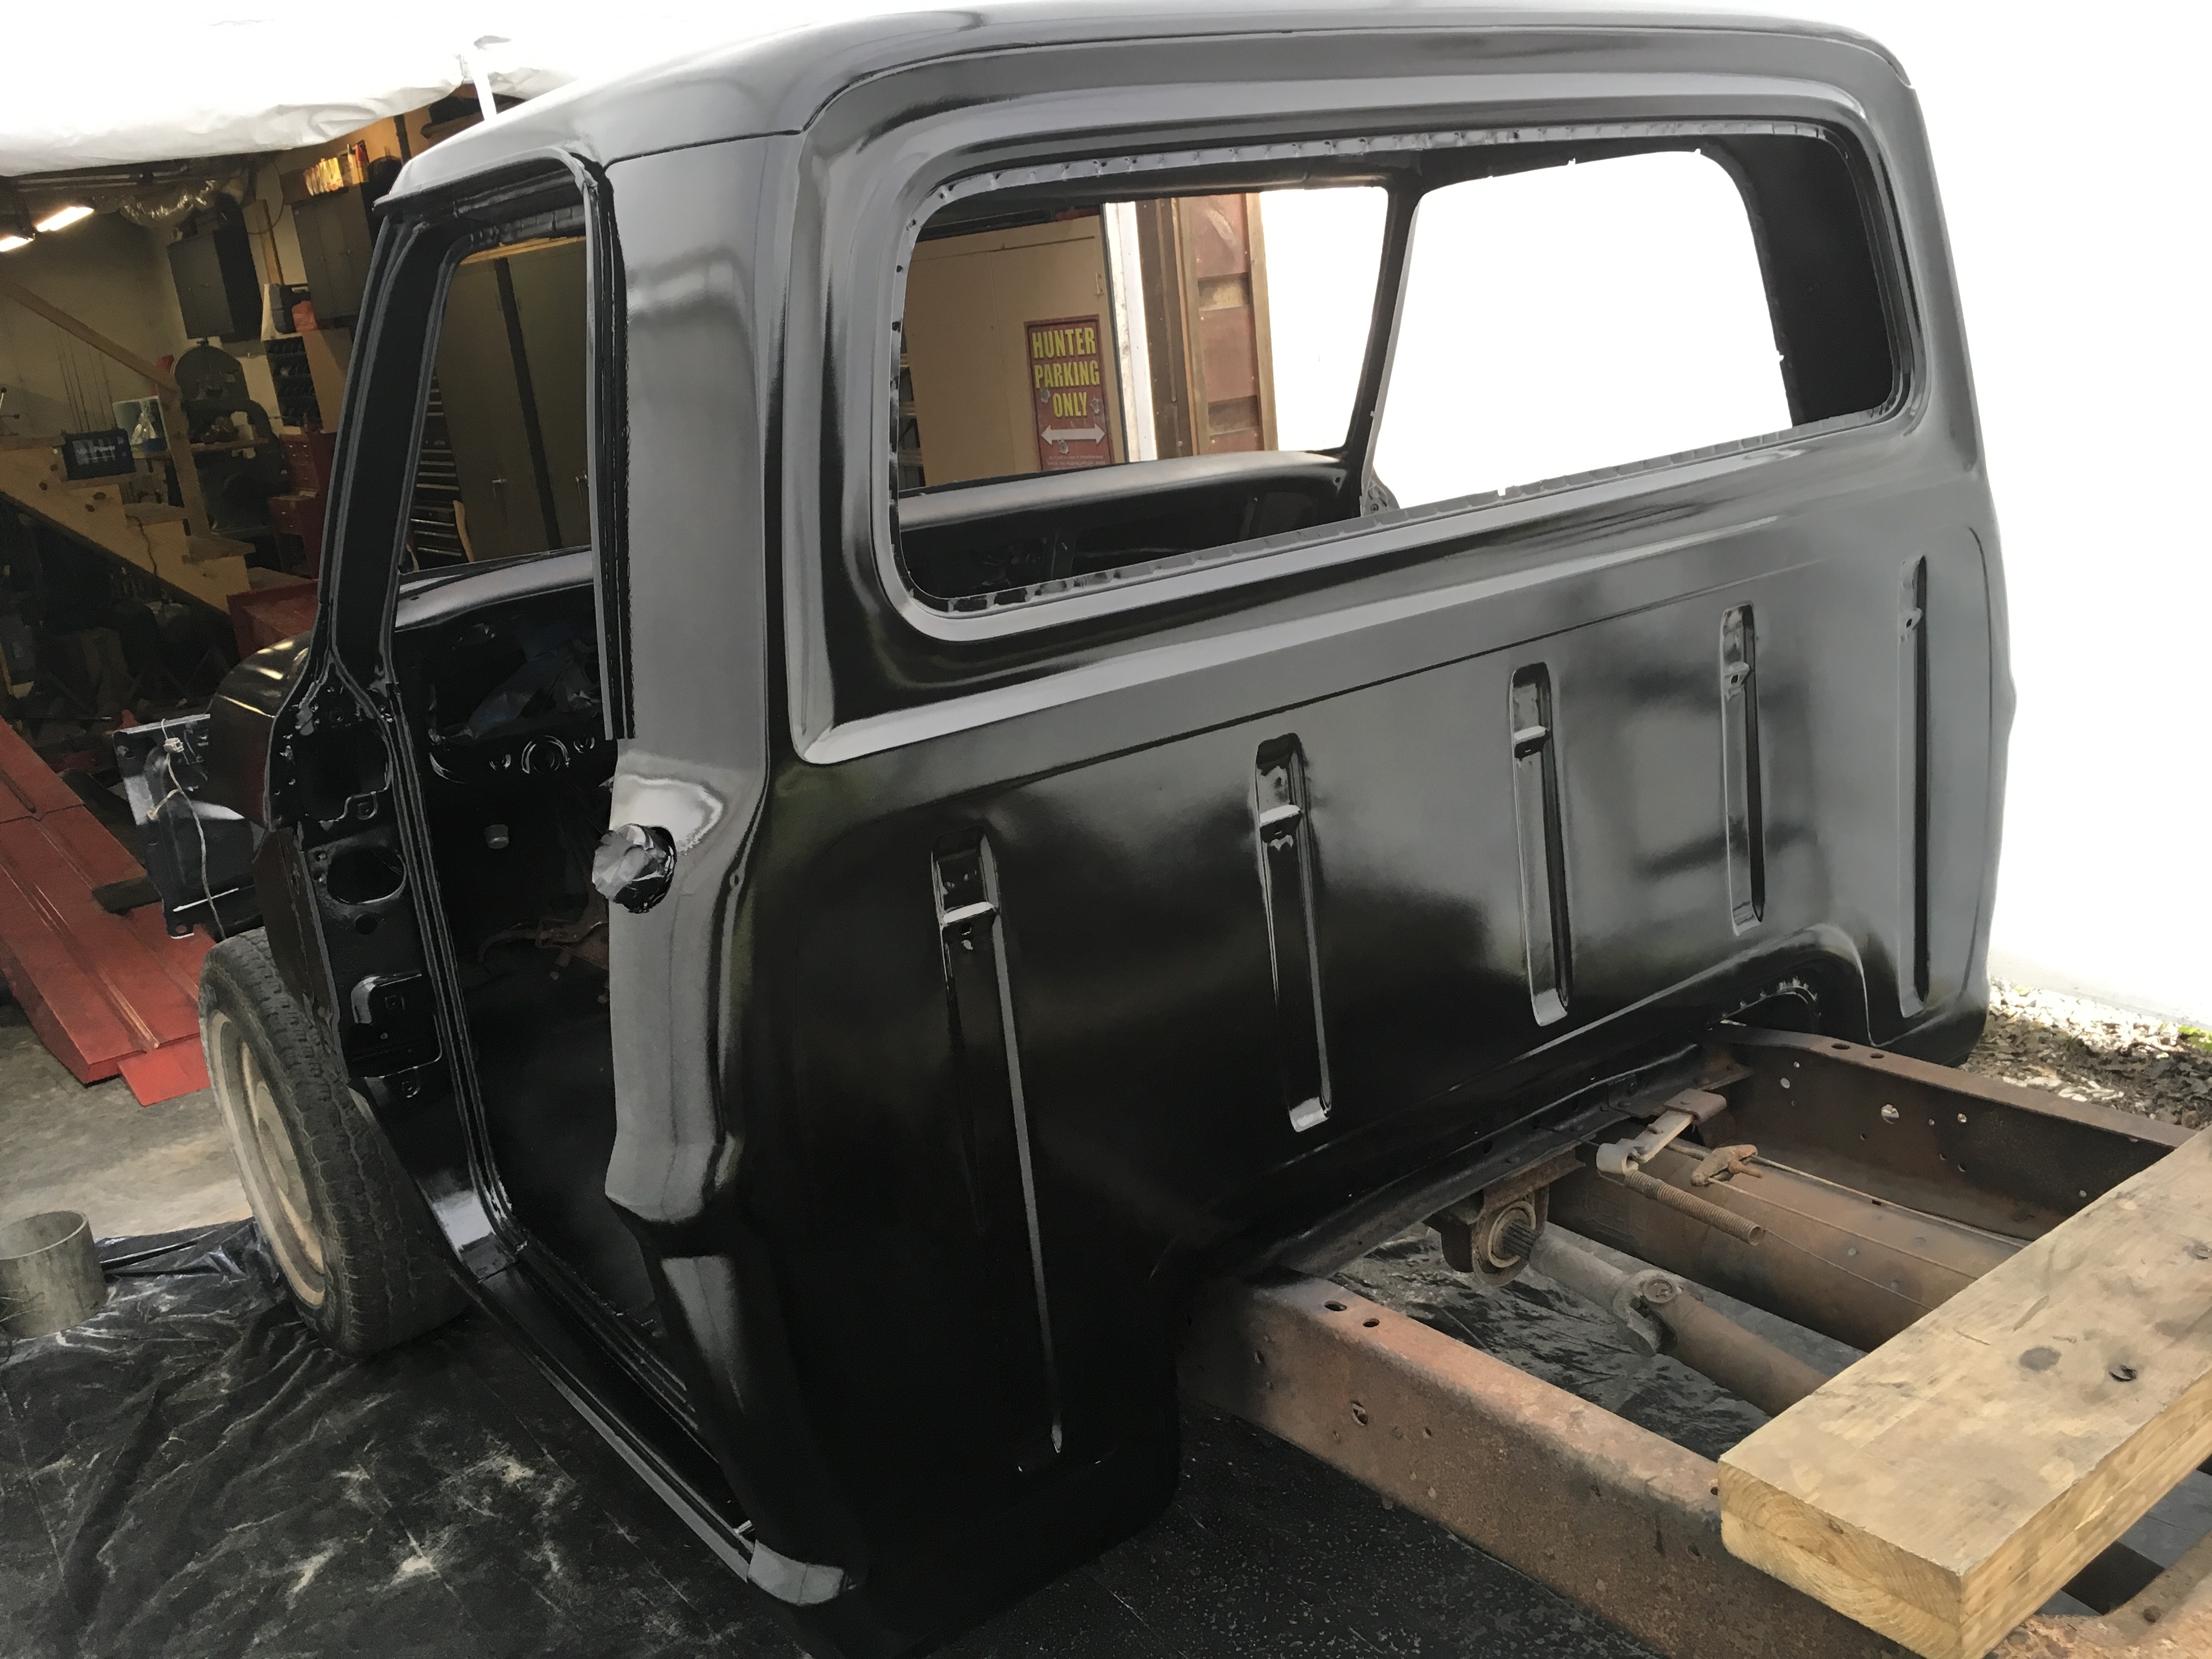
Finally got all the bare metal in epoxy primer after another few days of sanding and sandblasting areas the sander couldn’t get. Also spent a couple days patching some more pinholes discovered after paint removal and or sandblasting.  Unfortunately I was unable to finish the light bodywork that still needed to be done on a few spots with the hood and roof. I have one of the DentFix Shark dent pullers and it had just quit working at the worst time possible. I tested the switch myself and then sent the circuit board back to them as they said that had to be the problem. They got back to me and said it was working fine, so I was unable to avoid sending the whole dang heavy b@5tard back... $98.00 ouch! So, will have to sand some of that primer off at a later time and work on pulling those dents. Nothing bad but trying to keep my layers of filler to 1/16” or less.
Made another stupid mistake. Wife was out of town and even though I knew better I tried to flip over the hood by myself so I could sand and blast off the paint from the underside. I had it laying flat on the rear of the truck frame and as I got it tipped up vertical it became unbalanced because of the weight/shape of the leading edge and got away from me... Came crashing down and the underside of the leading edge hit the truck frame and made a nice dent. Makes me sick. Just creating more work for myself where there was a perfectly straight panel.
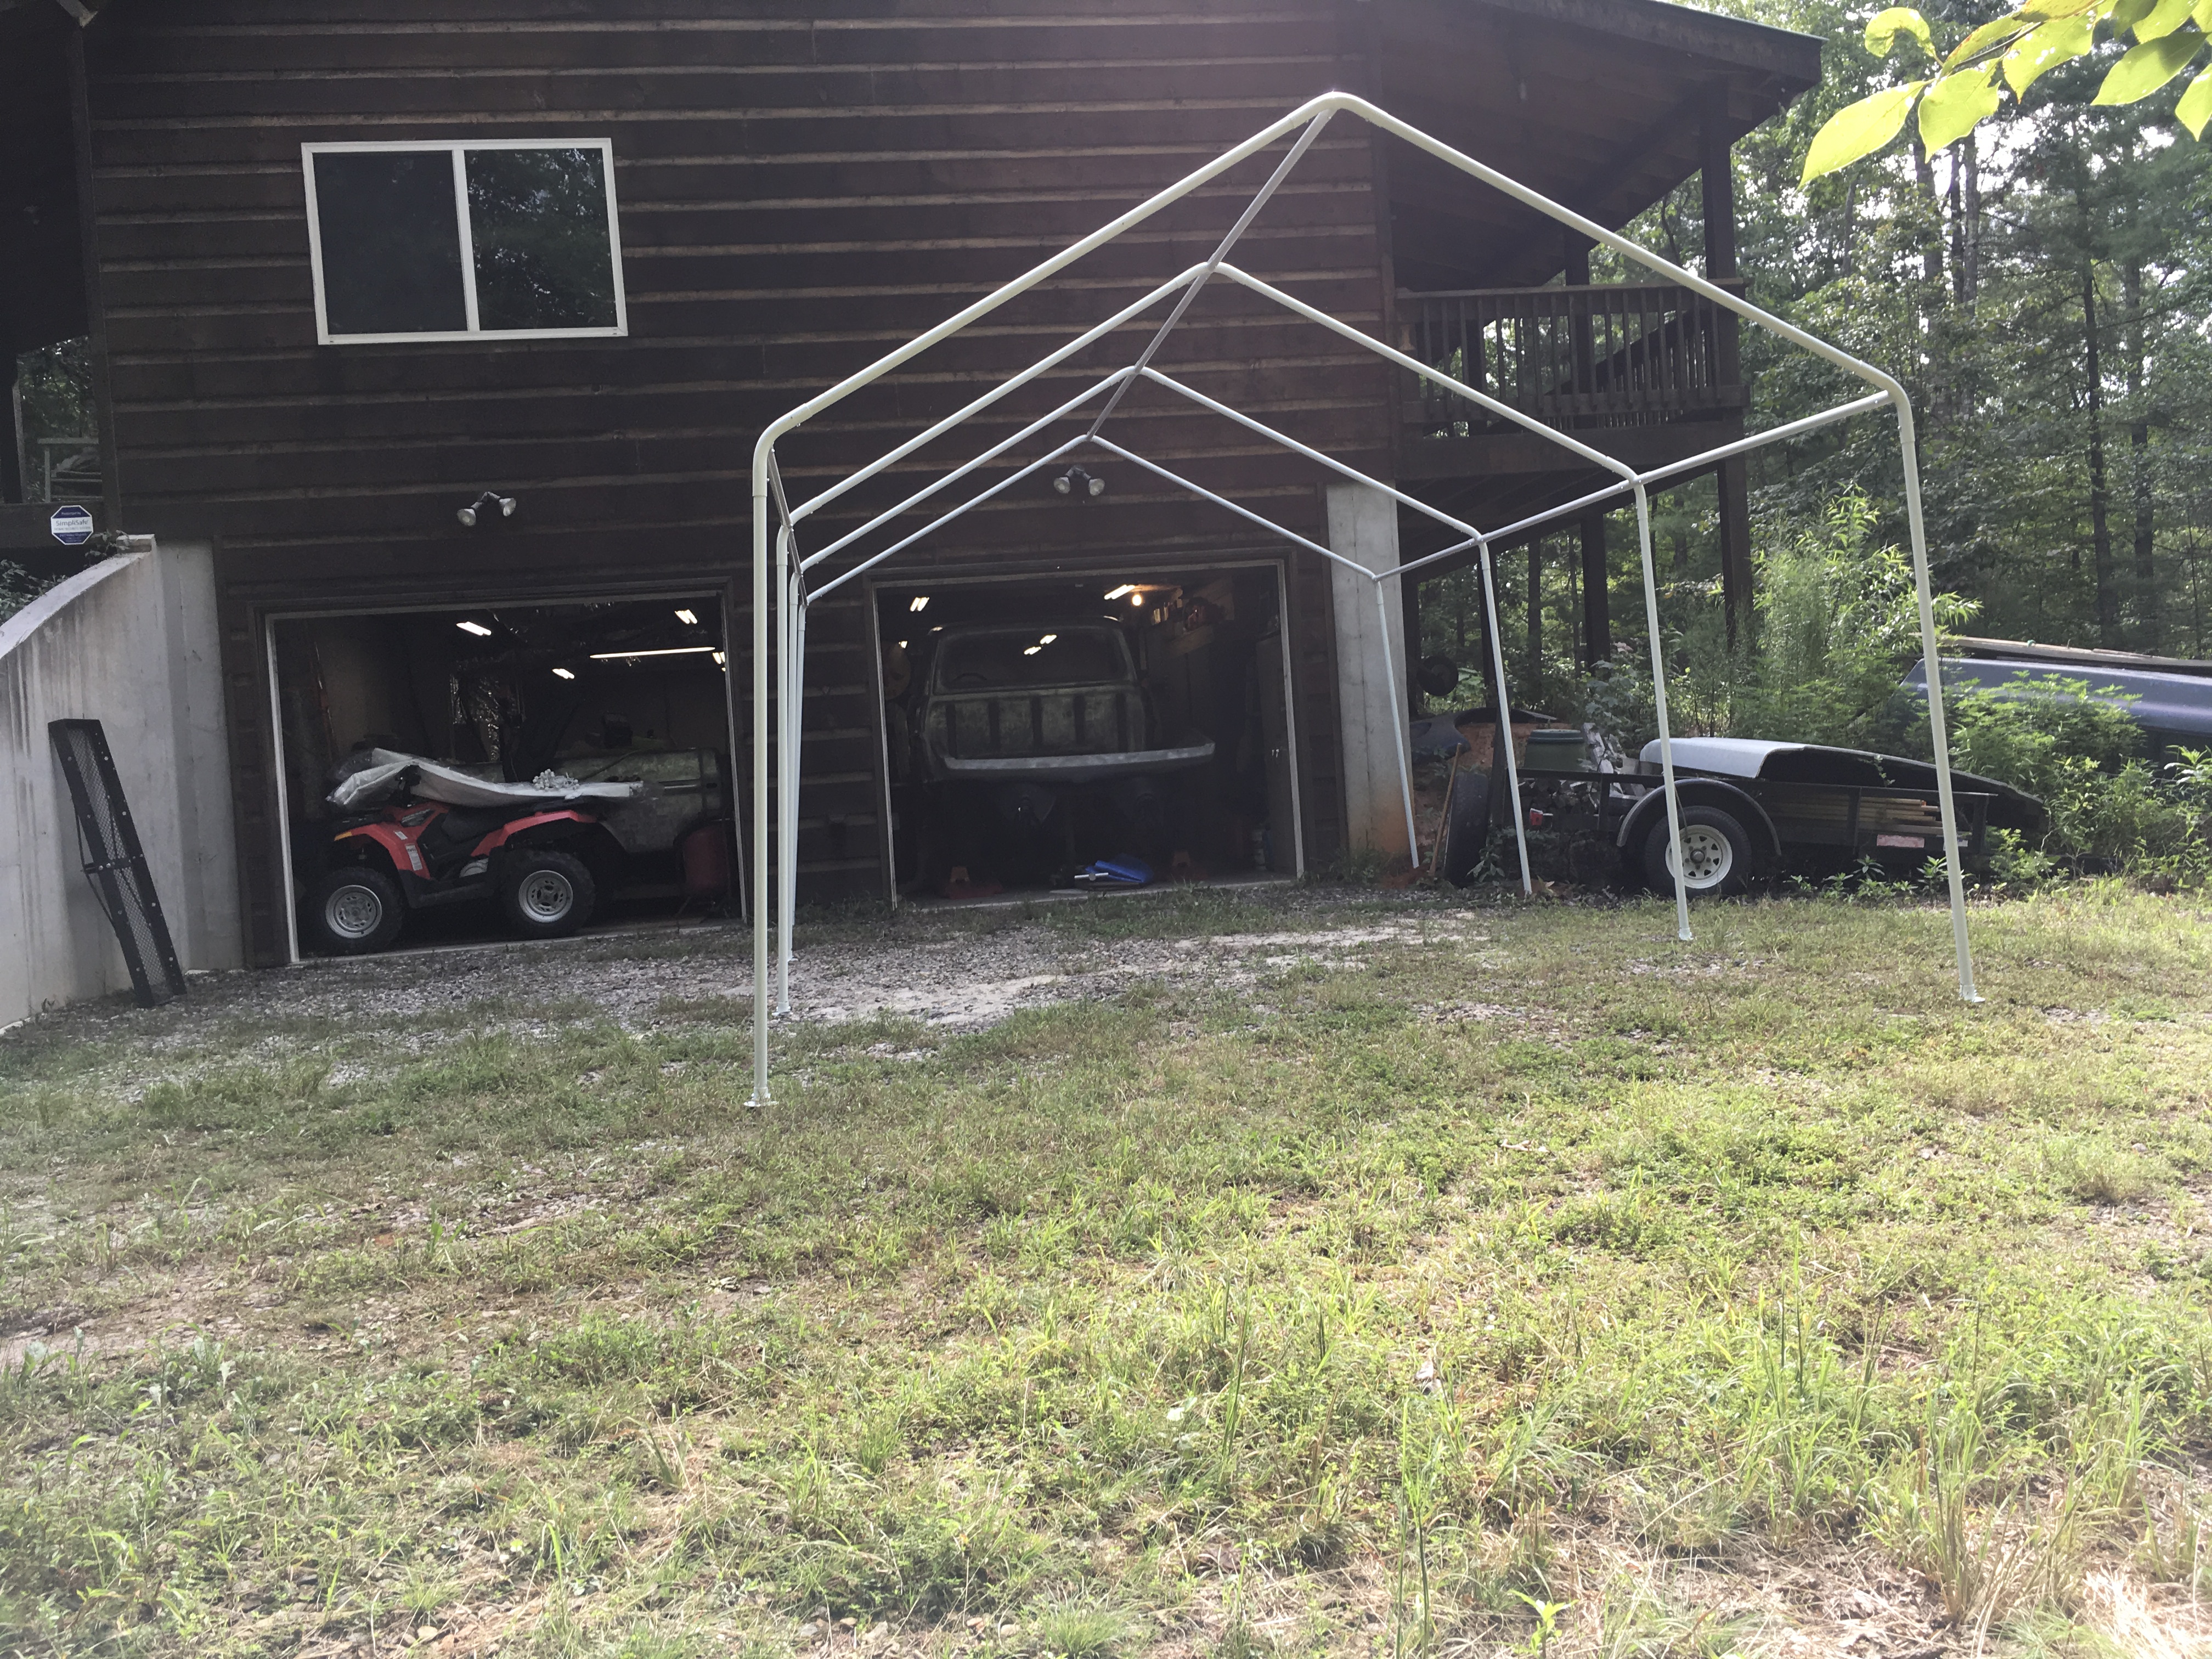
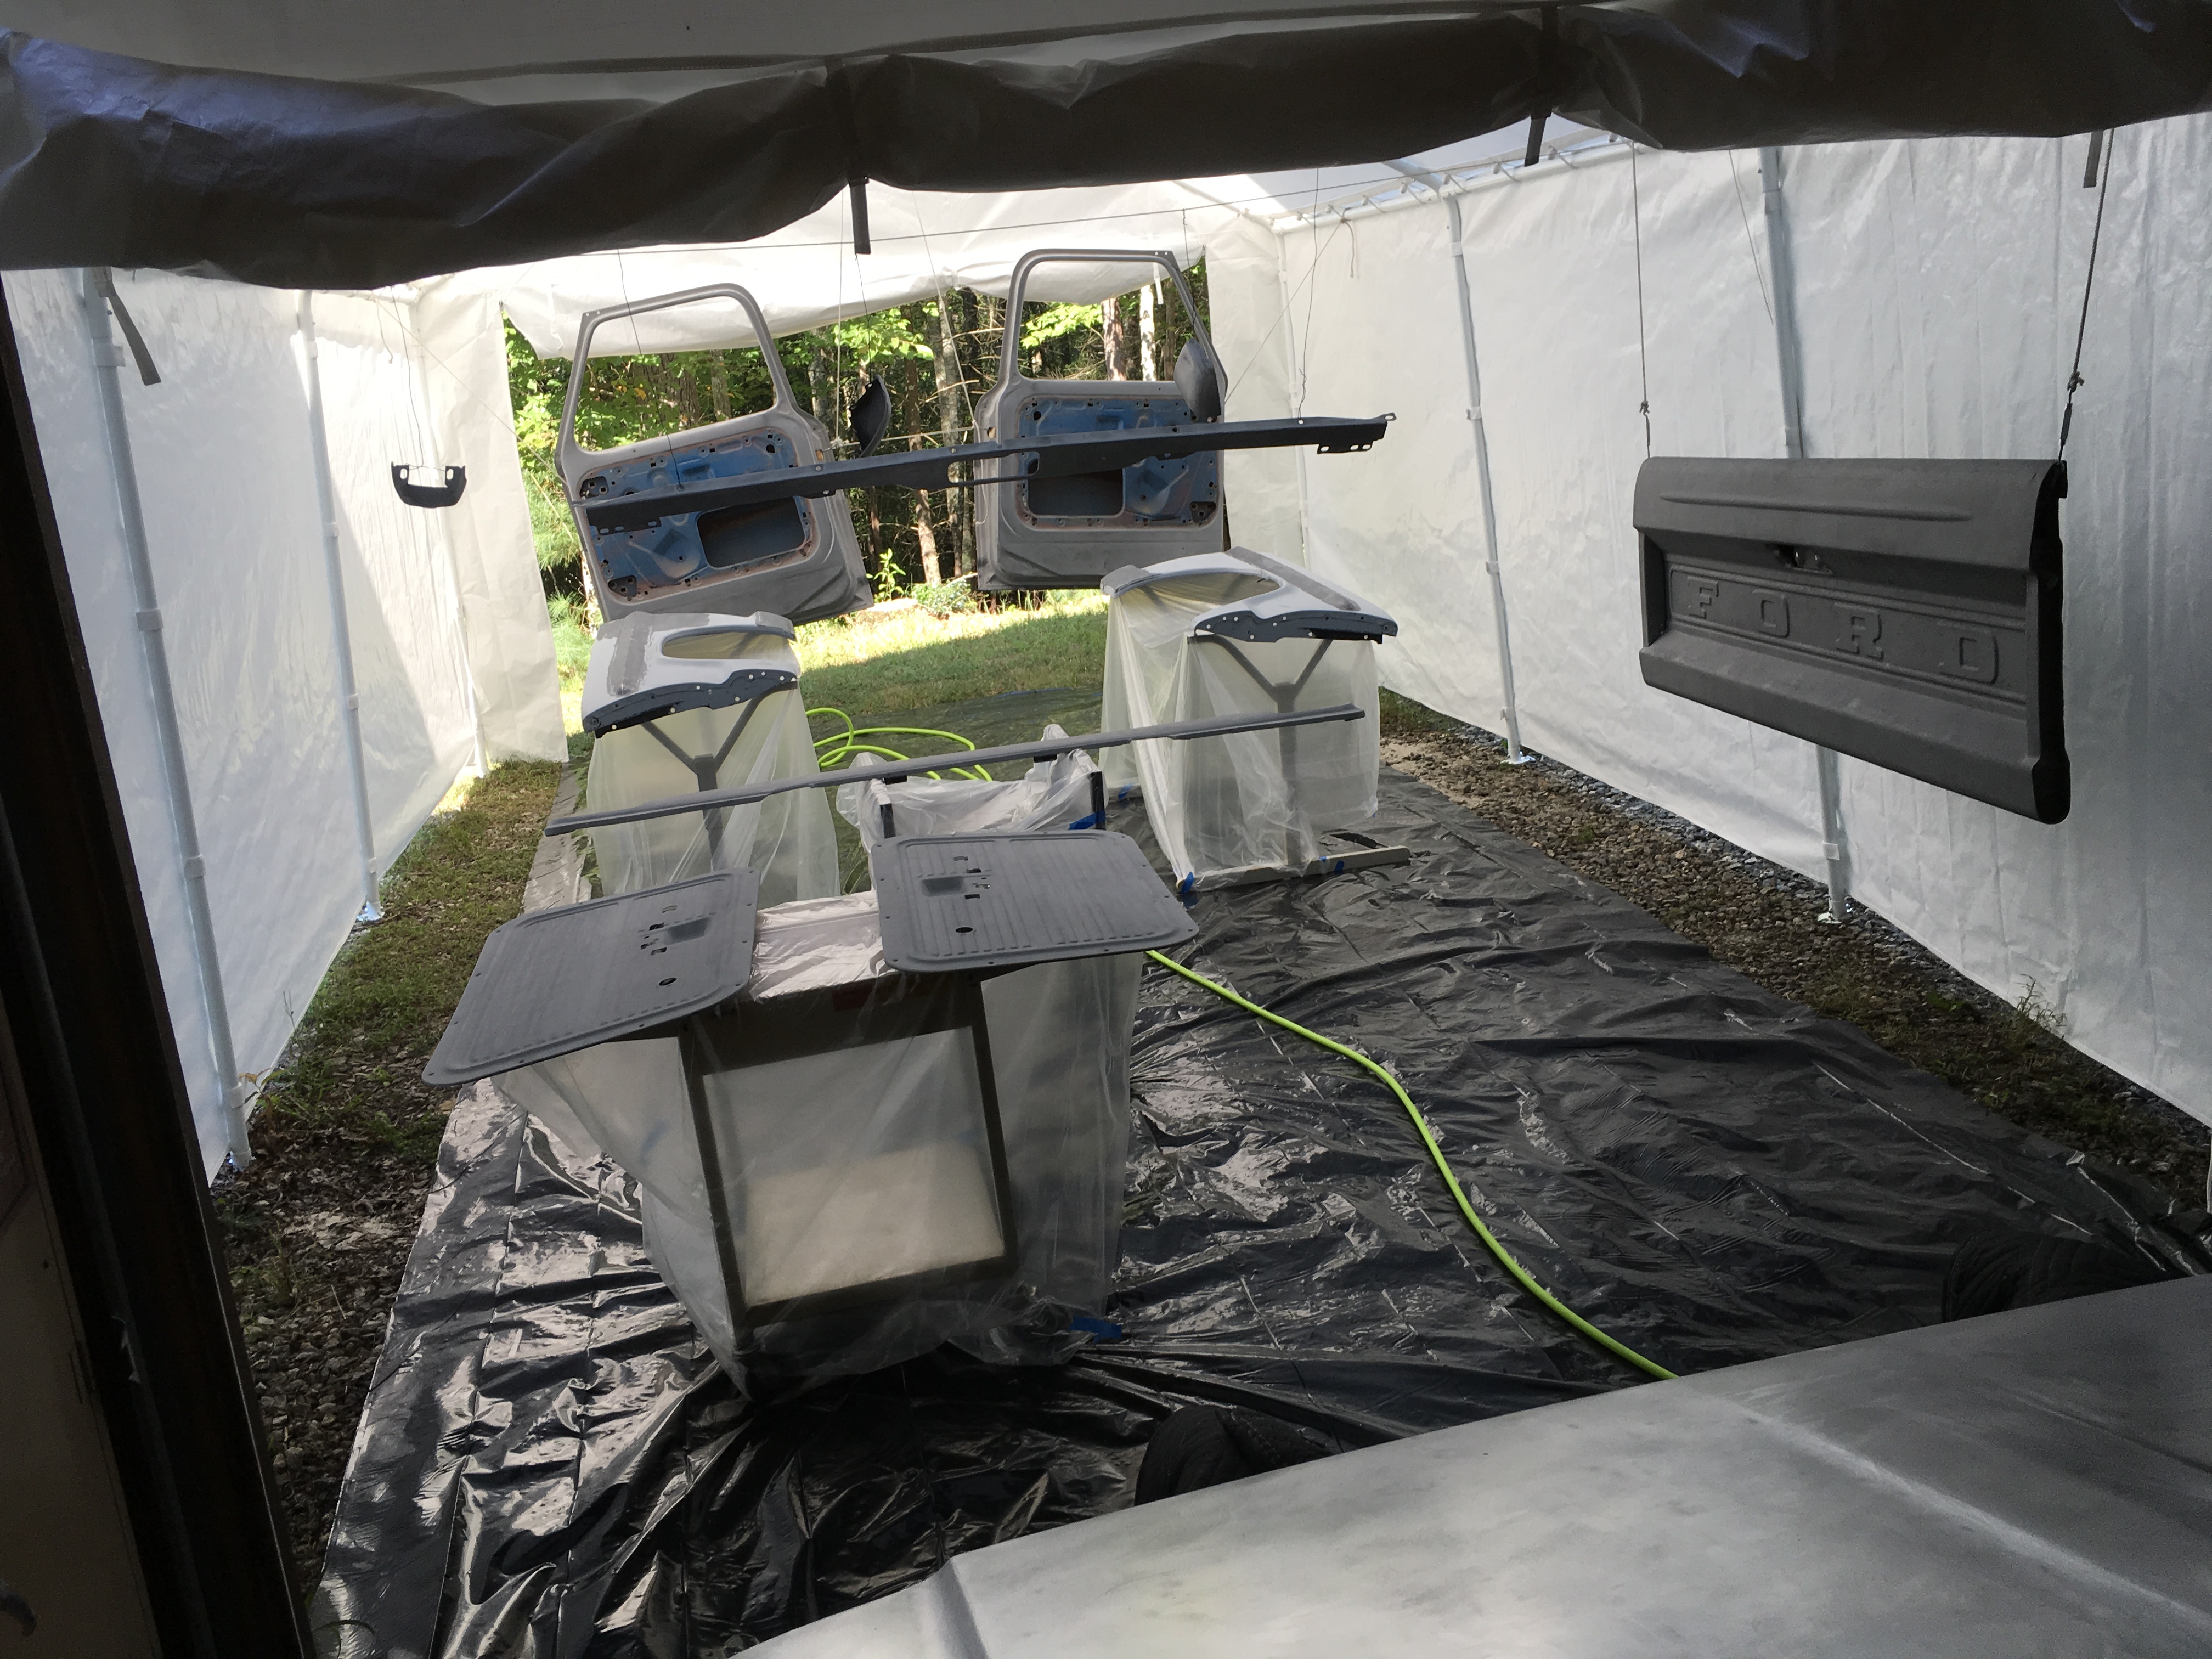
I bought a 12x20 canopy/tent to use for spraying. Grabbed it on sale at Amazon last month. It proved solid and stable enough to hoist up the doors and hood without a problem. Will have to figure out a different cleaner solution when I finally get around to the top coat, but that is still way down the road.
As always, prep is the most time consuming aspect. Each day I spent at least 5-6 hours prior to actually spraying with the monotonous wipe-down with wax & grease remover and setup/positioning of panels, etc.
Should have sanded after the first coat but didnt have time to stretch it out another week. It’s has lots of fuzz all over the sandblasted areas. The special wipes used with wax and grease remover leave fuzzies all over the surface. Some can be seen, some can’t until it’s sprayed... followed the areas with a red scotchbrite and that helped get a lot of the fuzz off beforehand, but not enough. Pops right up after the paint hits it. It has to be block sanded anyway just to find the remaining low spots that need filler and will need a final coat later so I’m not worried about it. Sweated-out about 4 lbs a day wearing that damn tyvek bunny suit. The roof was really hard to get to. Will have to use scaffolds when doing the final coat. Twice I dripped sweat on a panel and that then makes a huge mess when the paint hits...
We’re headed back to Fl for a month and then hunting season will have me distracted in addition to the cold weather preventing further epoxy spraying. I guess I really need to pull that engine out now before I get close to reassembling the front and closer to a top coat. Will need to be freshened up at the least, and a full-blown rebuild if I get motivated. At least I finally made a little forward movement even if it will be a while before my next spurt of progress.
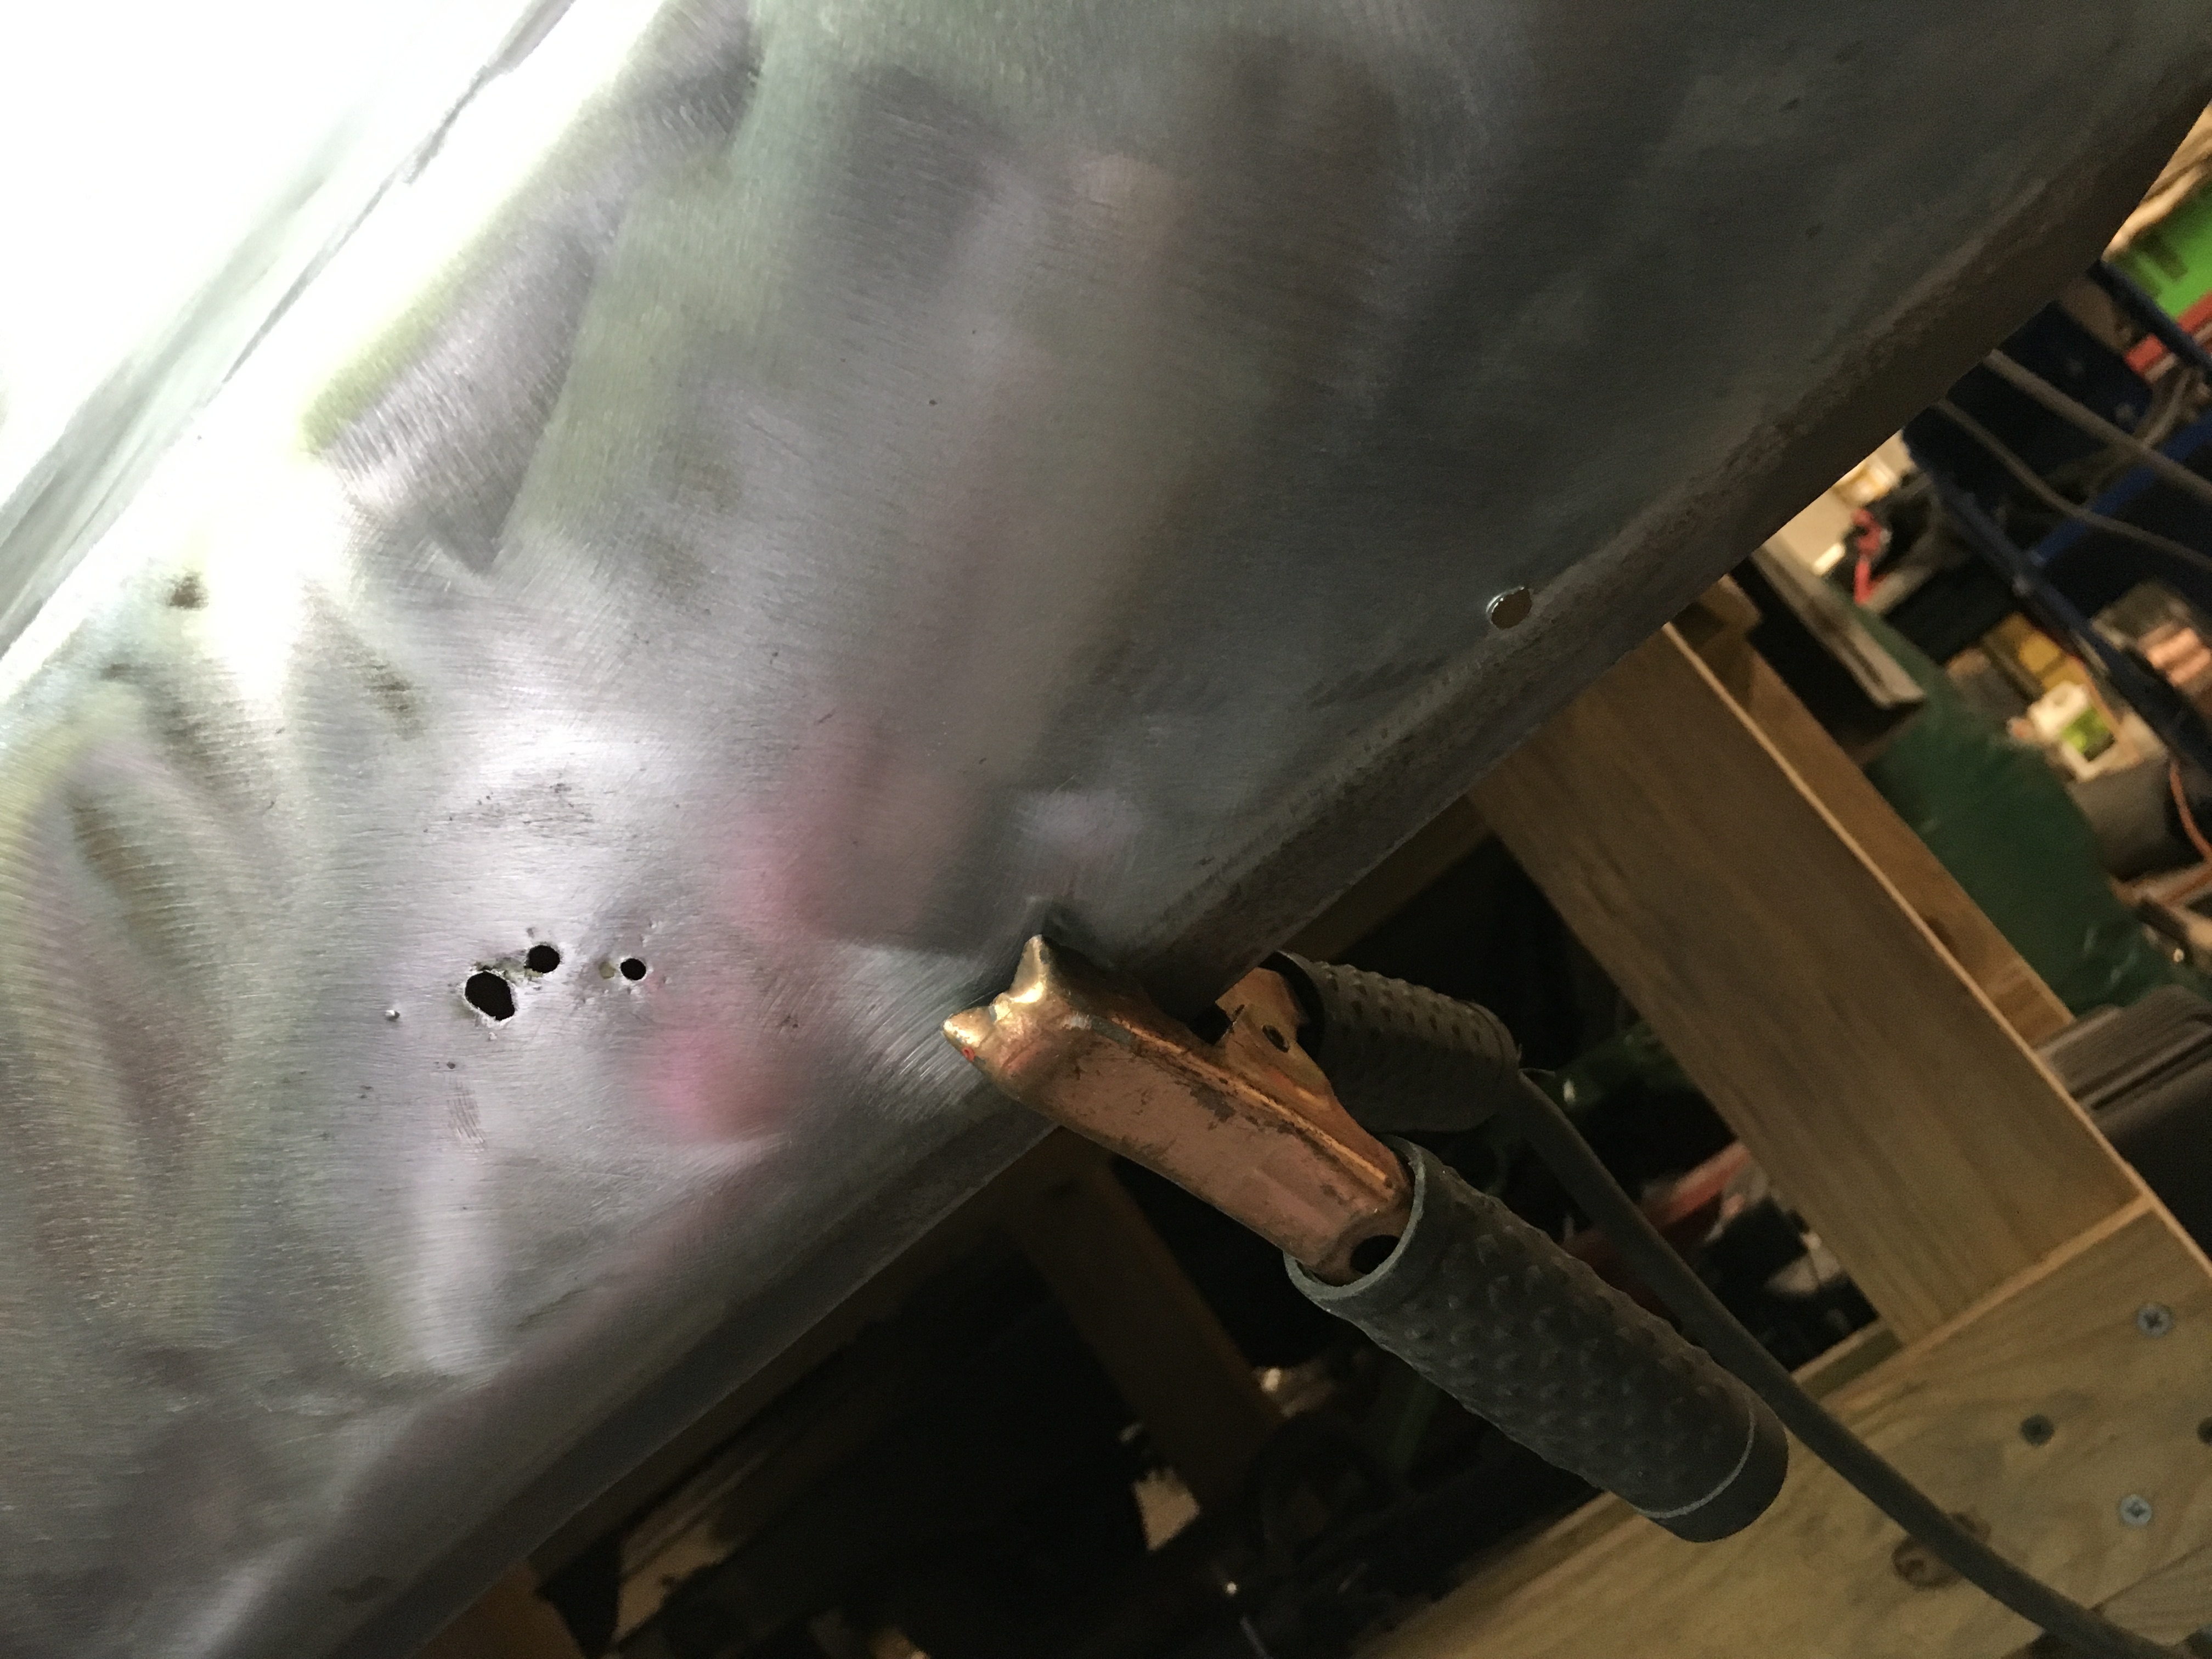
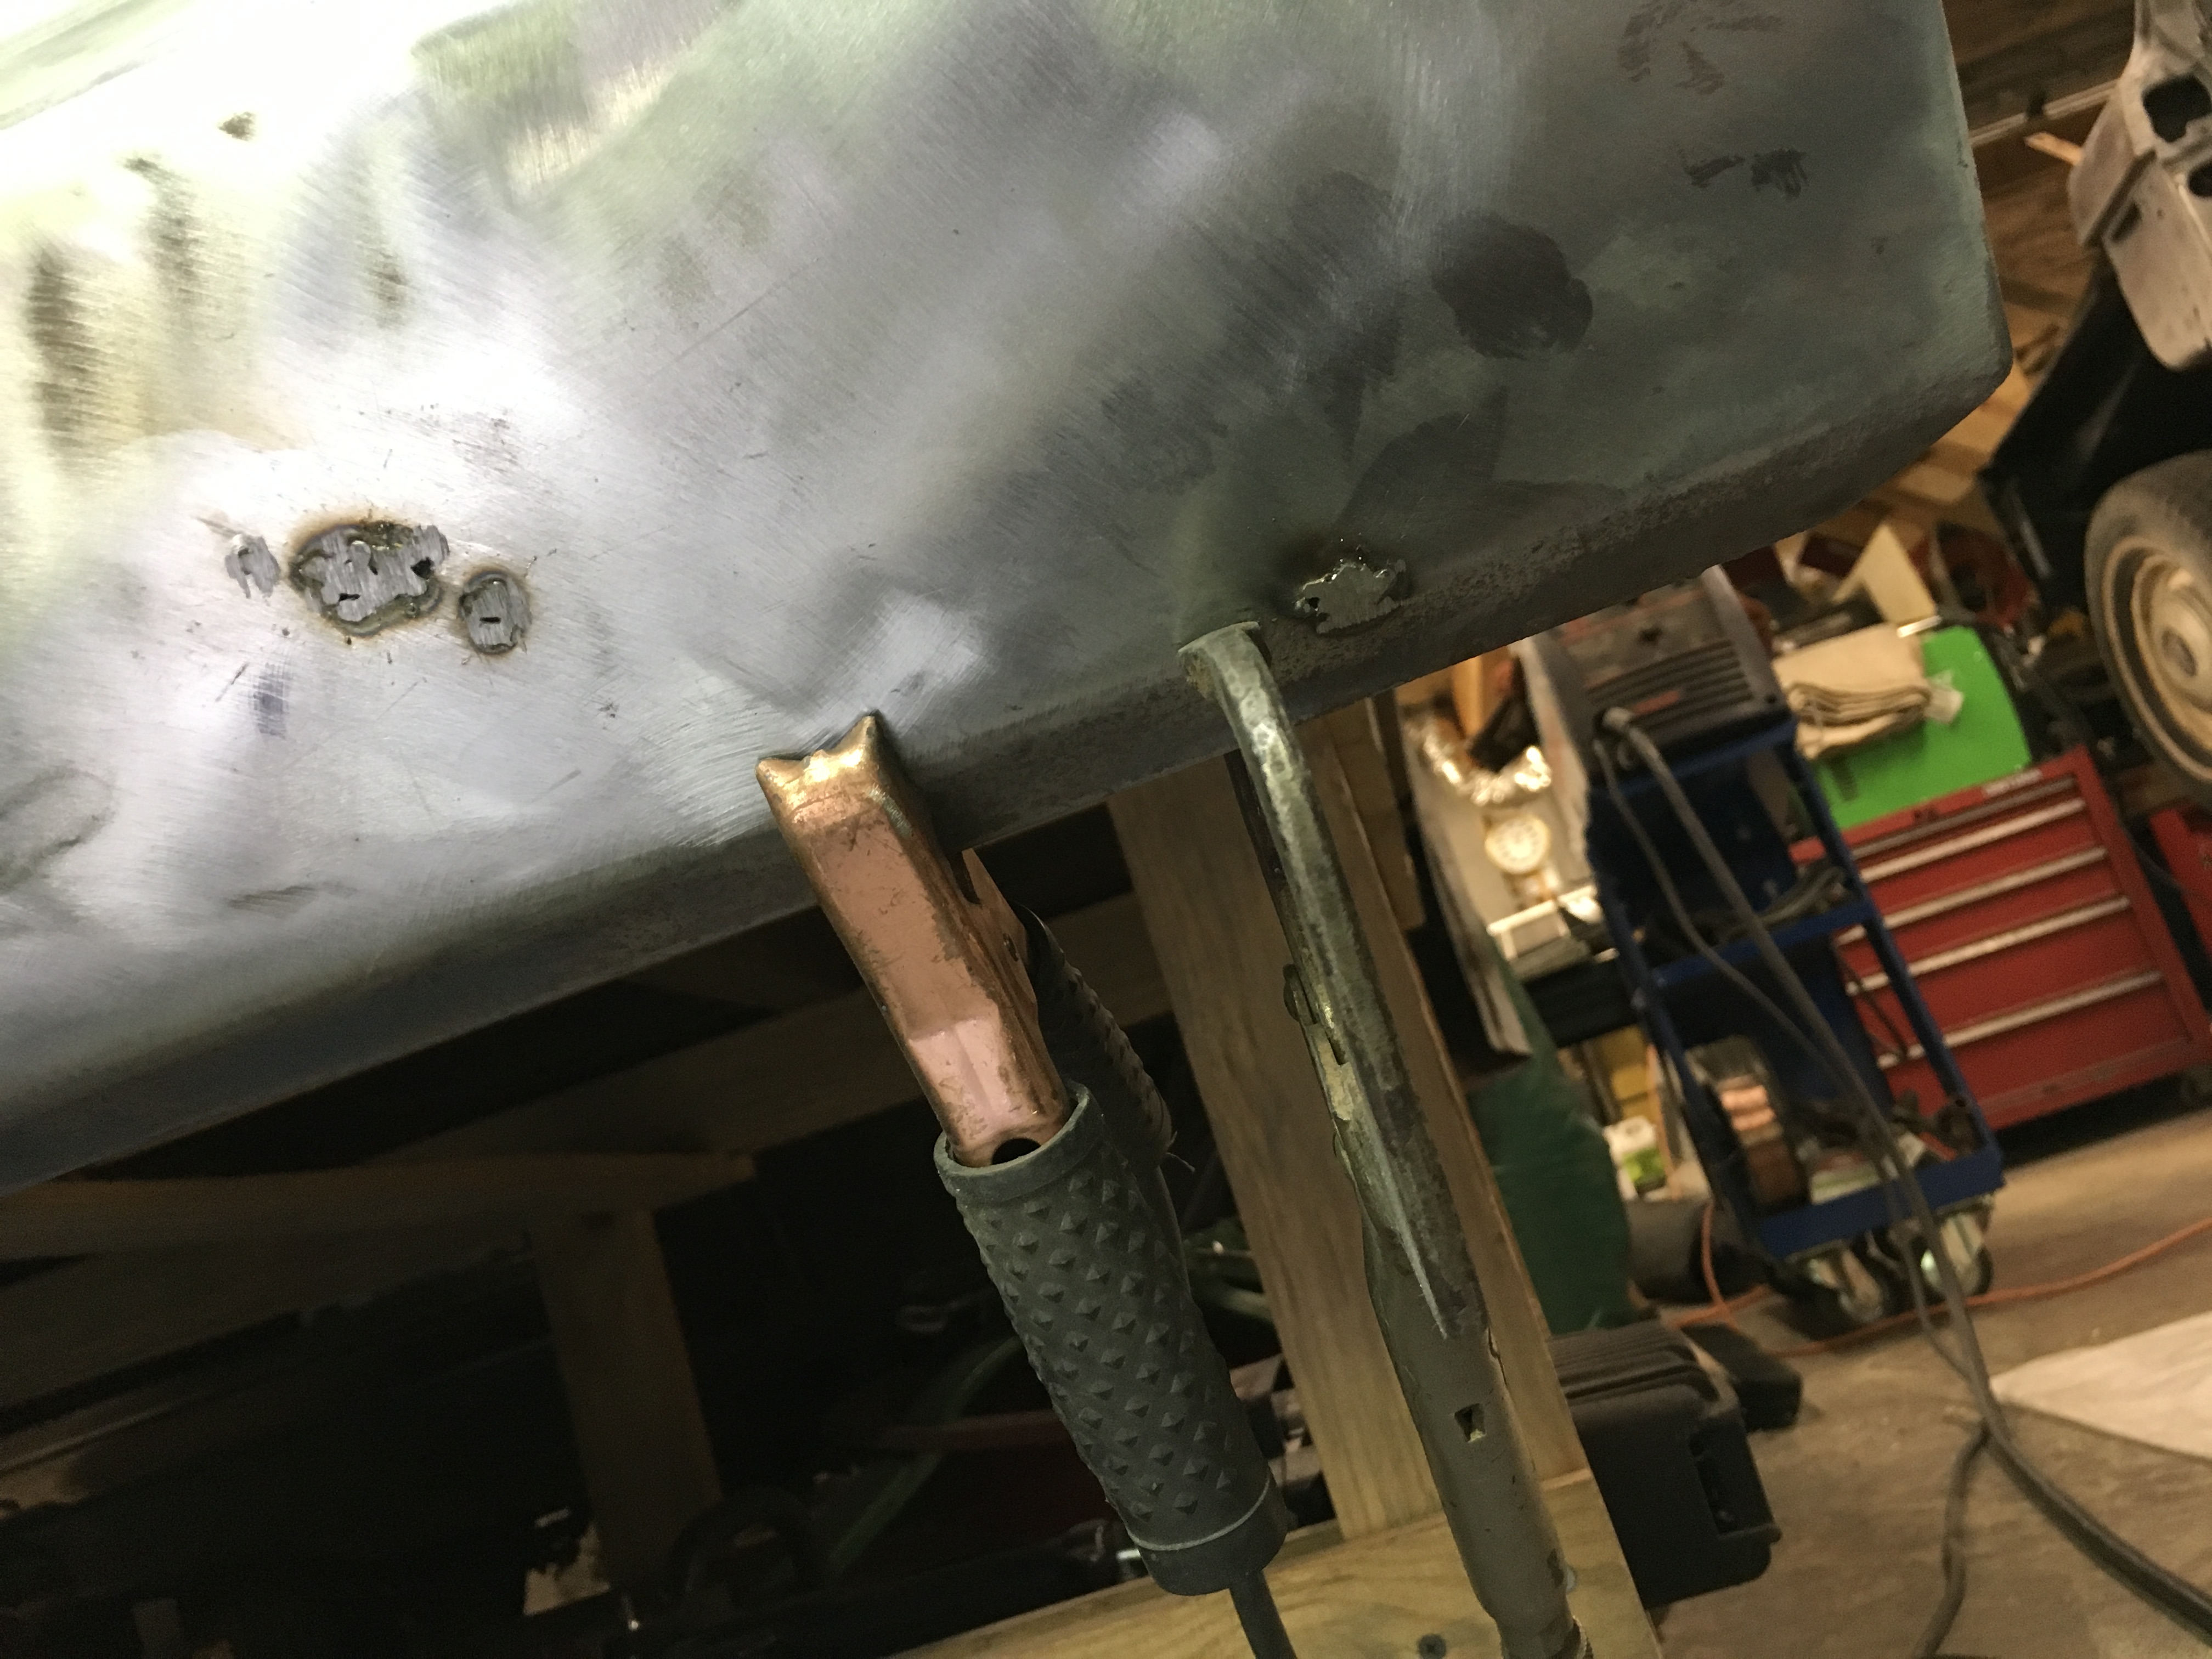
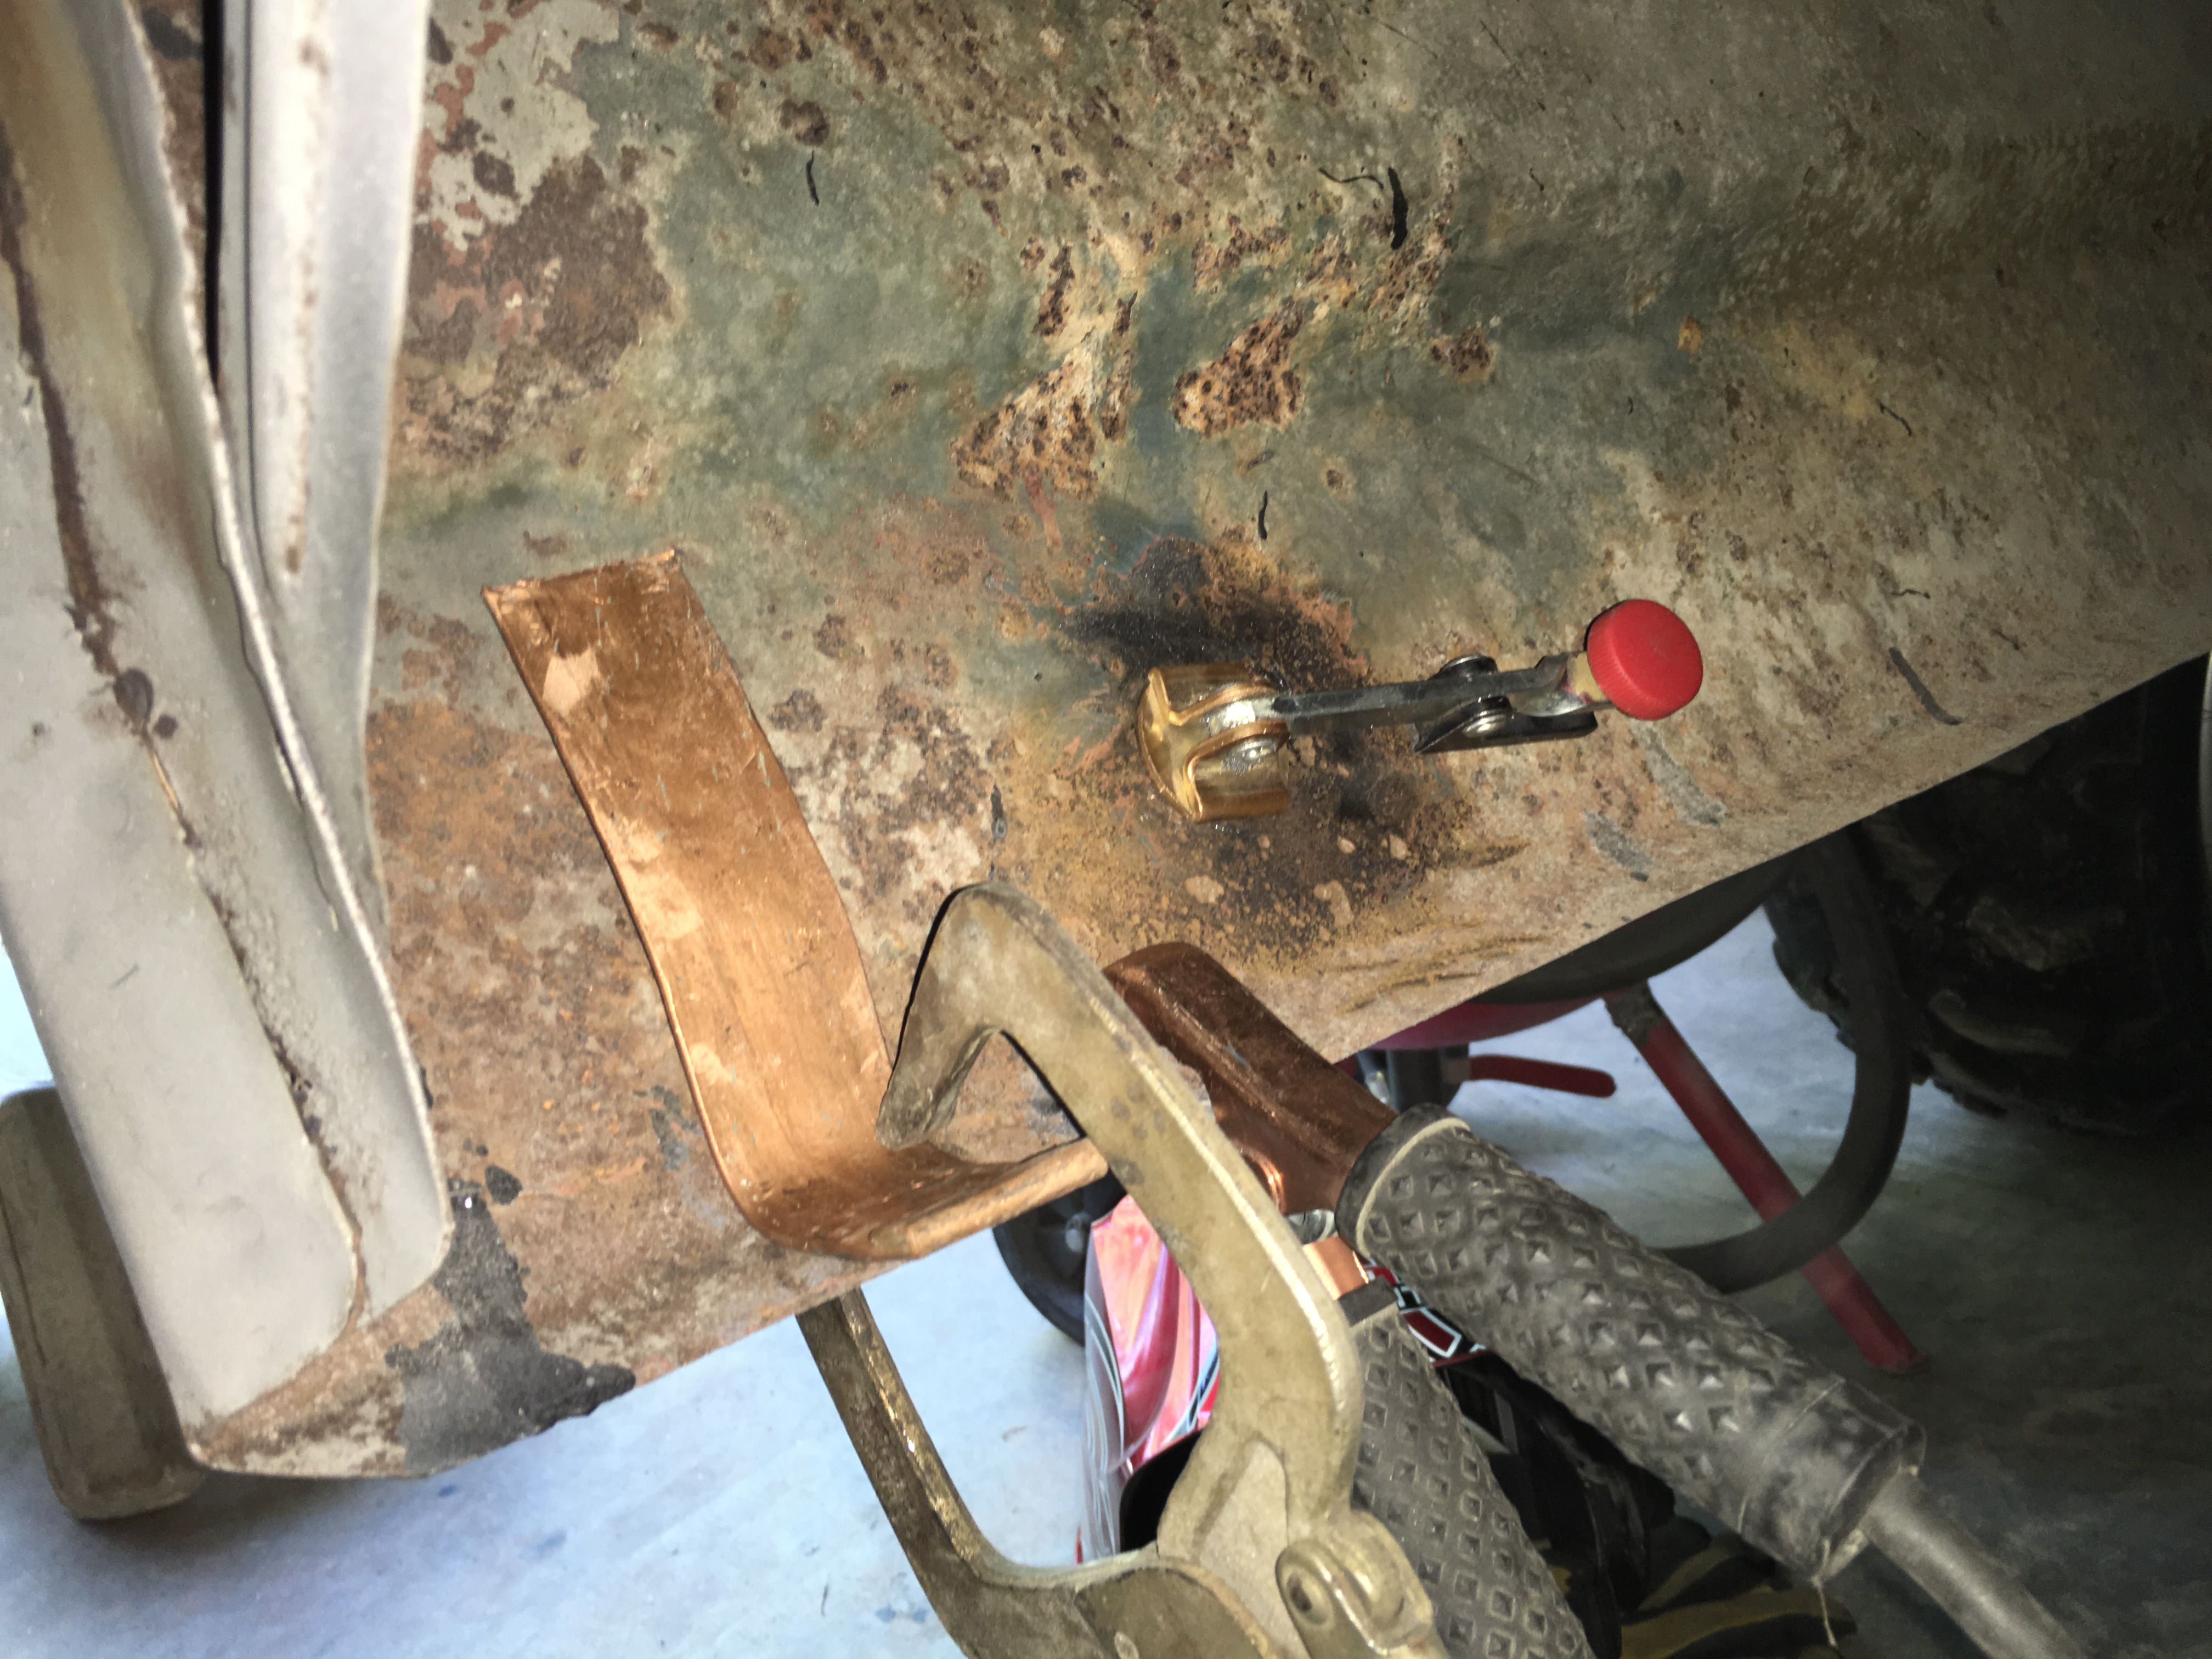
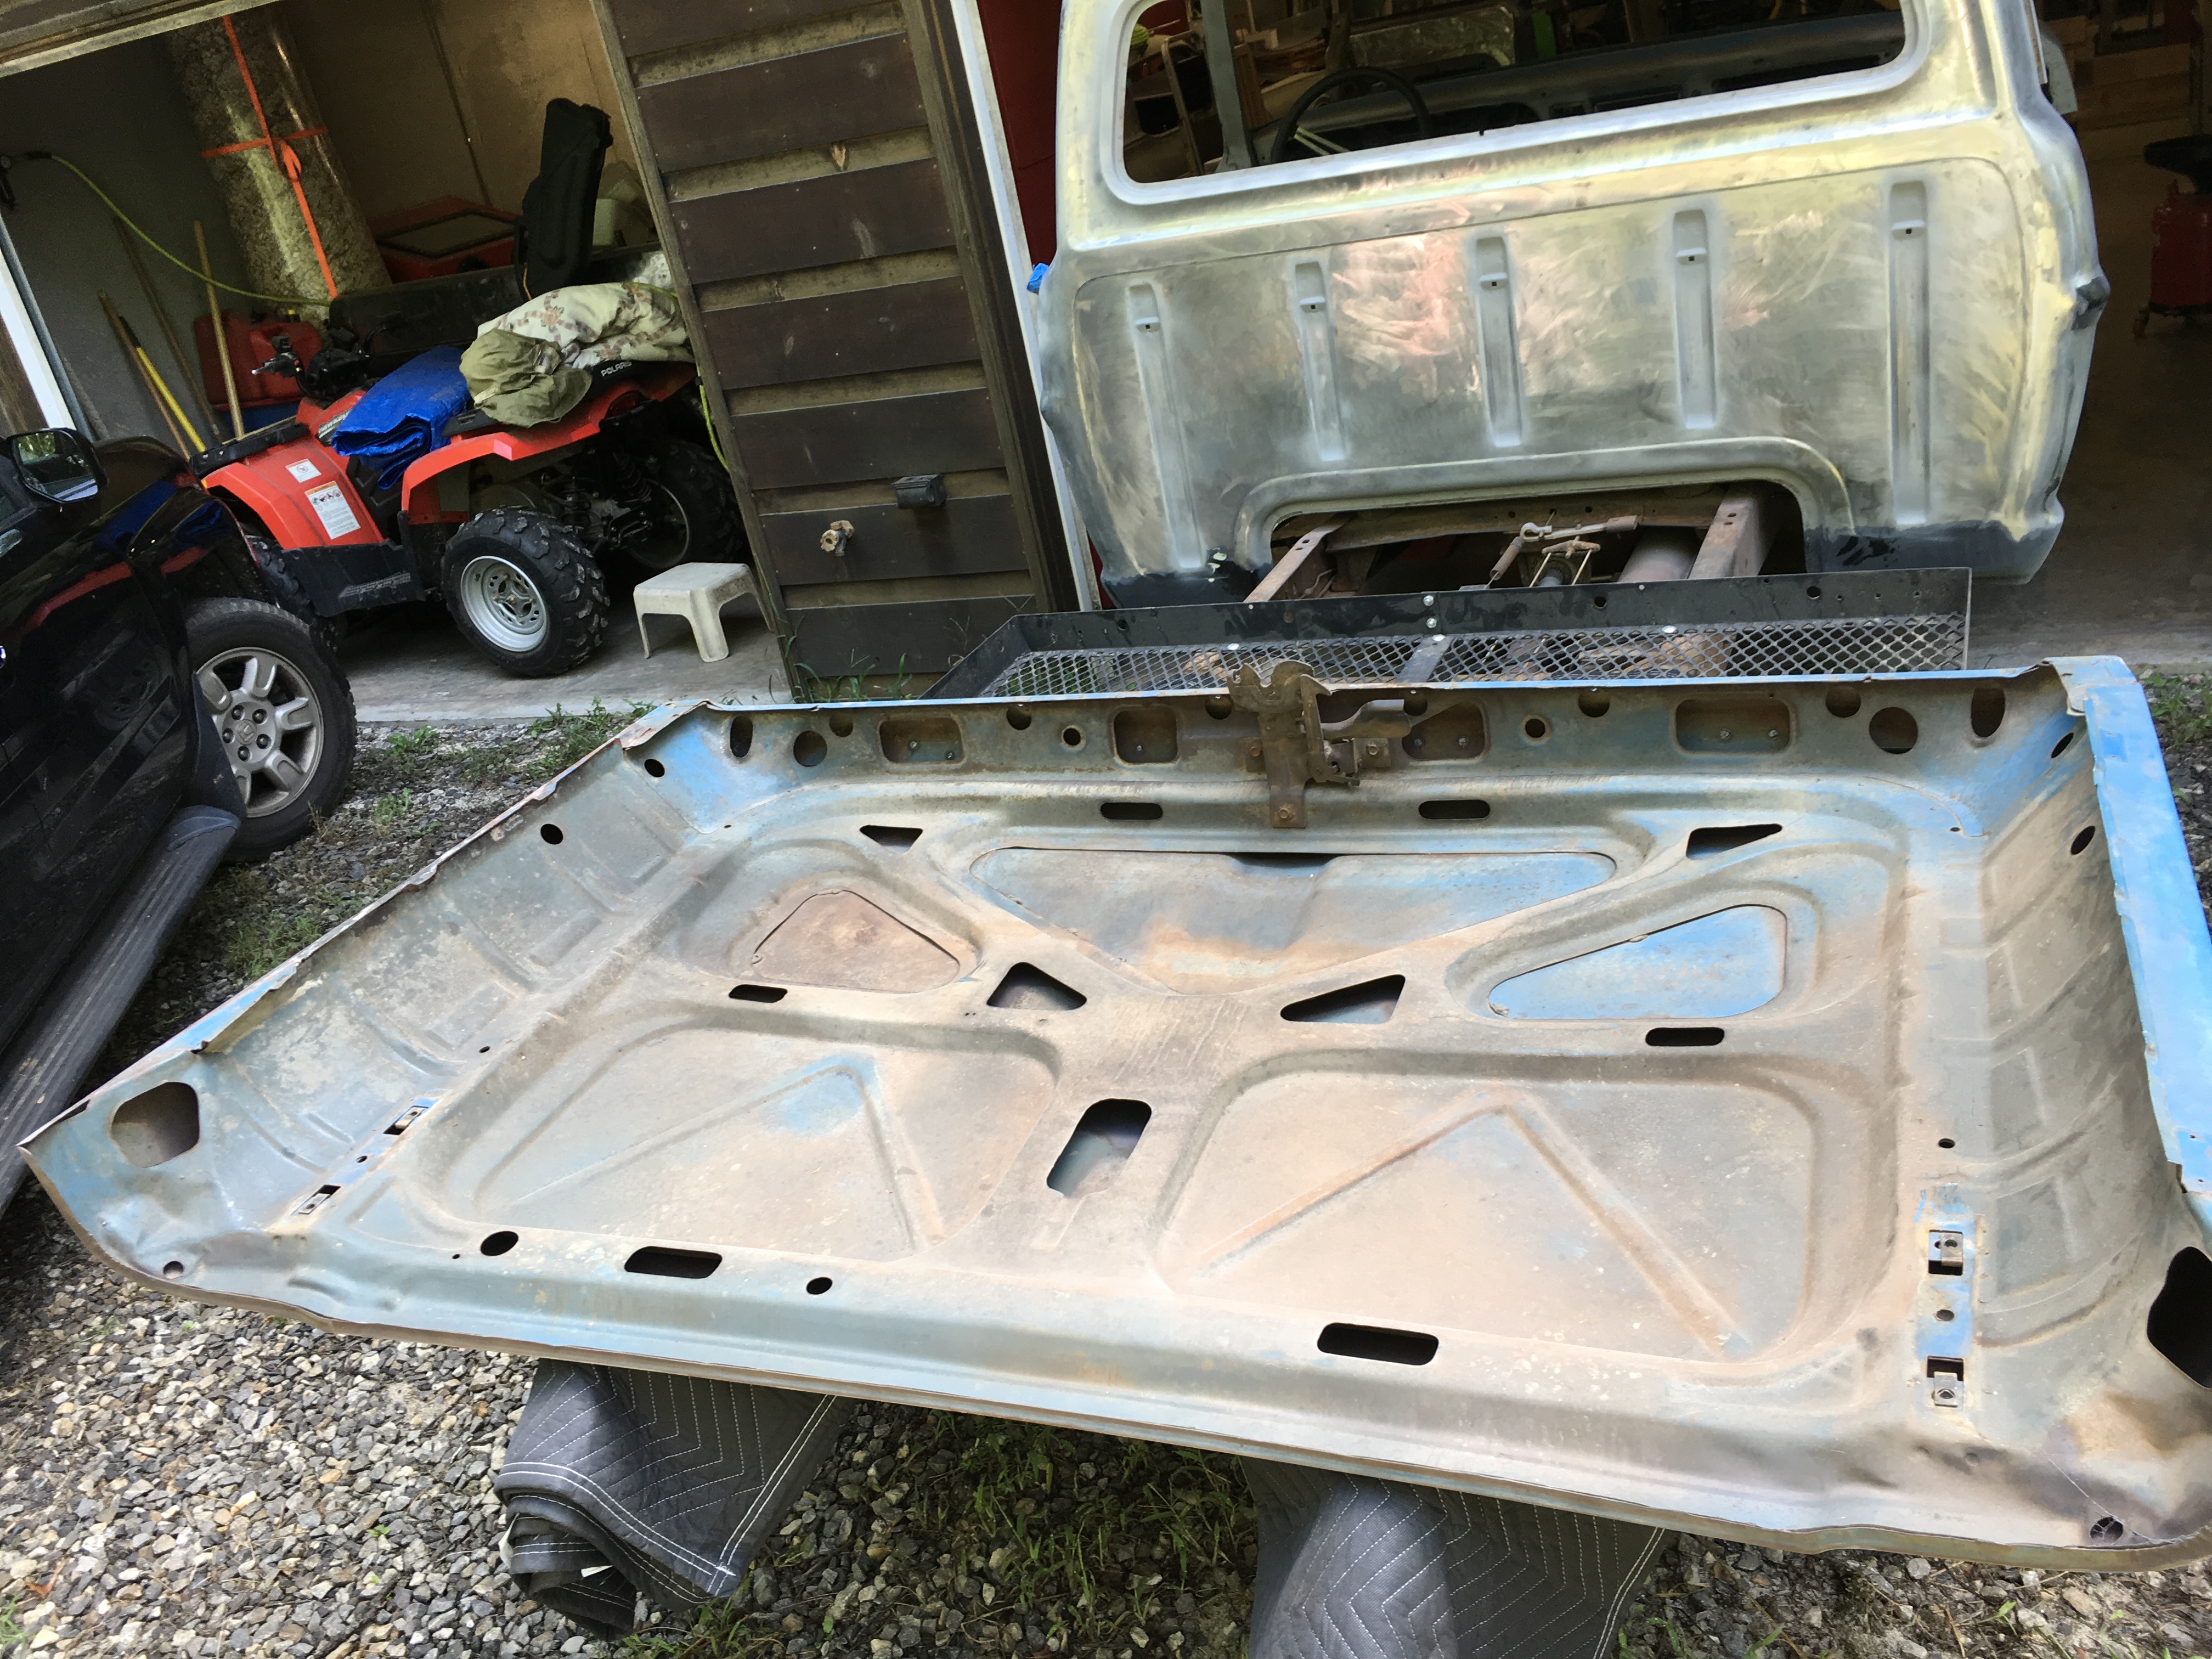
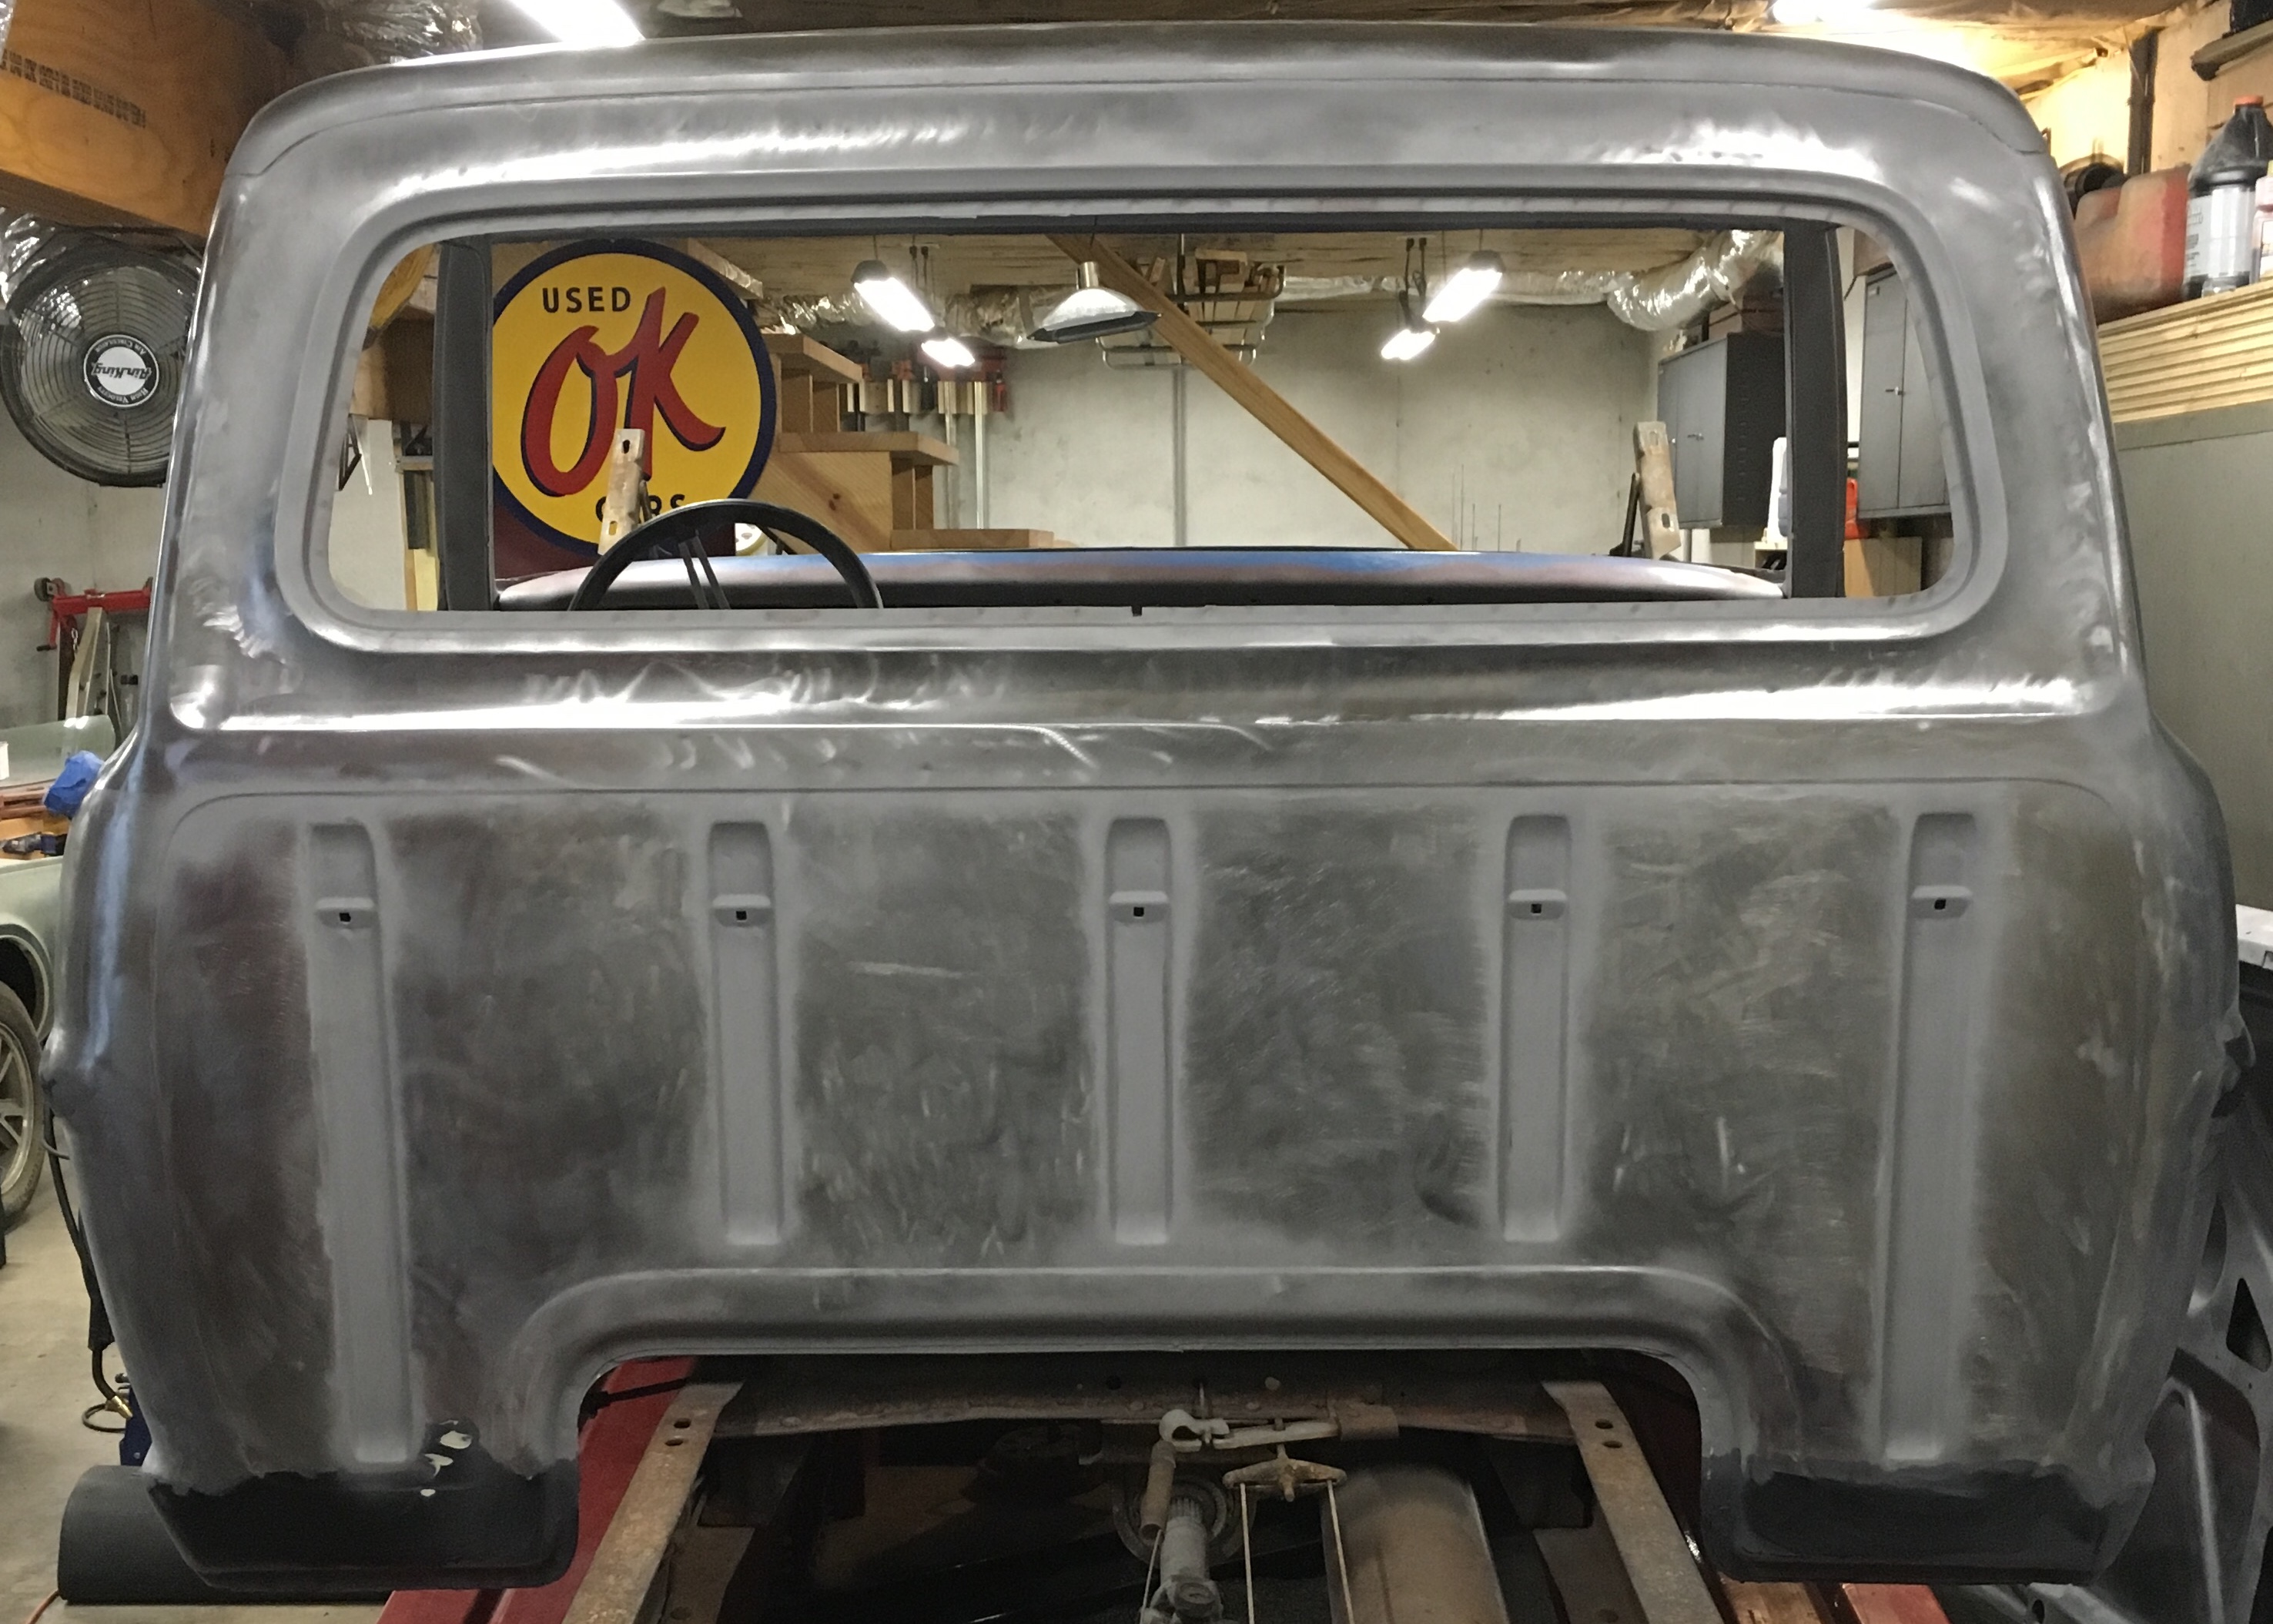
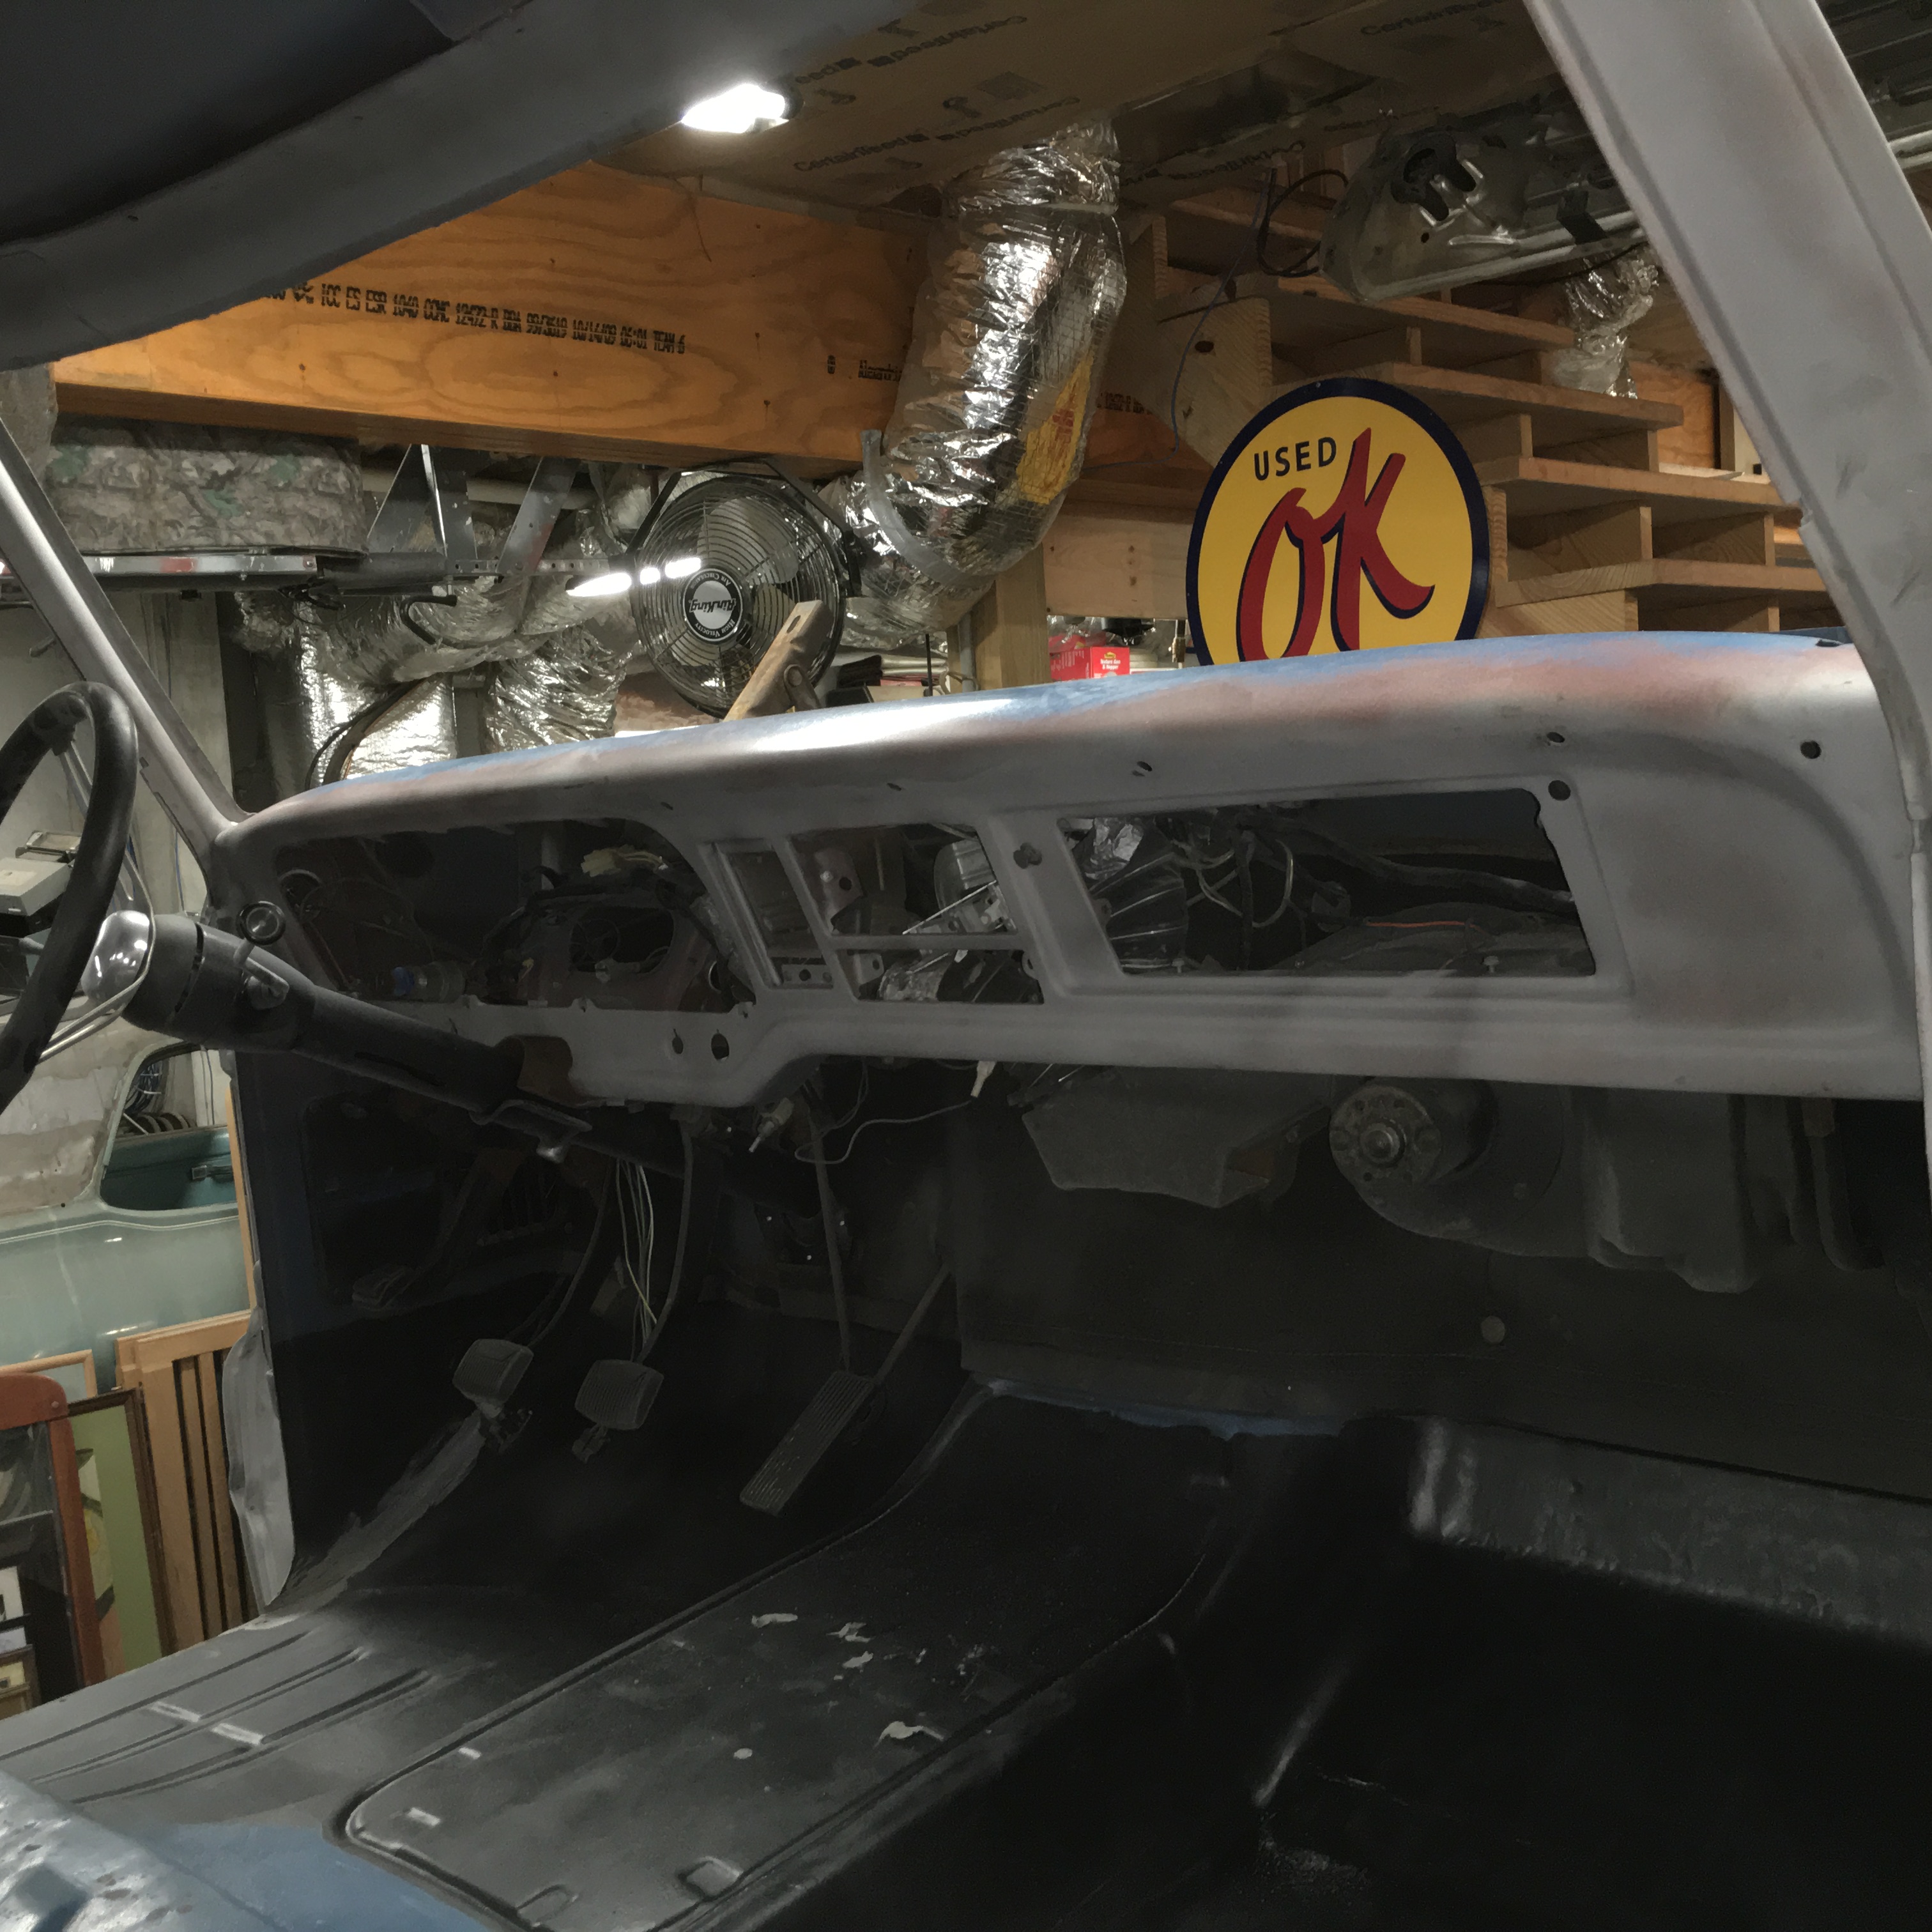
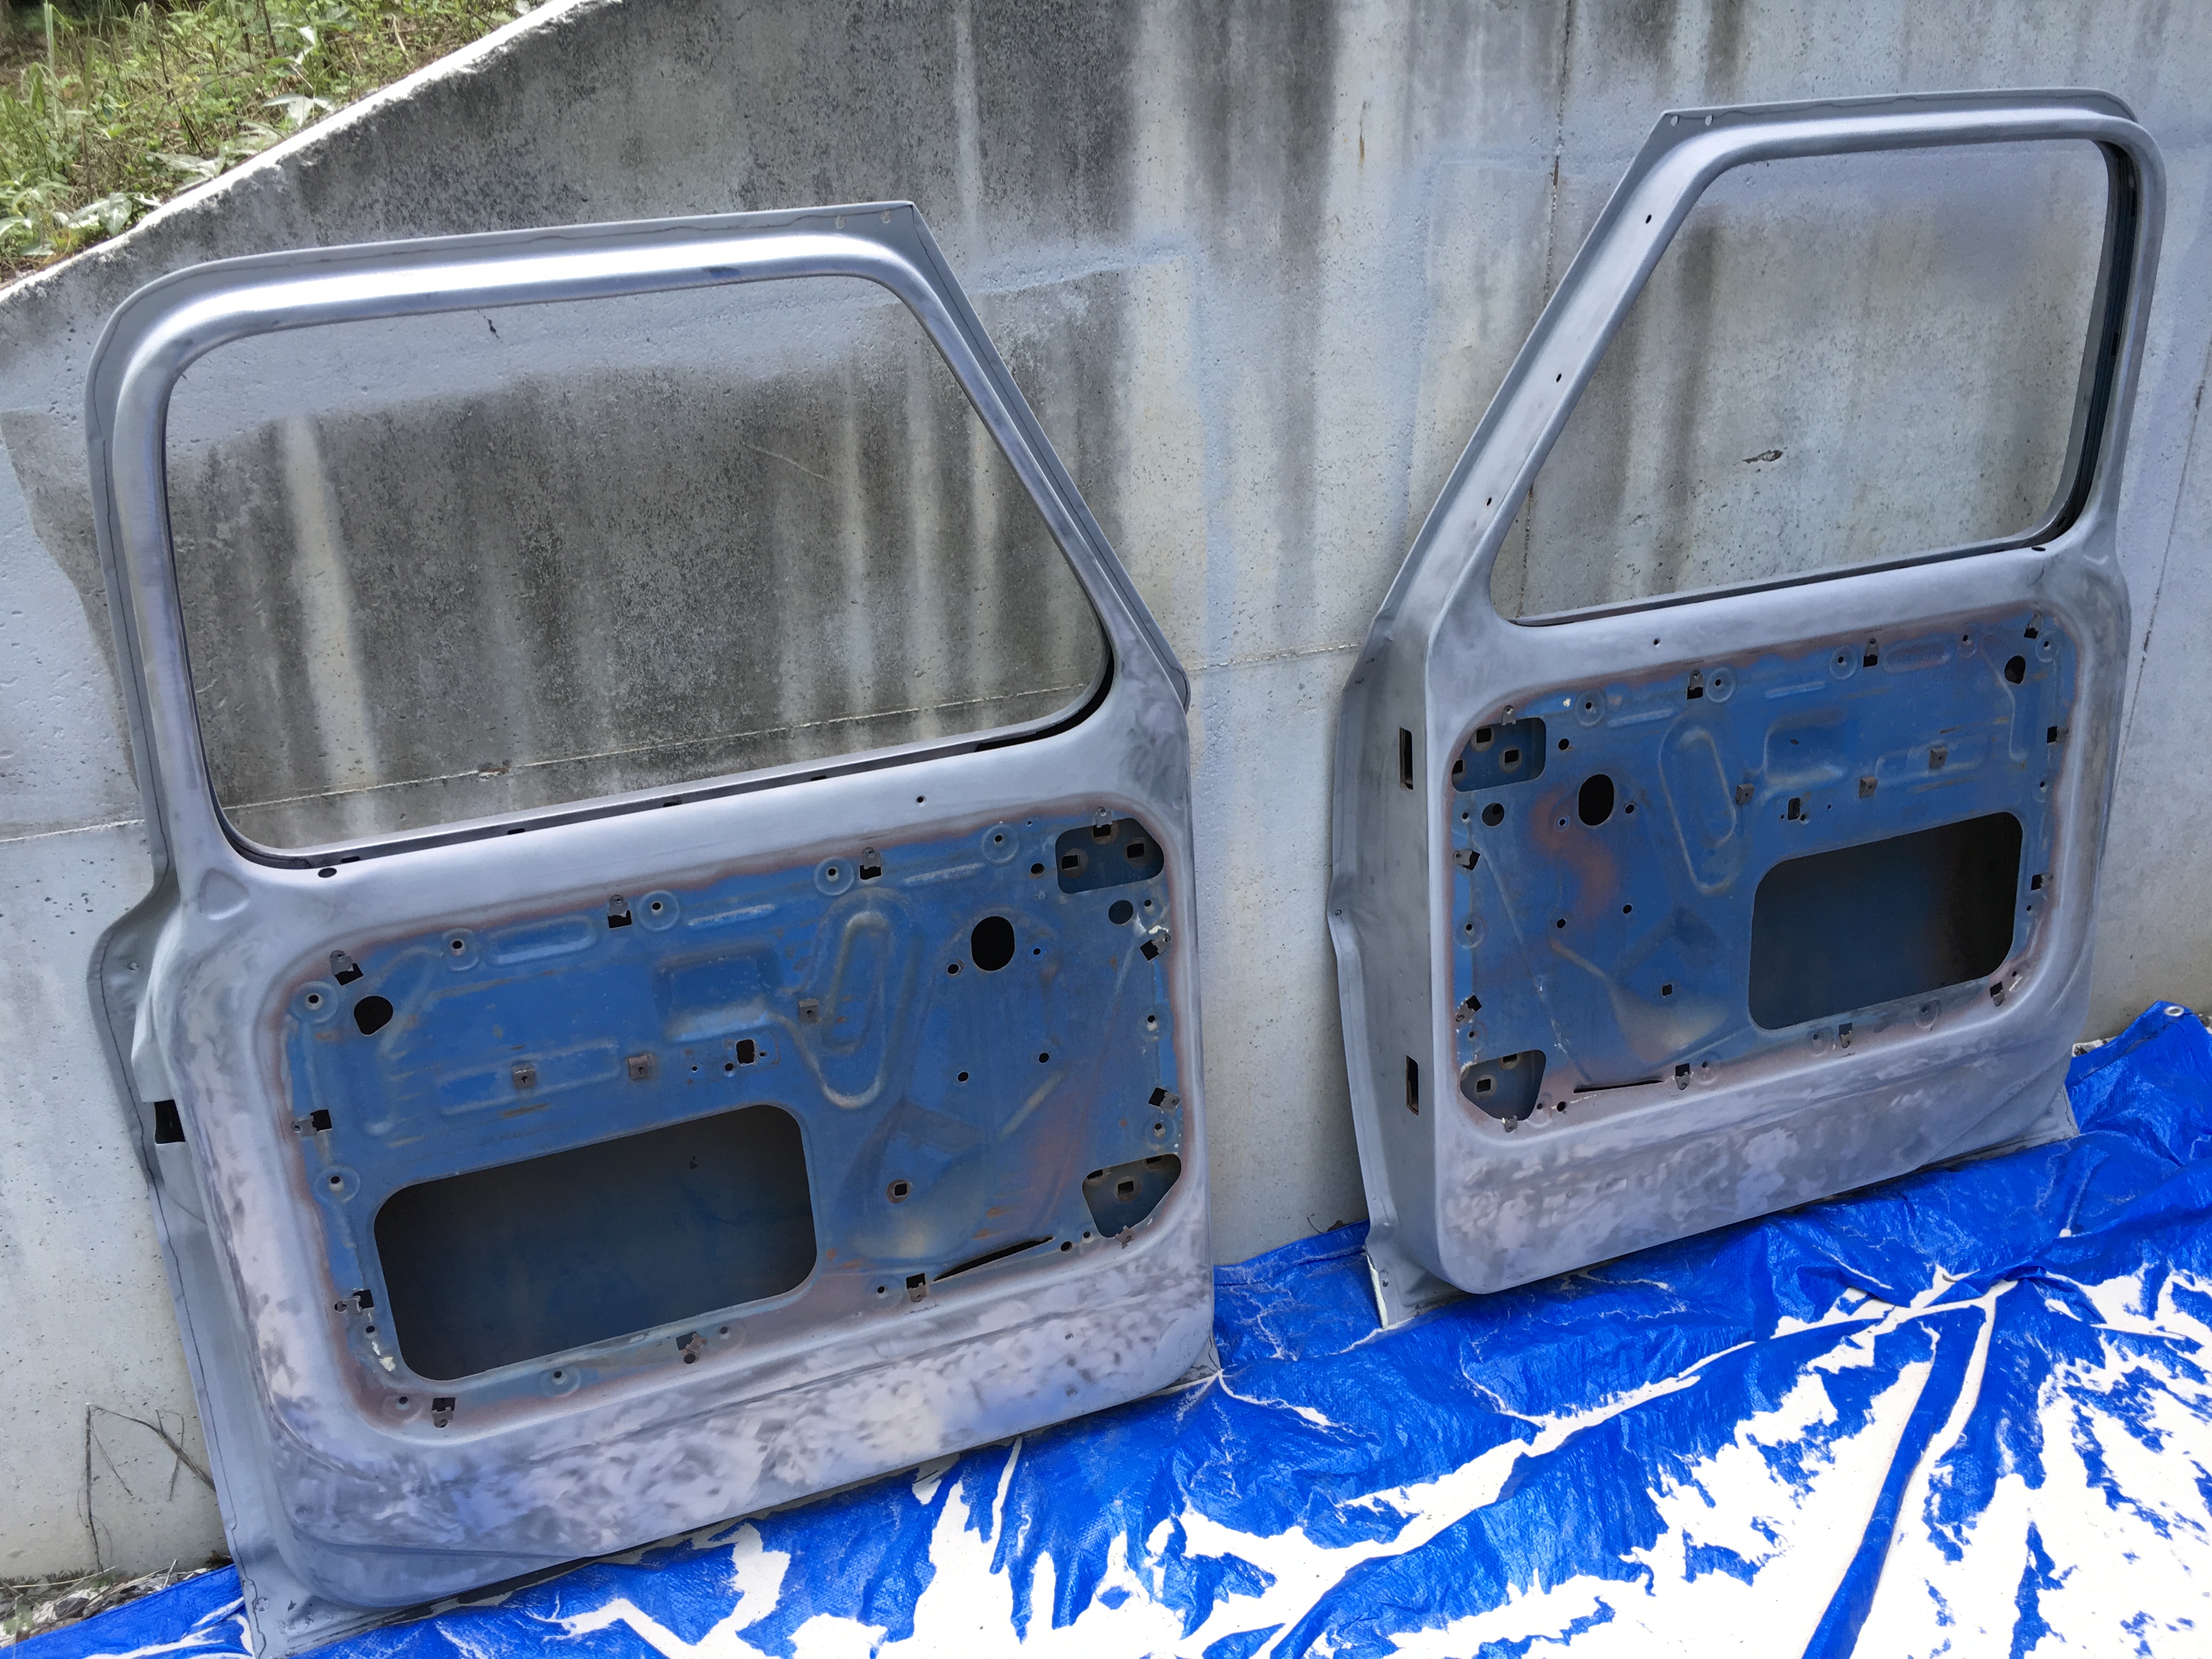
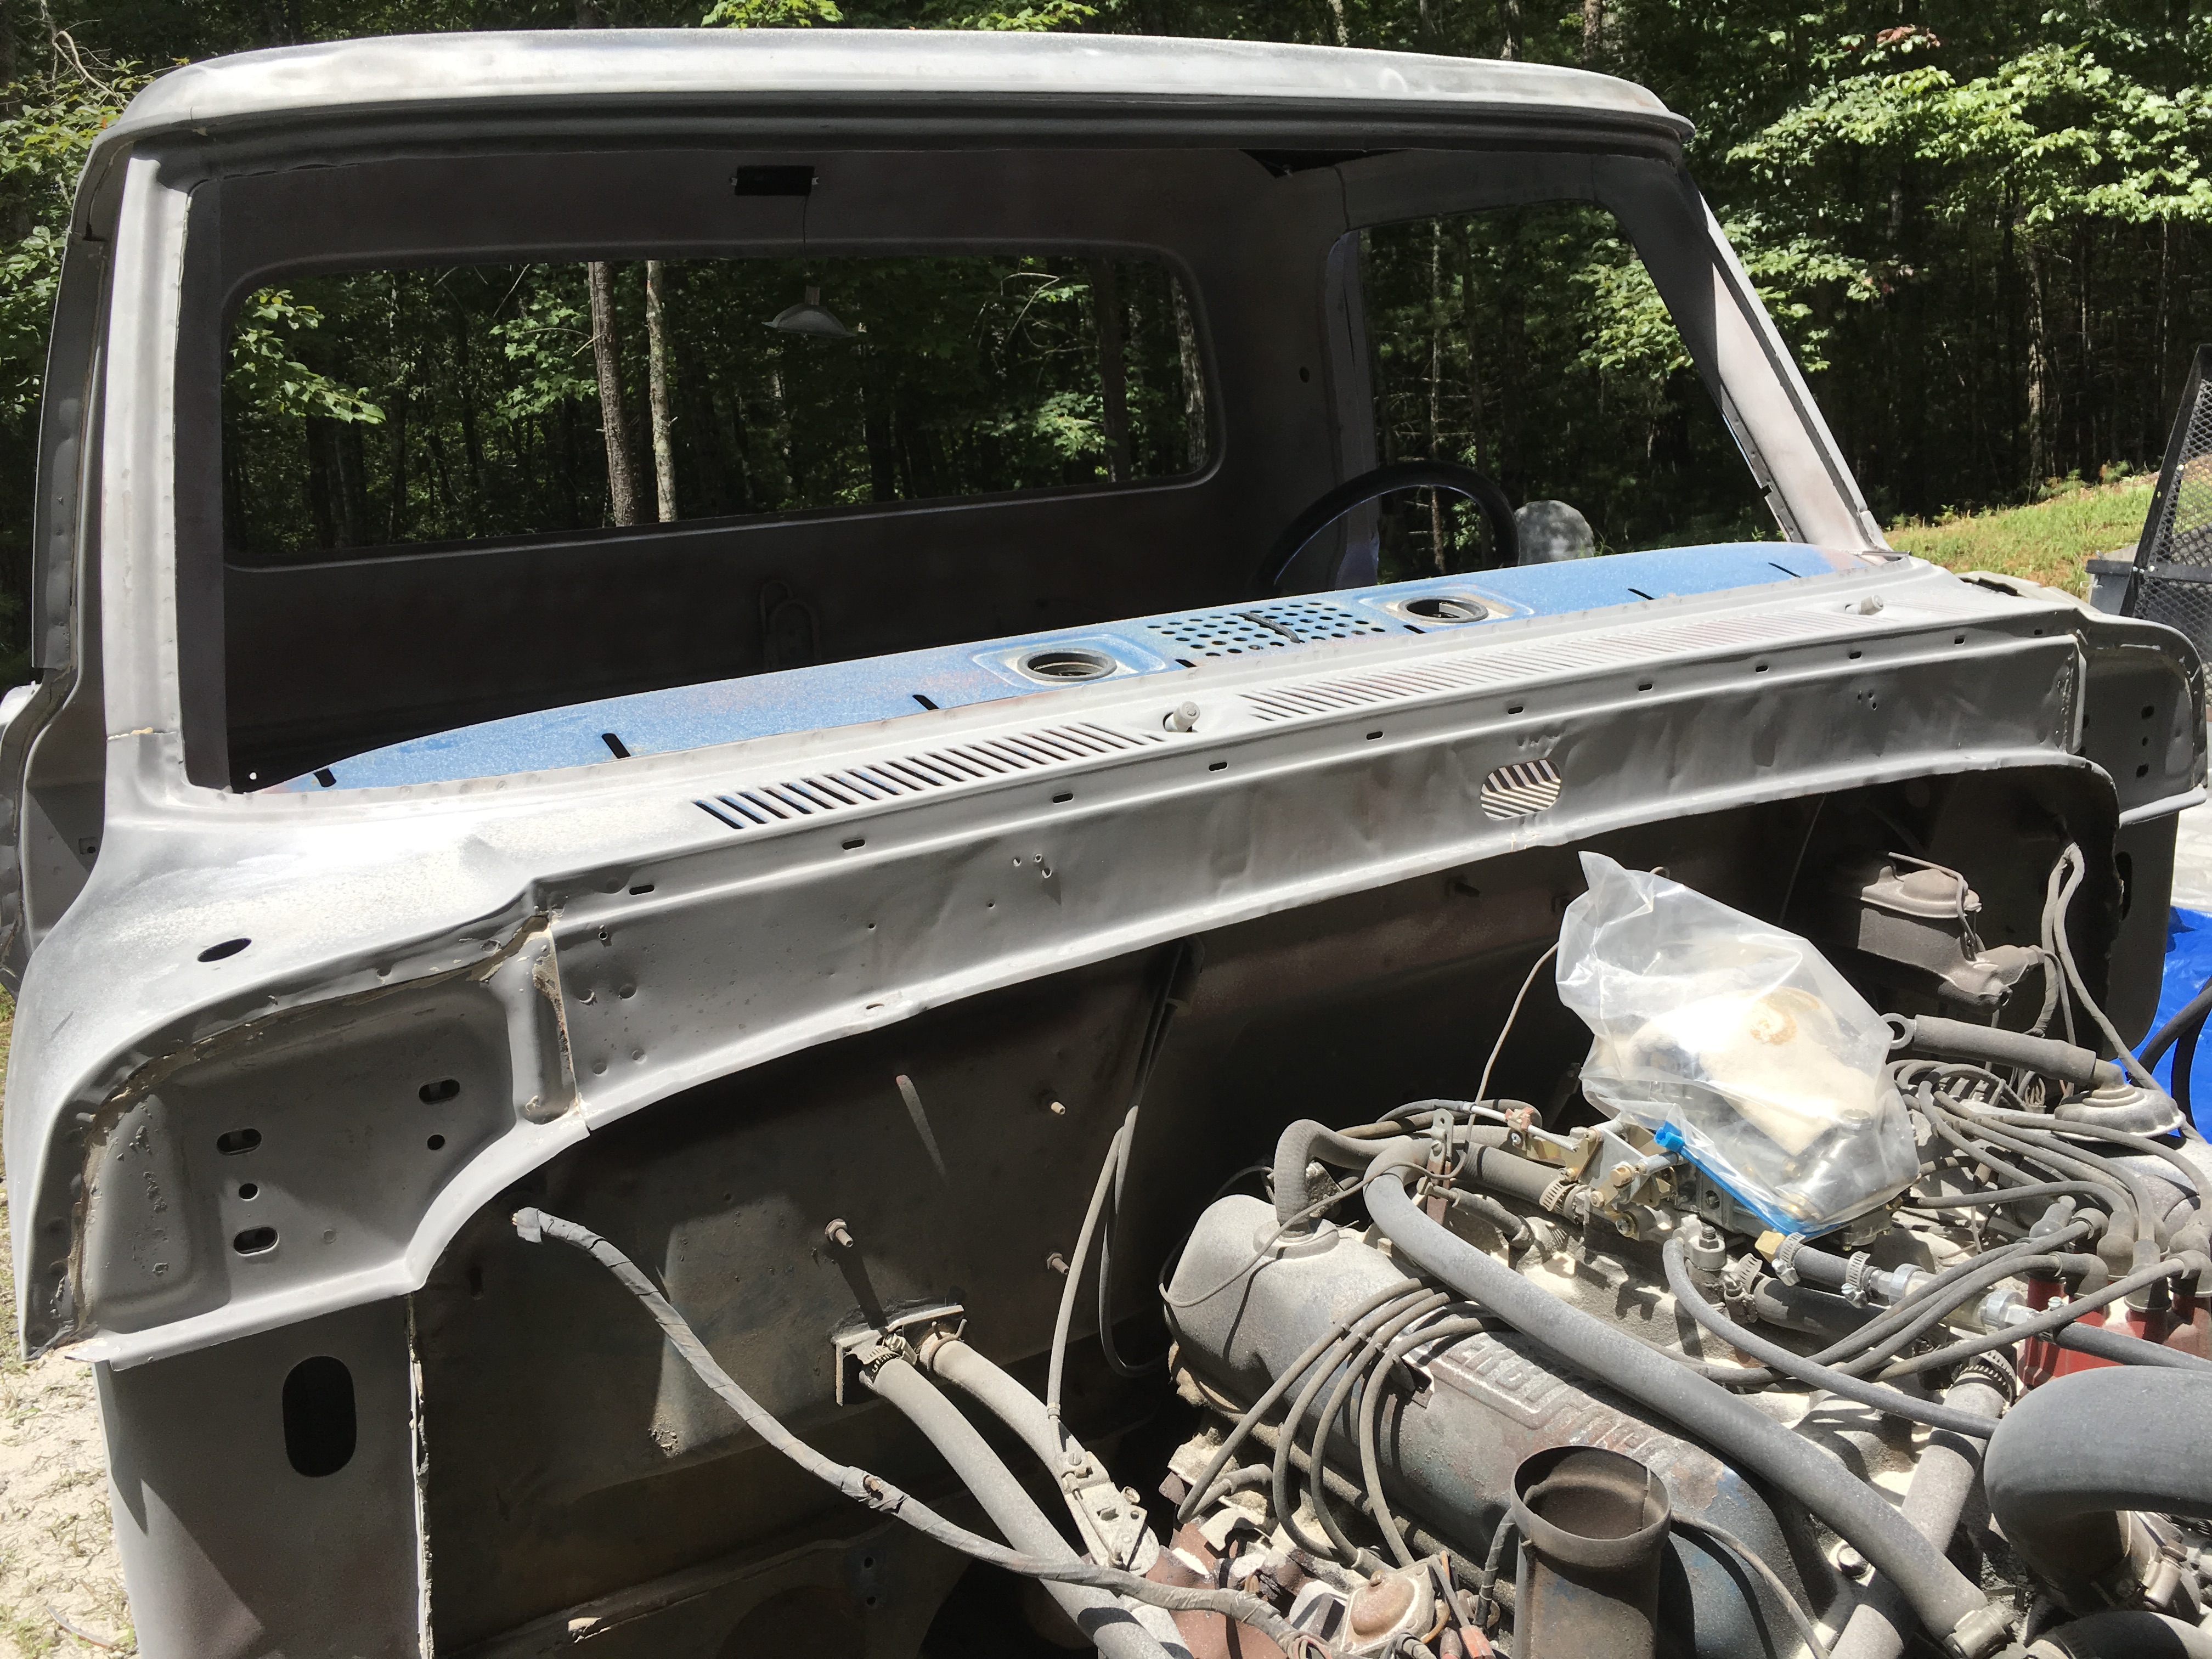

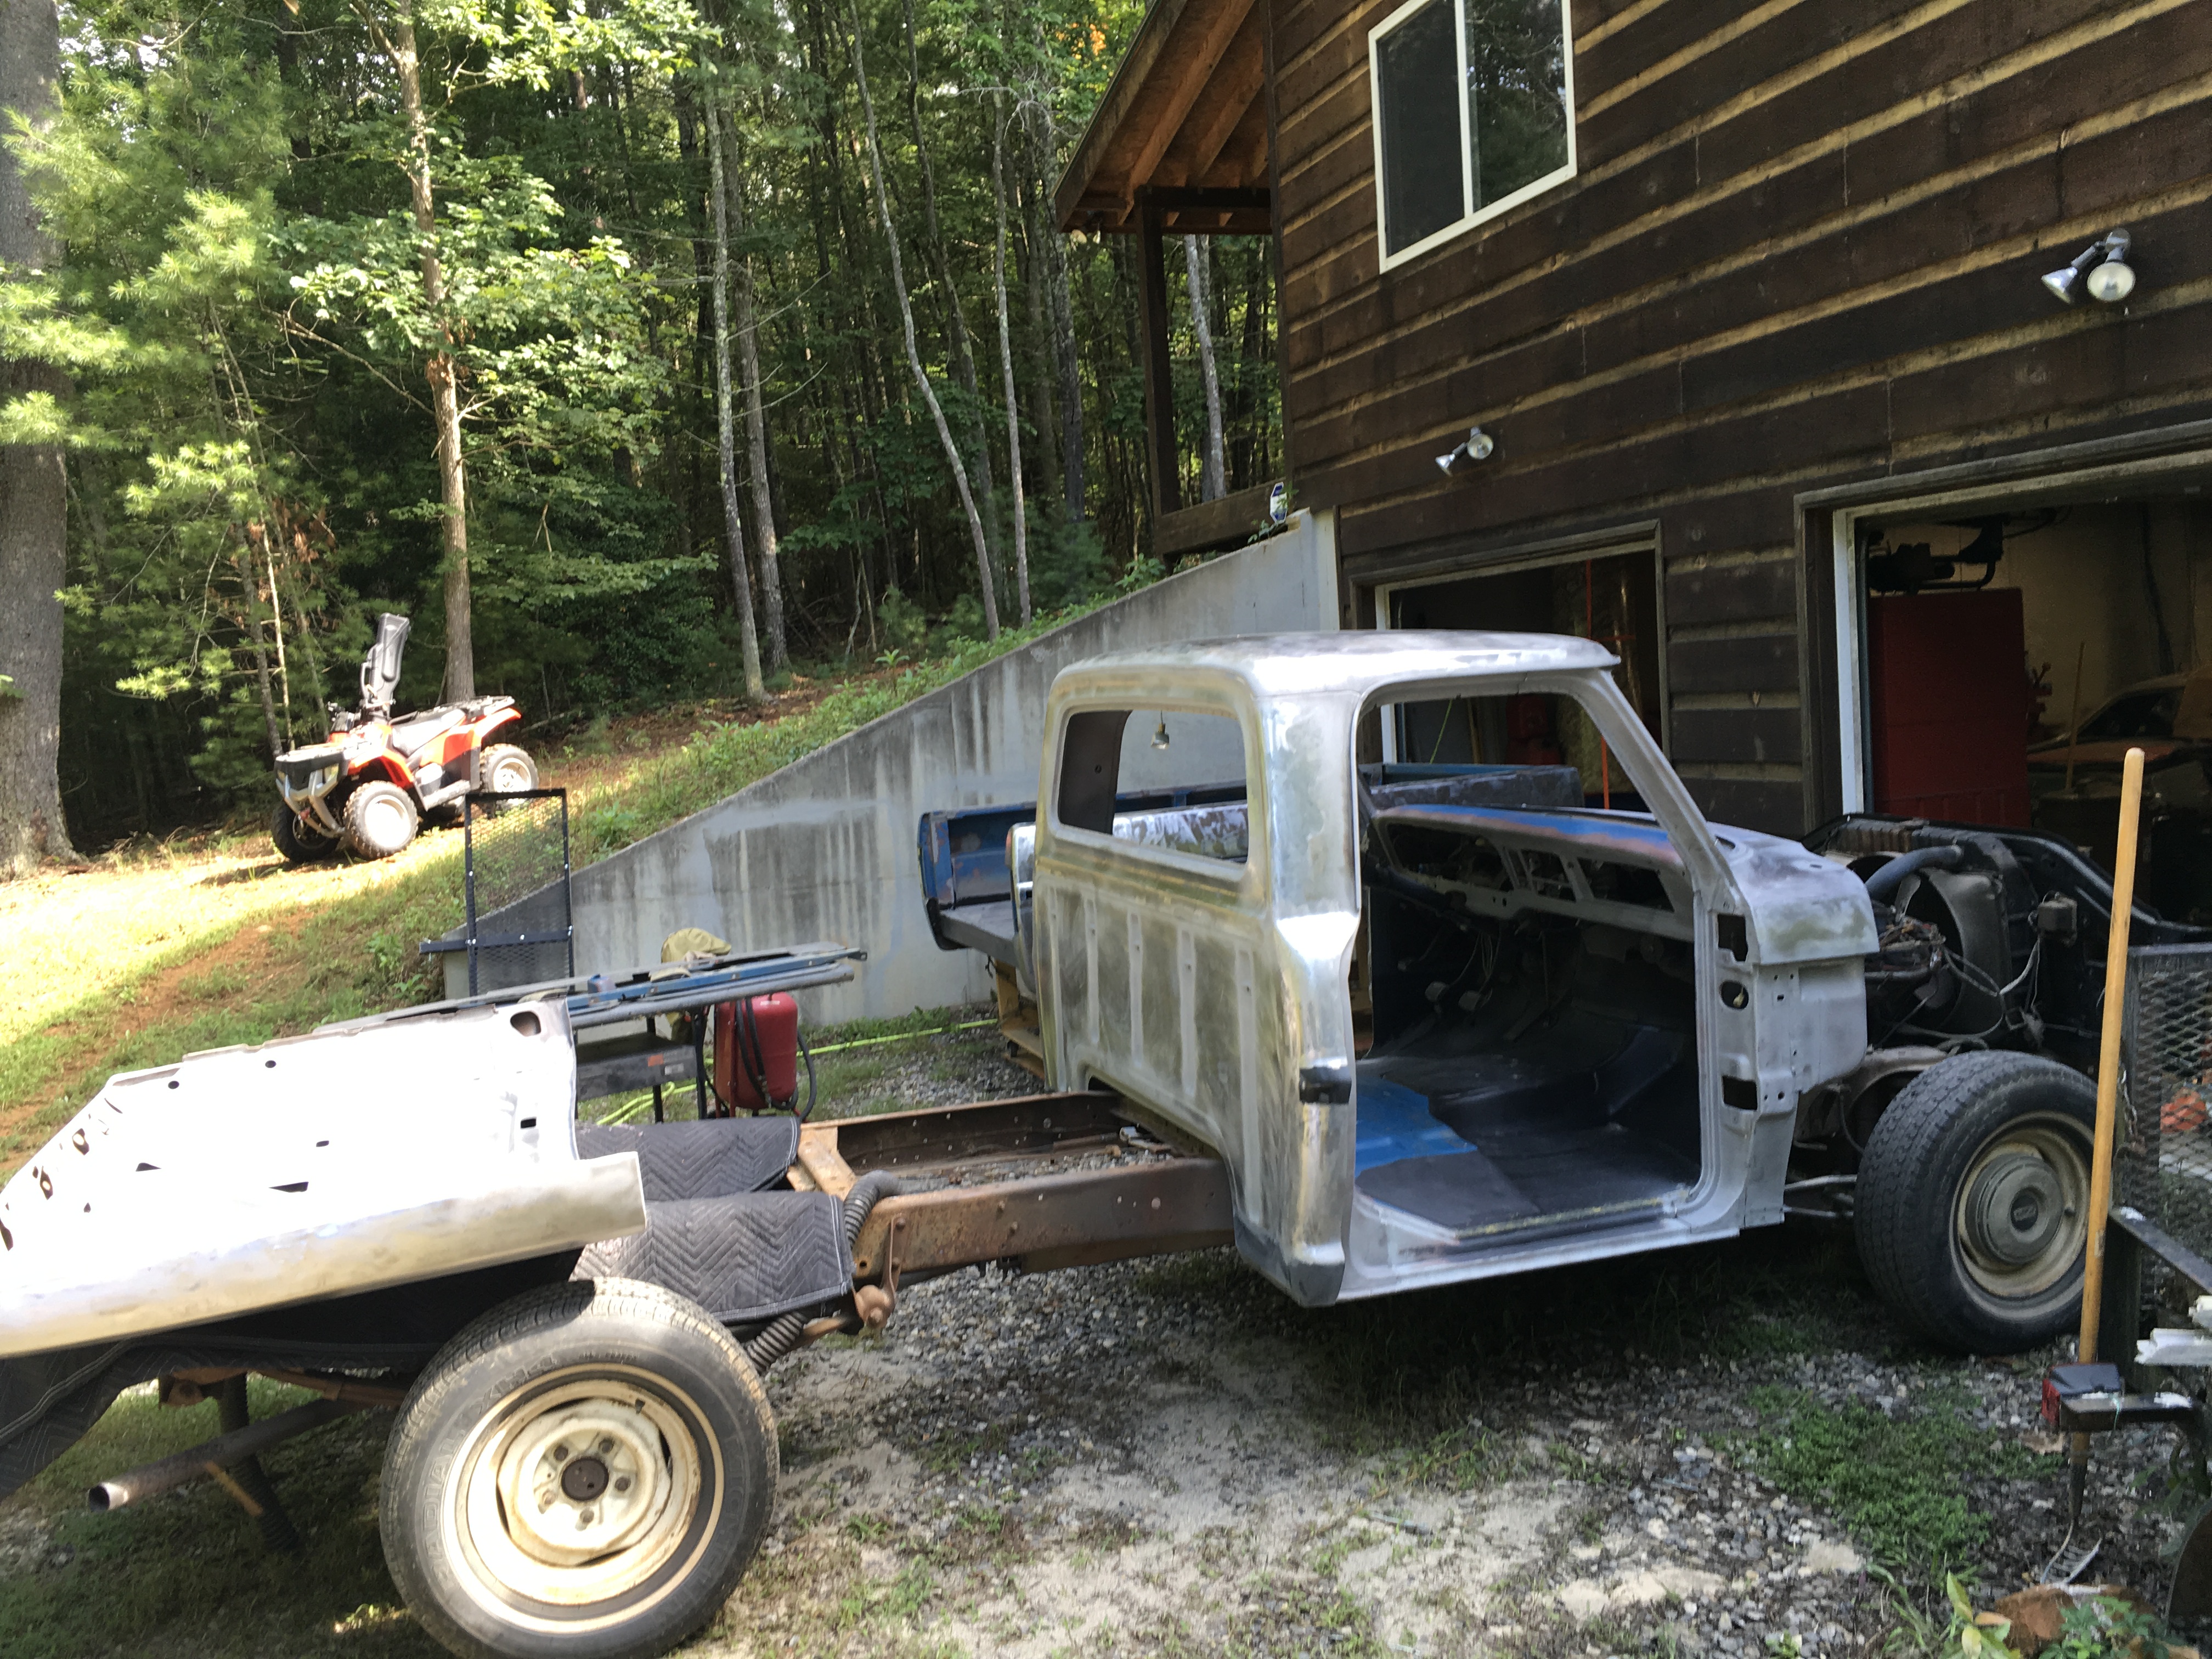
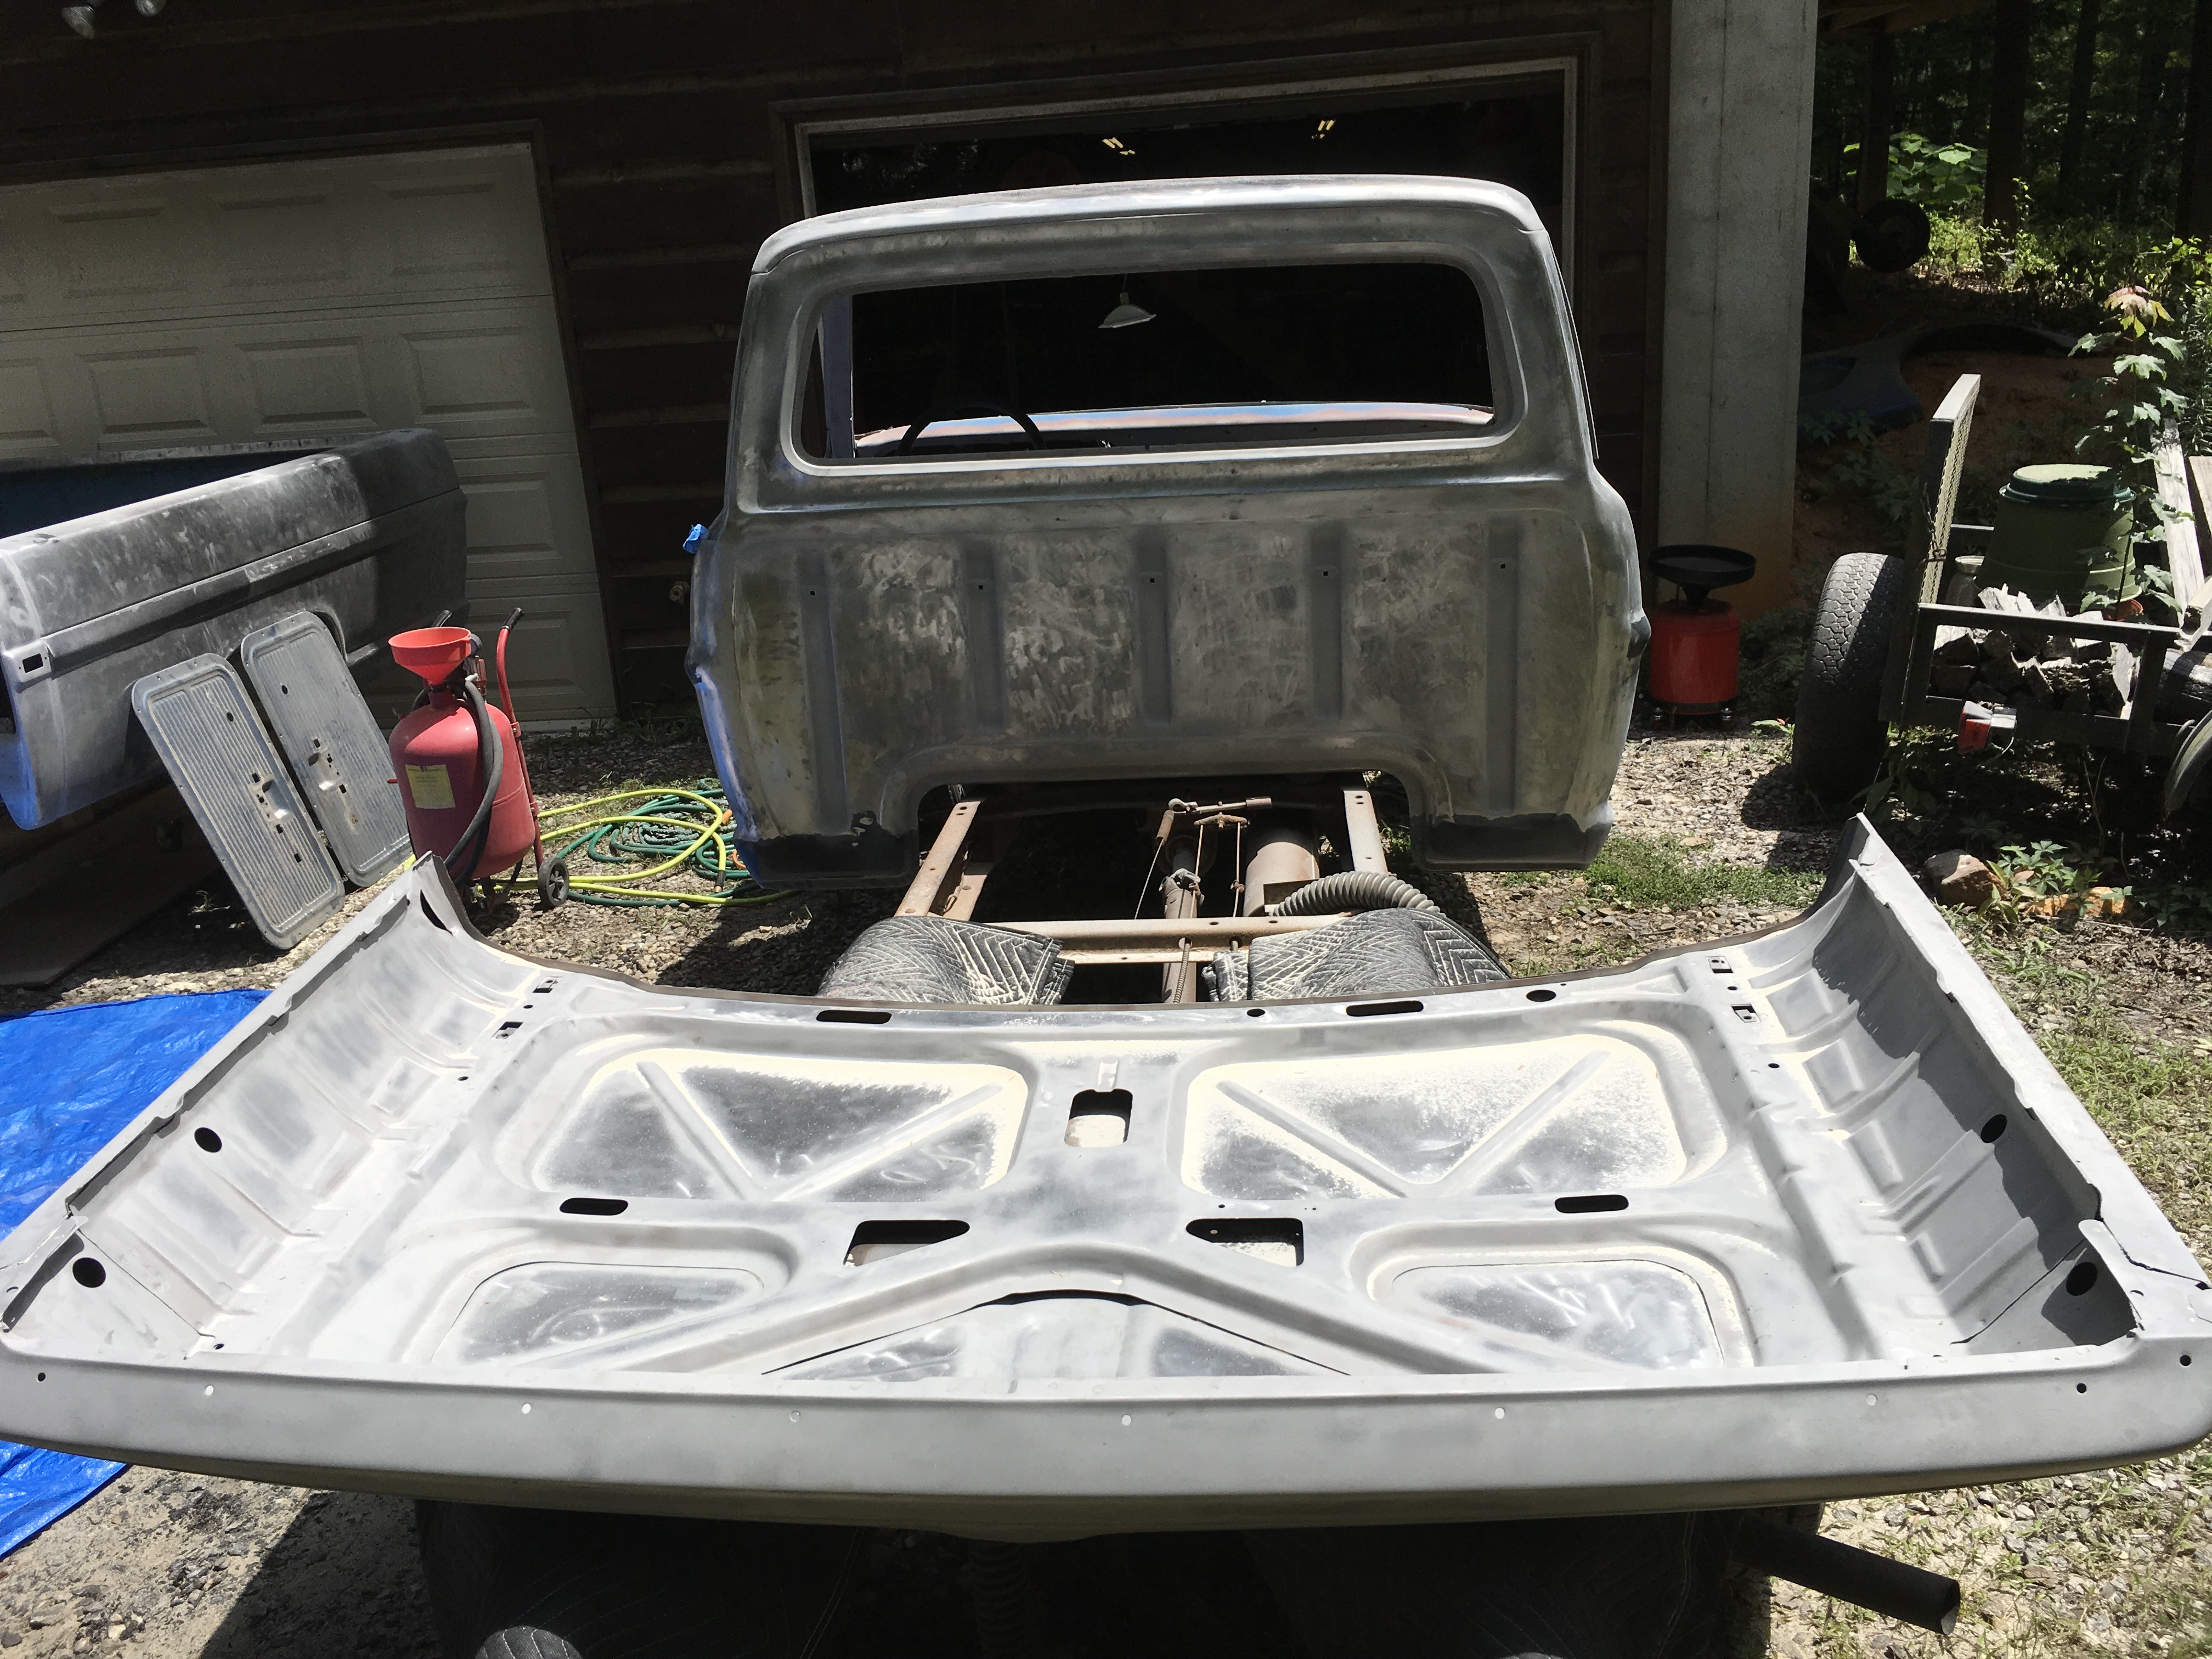
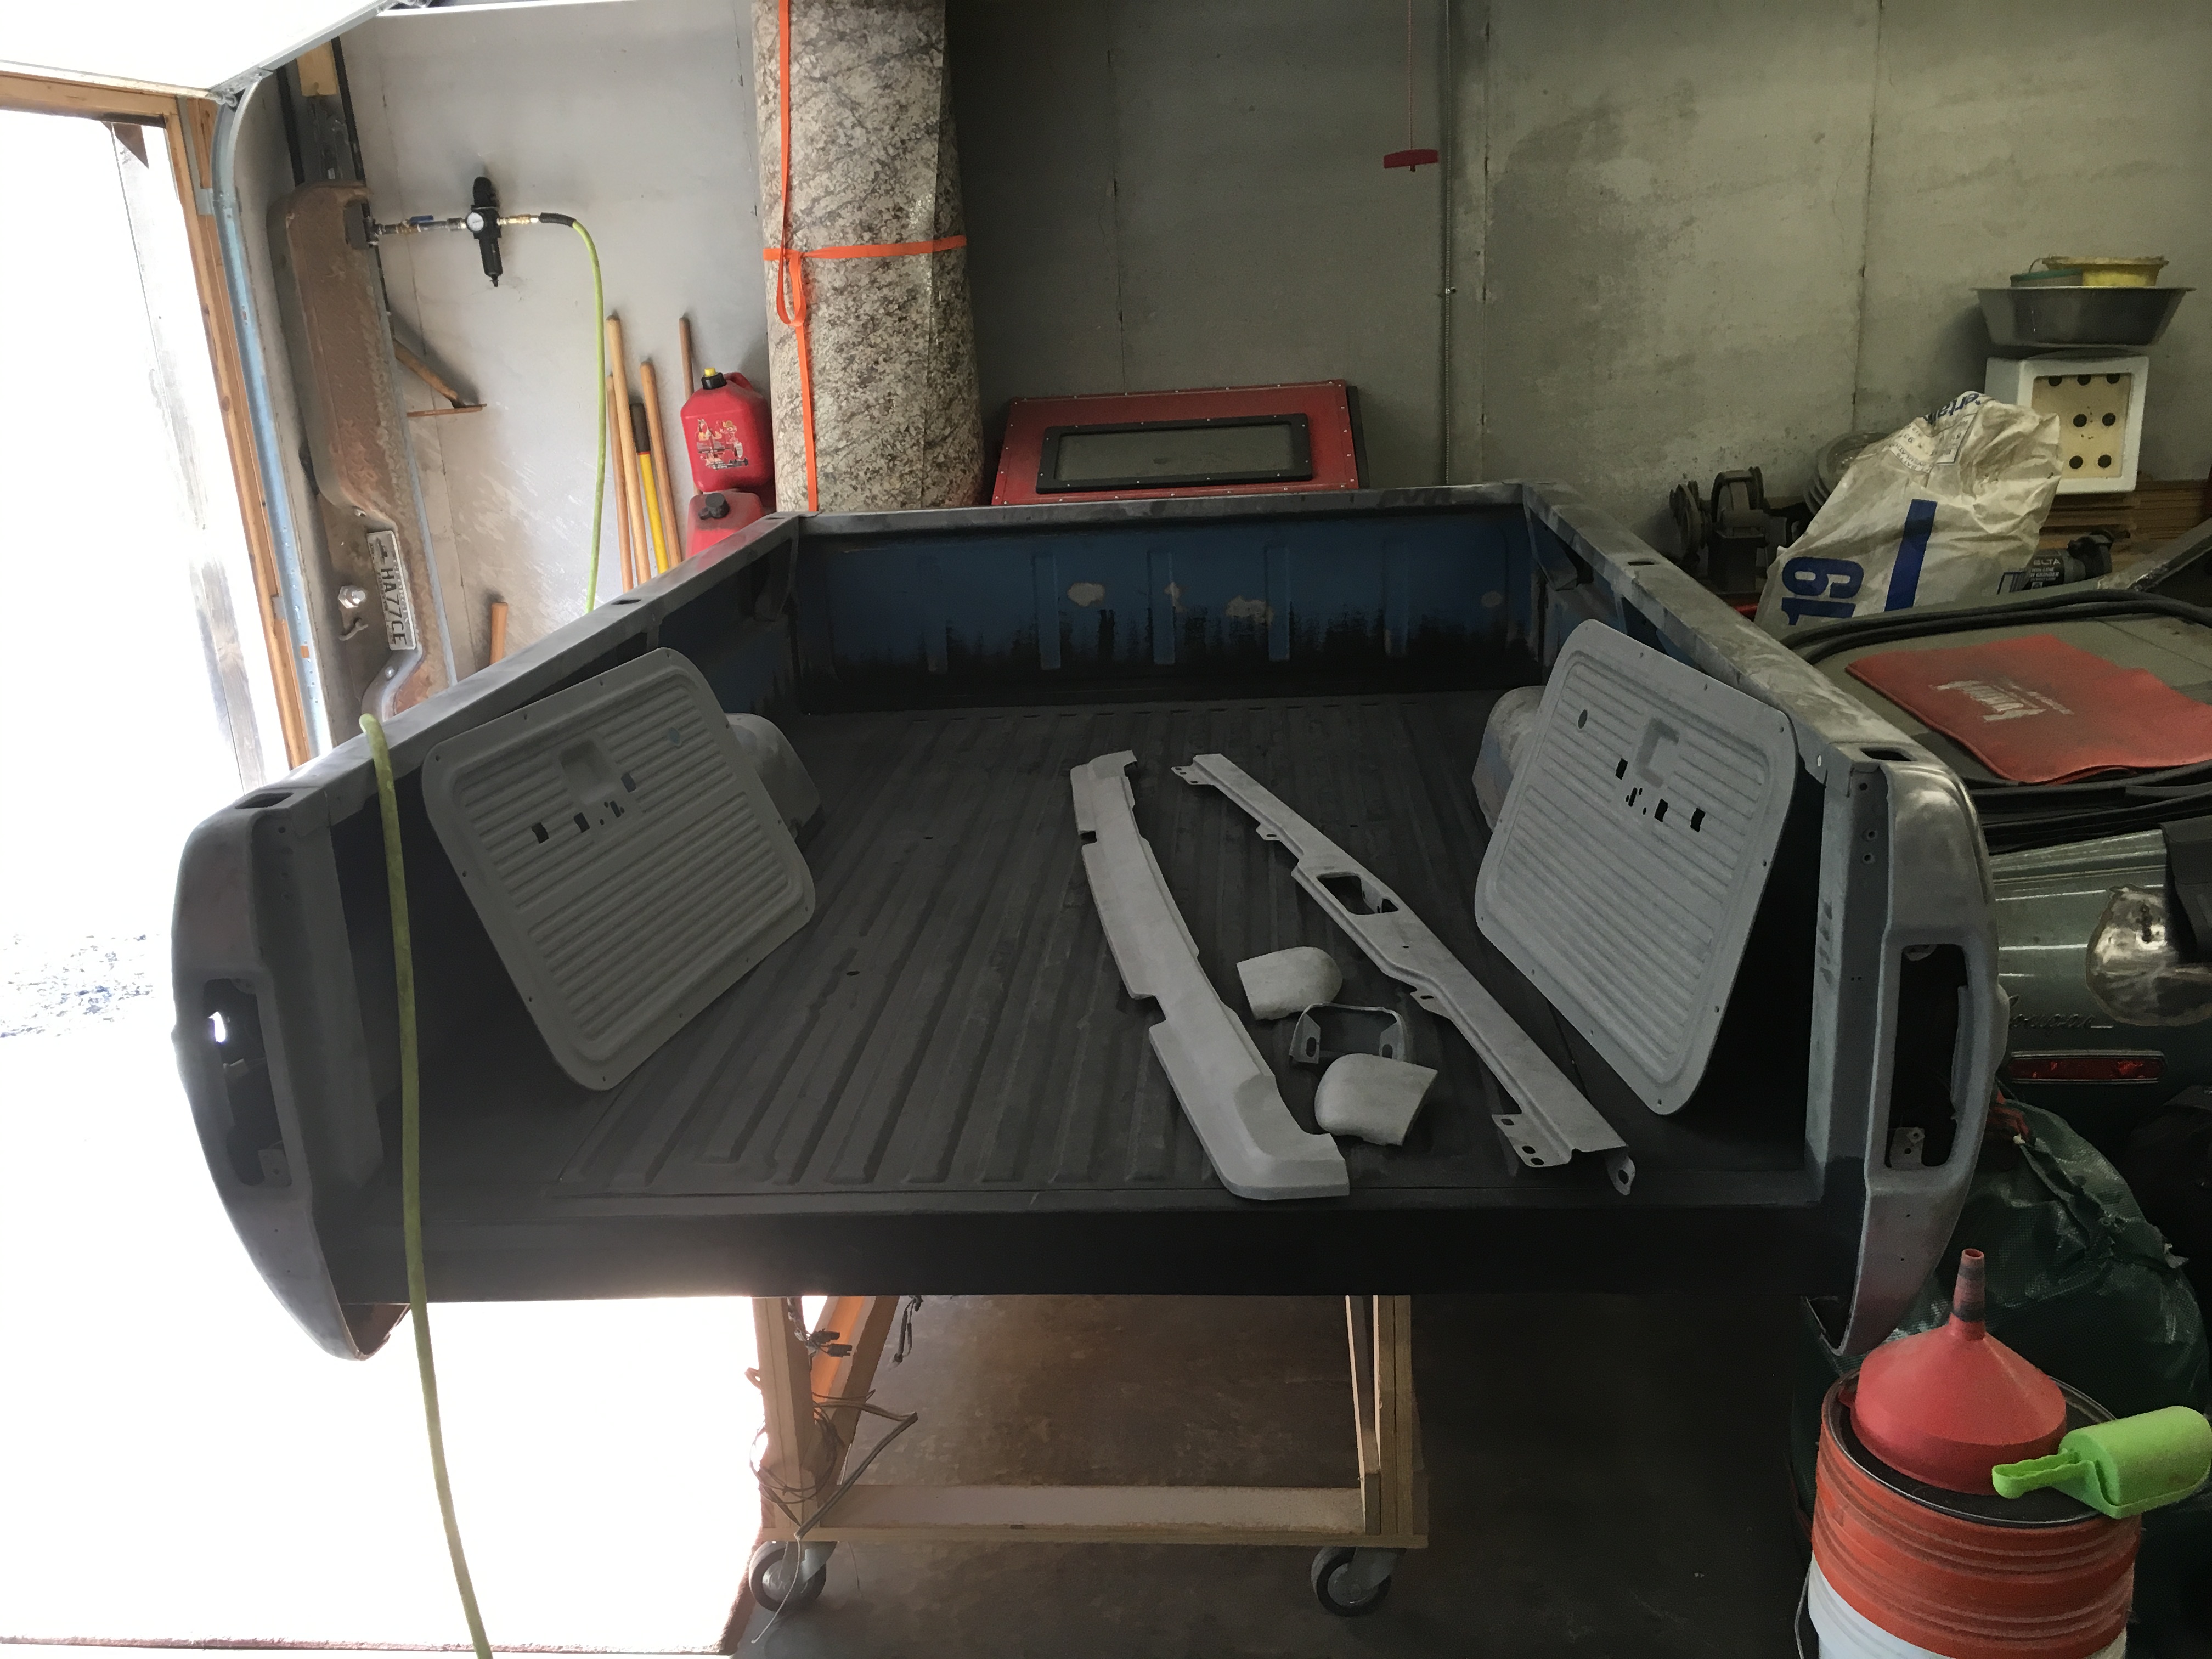
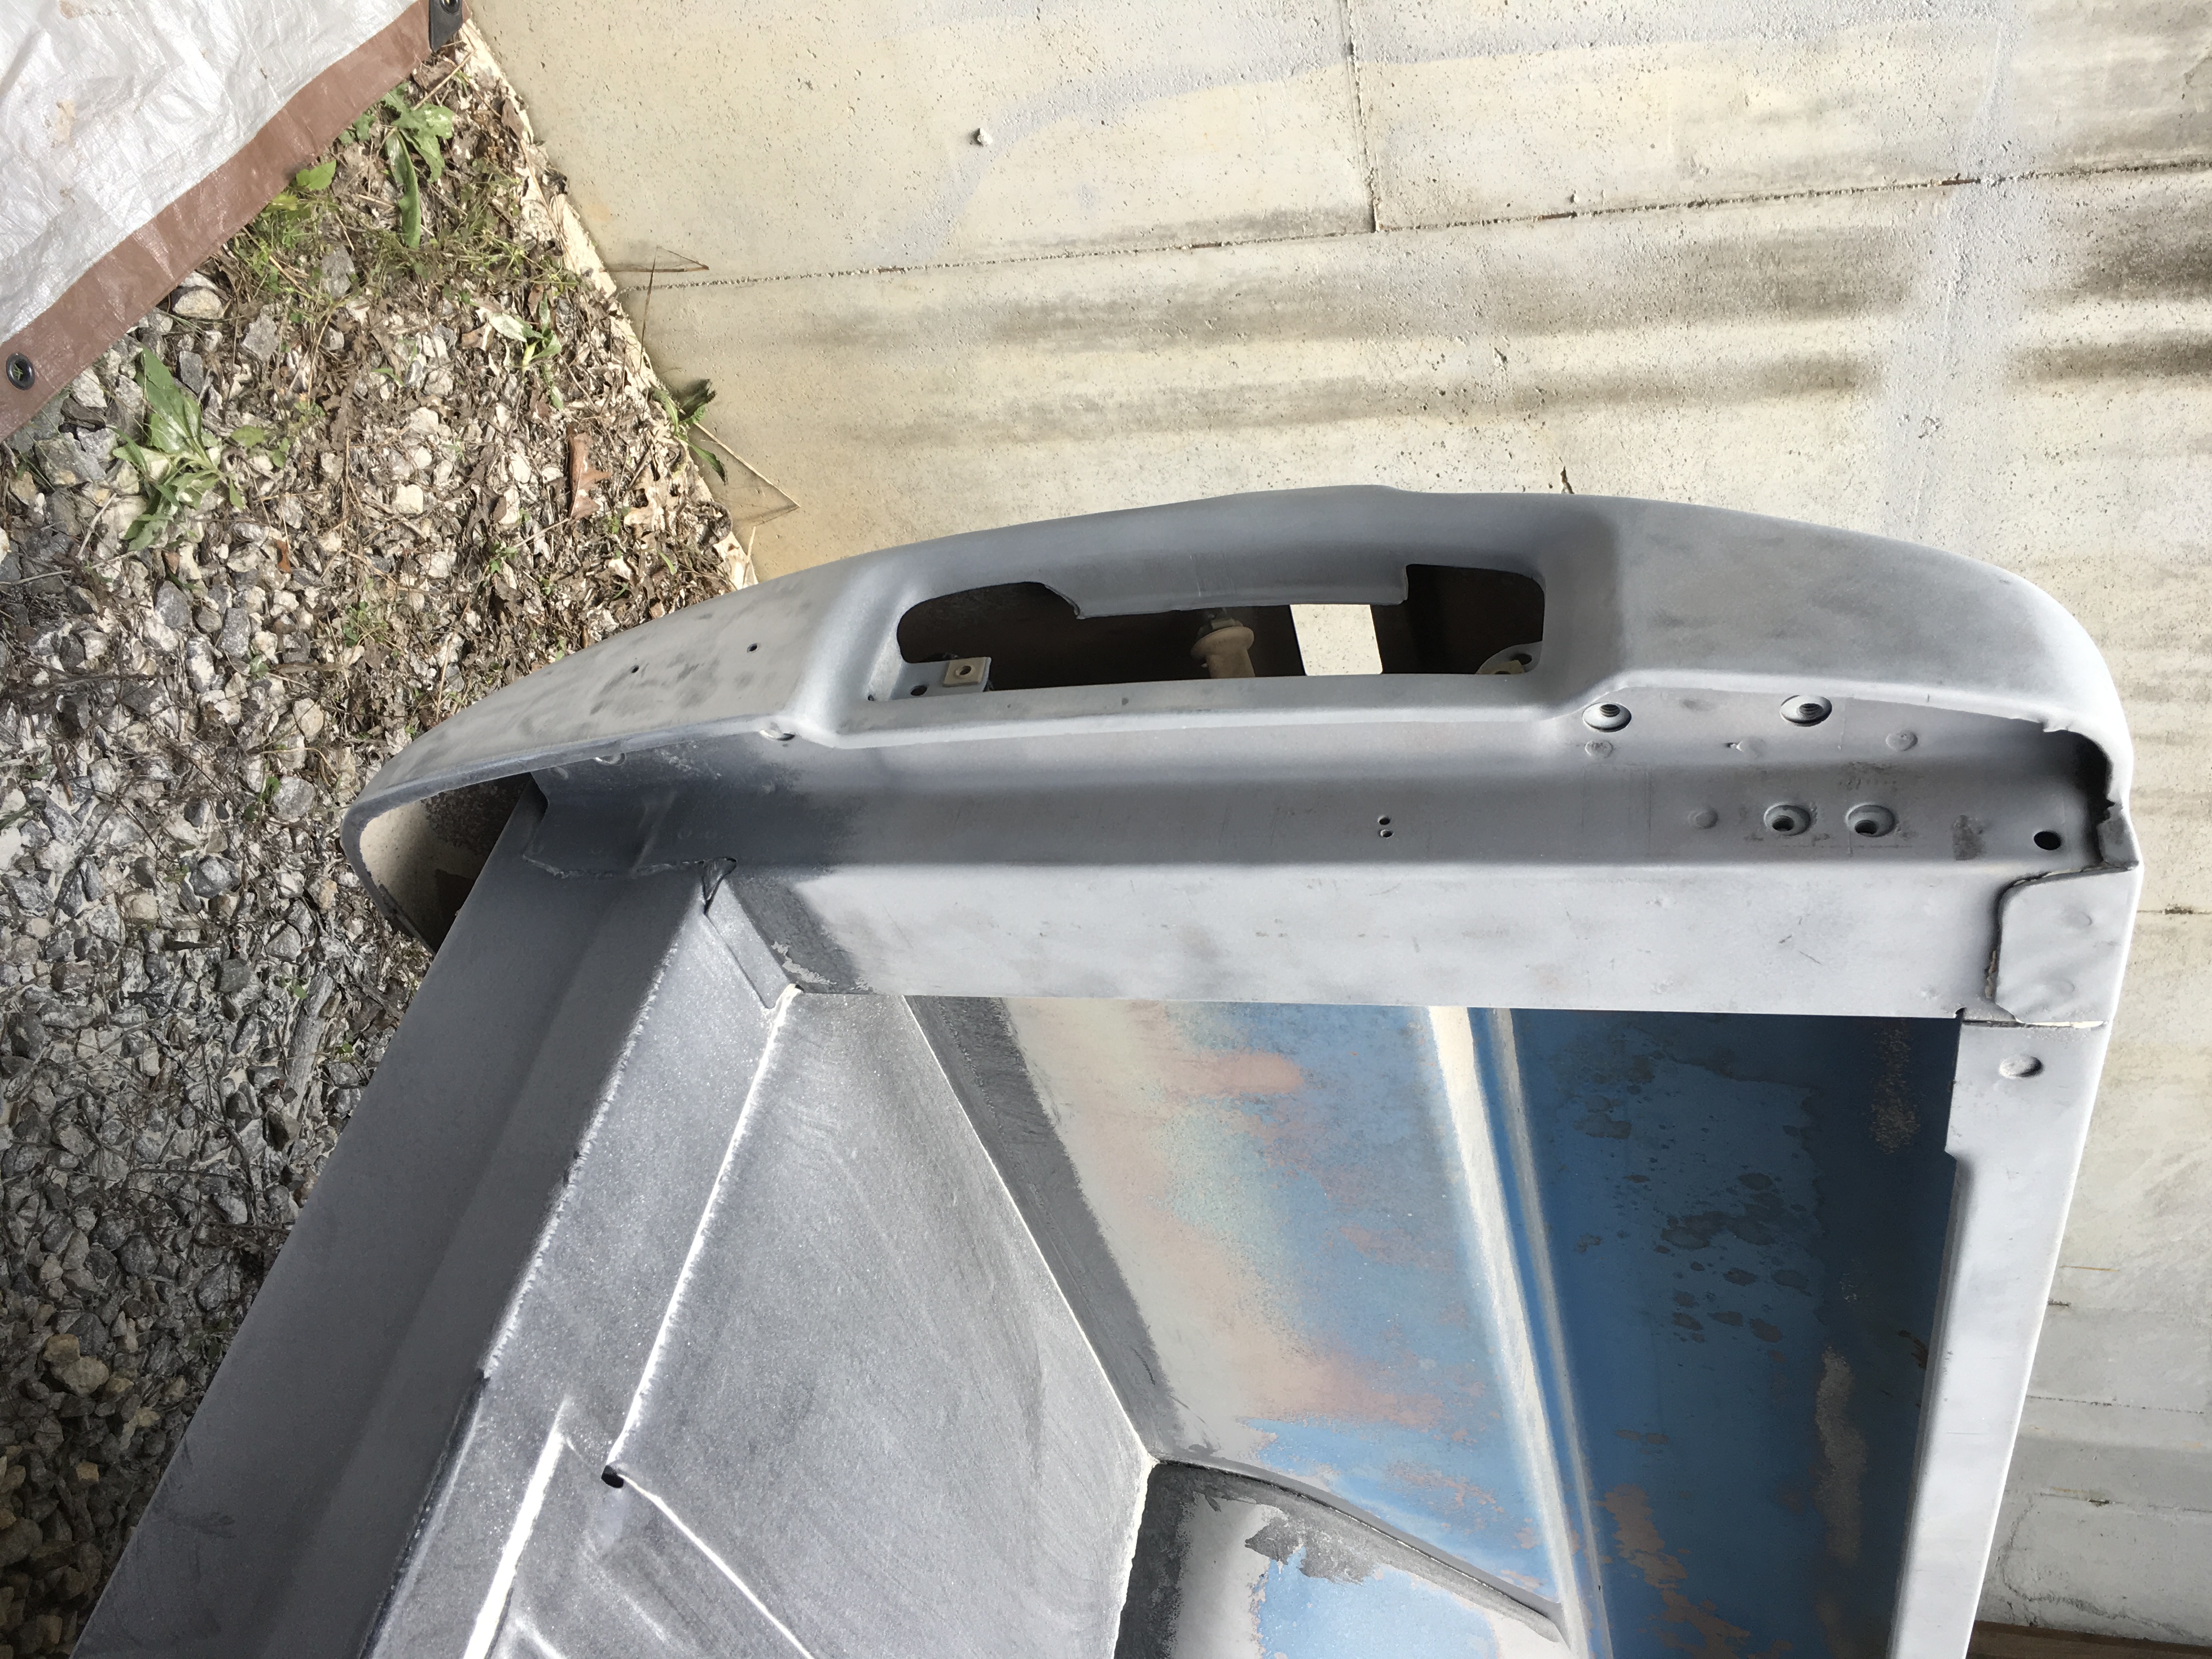
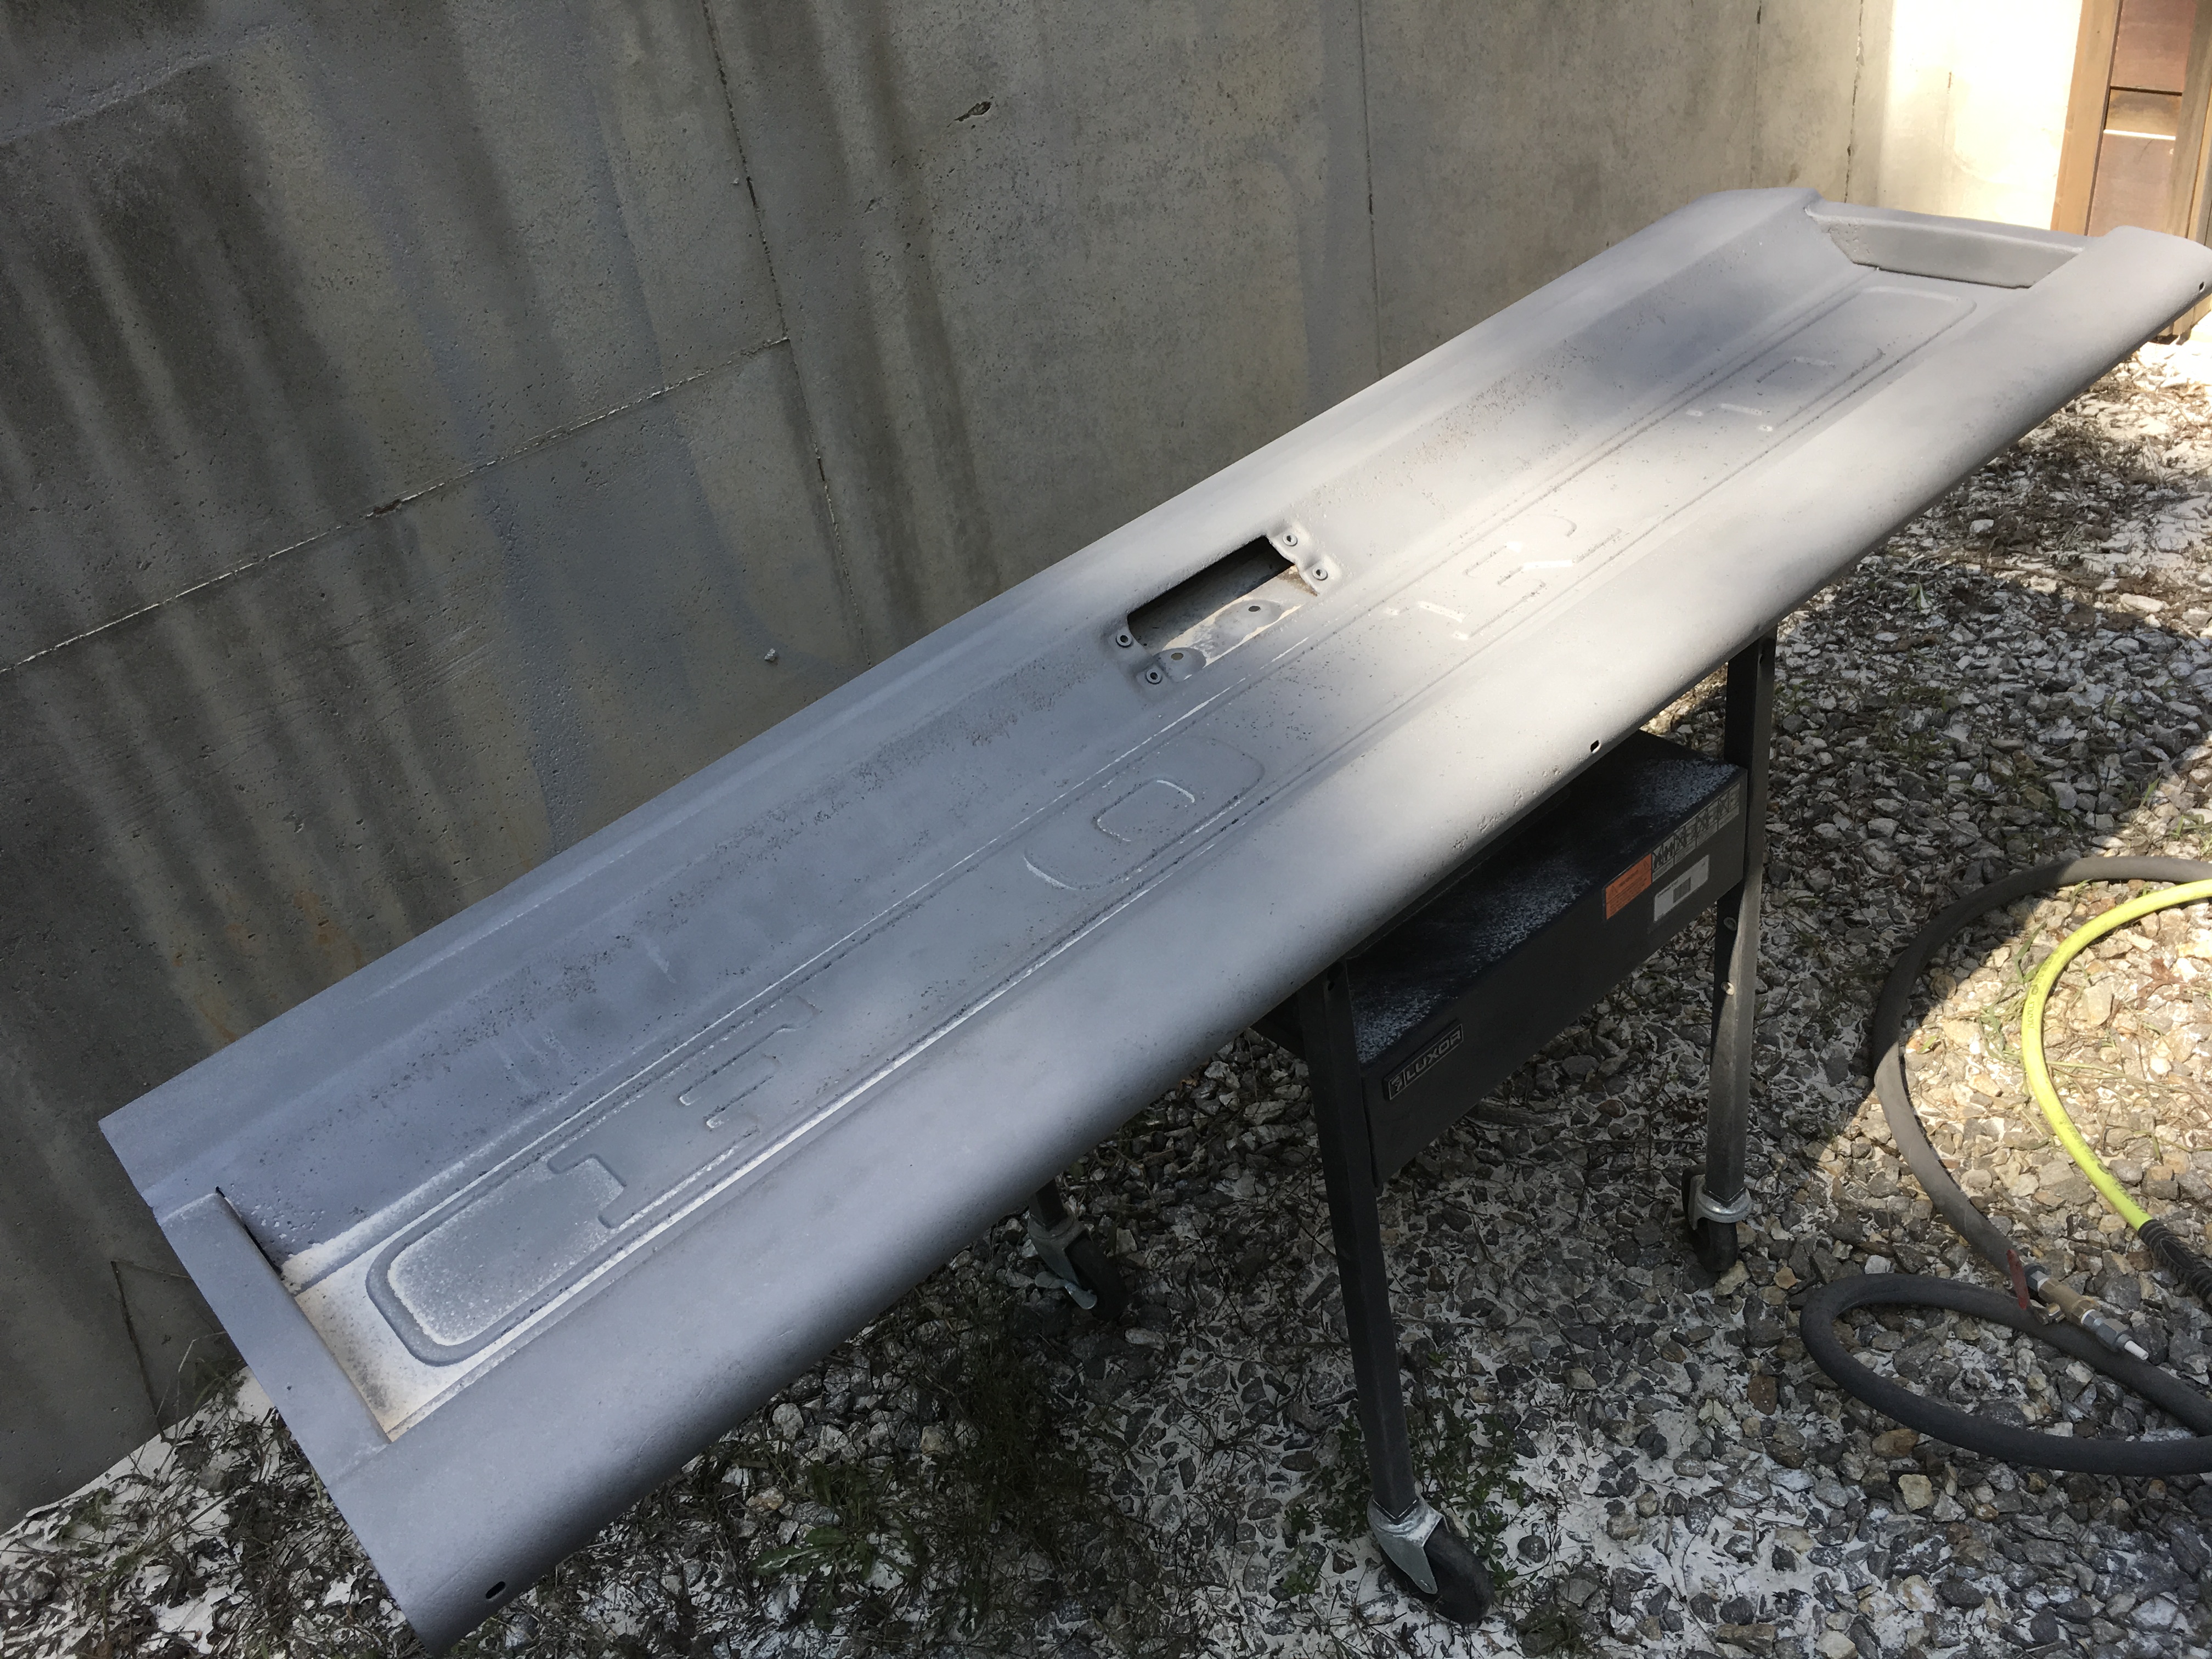
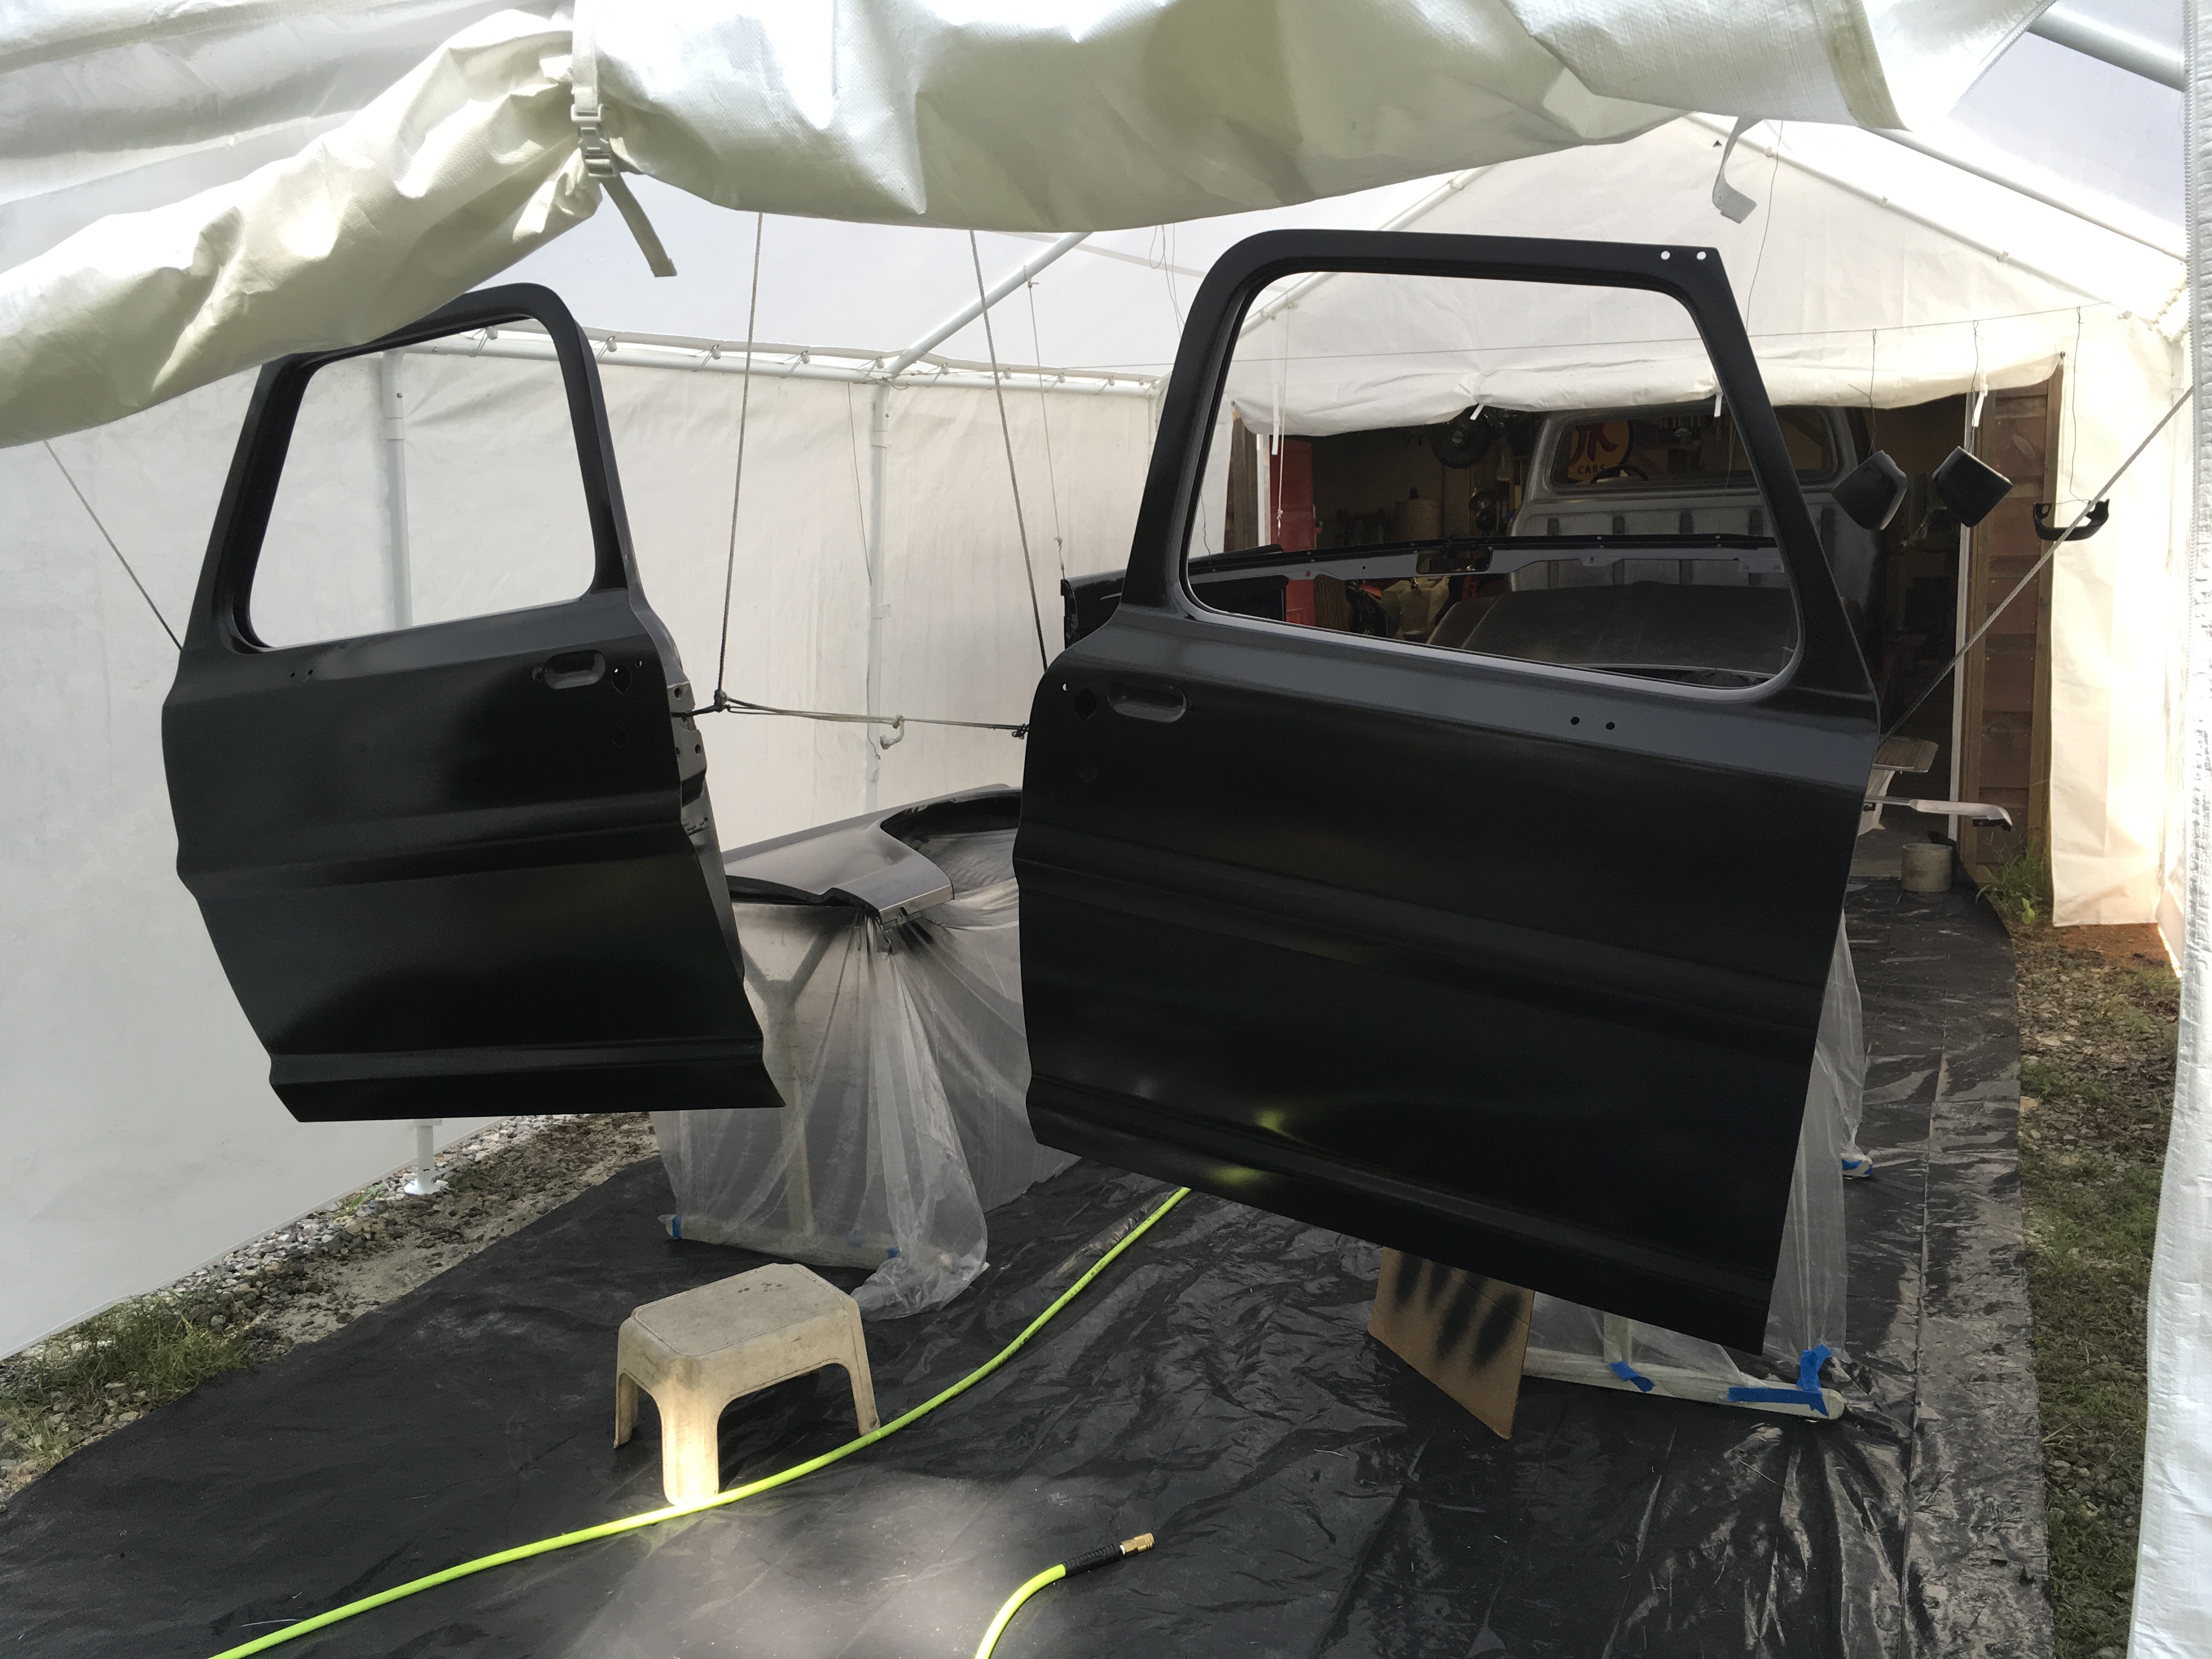
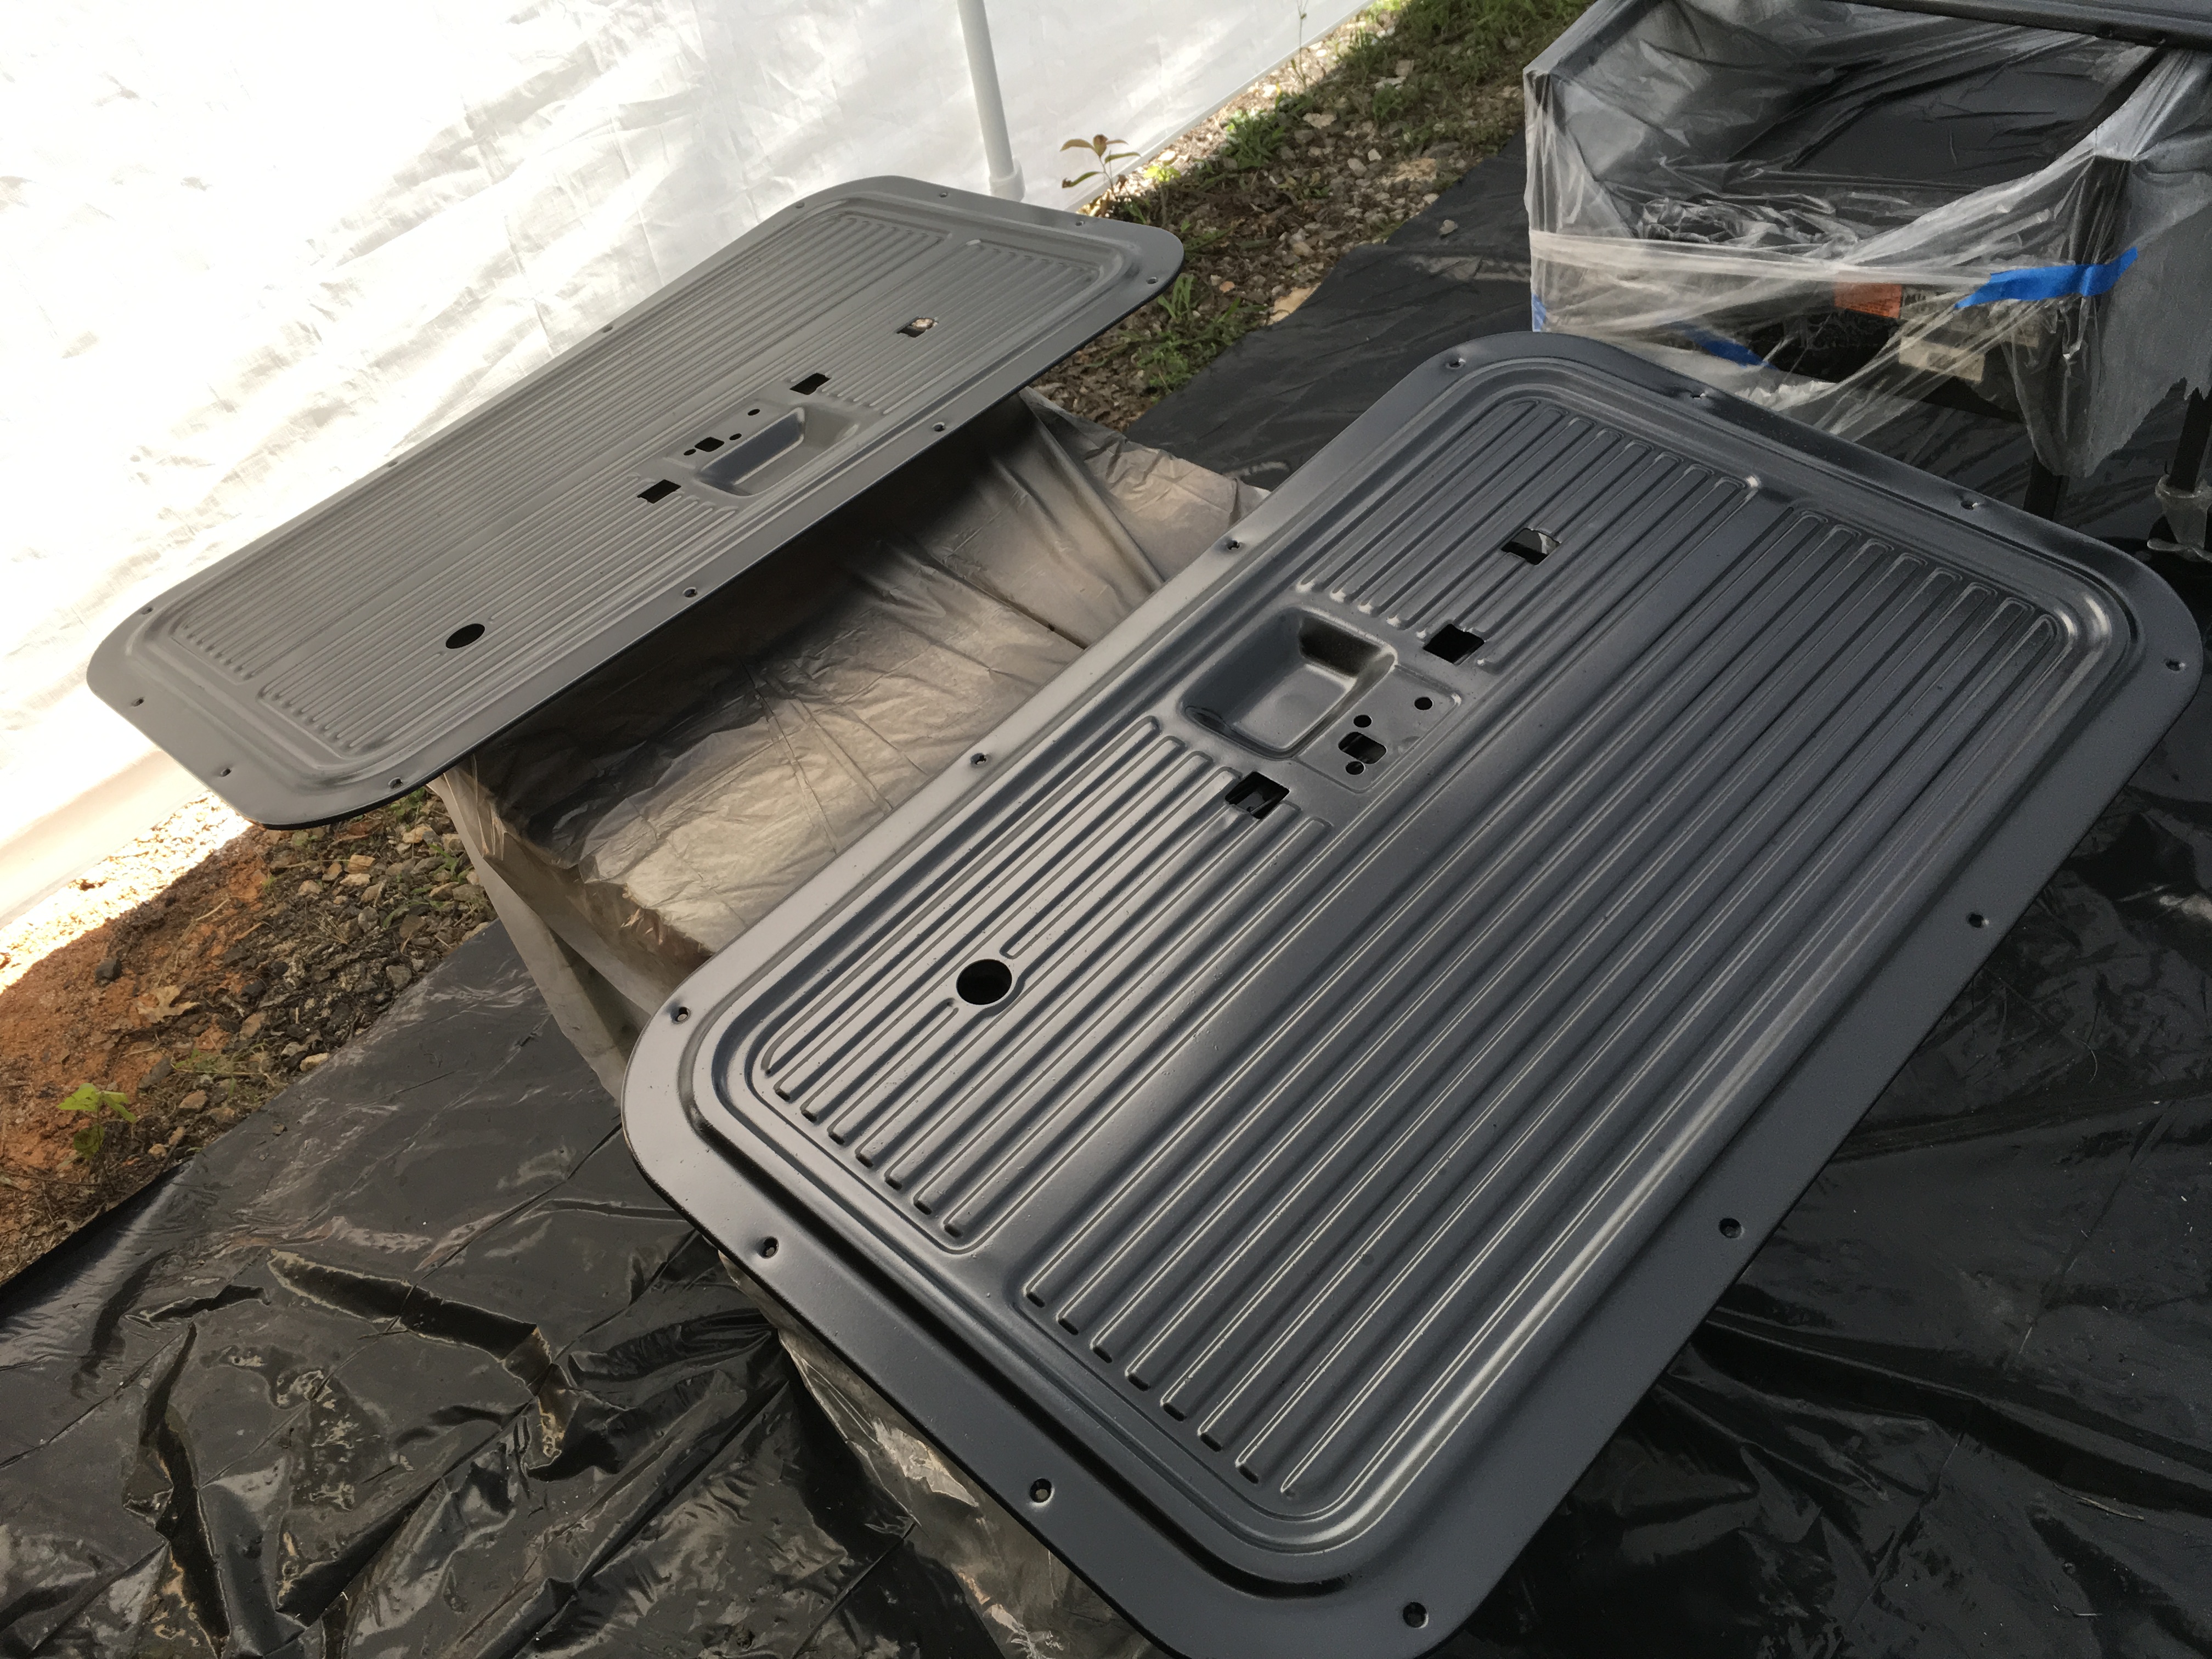
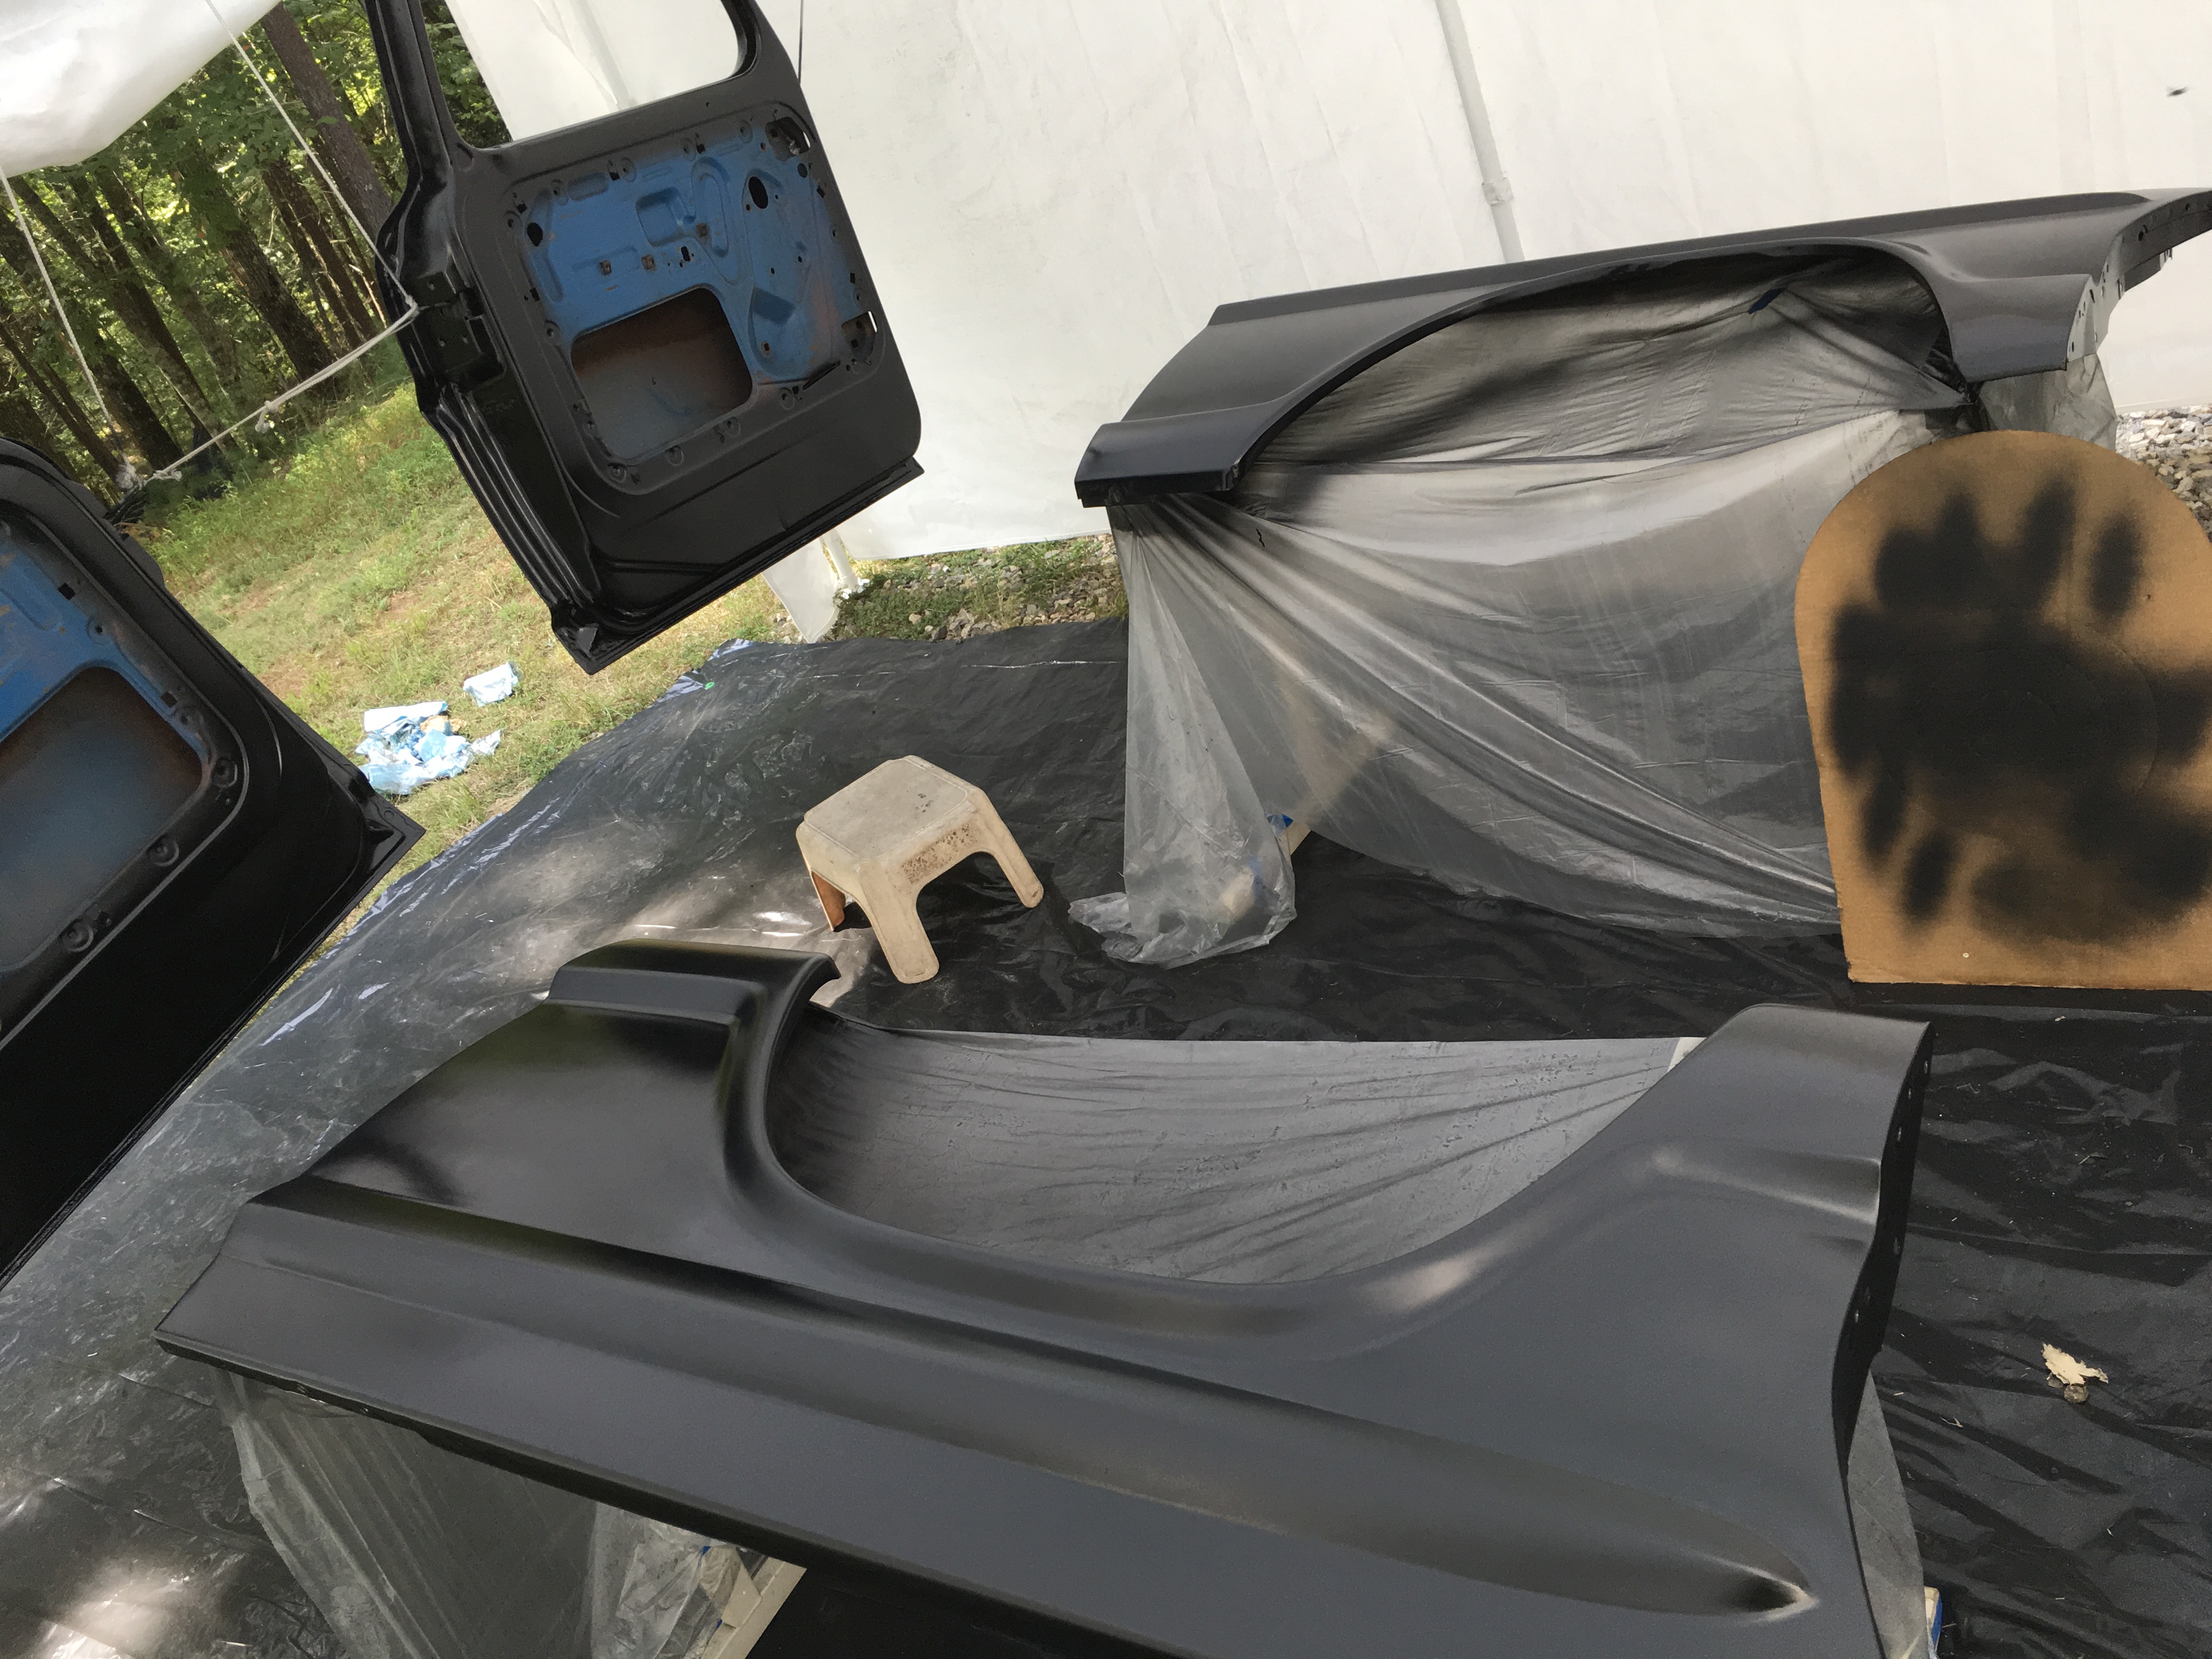
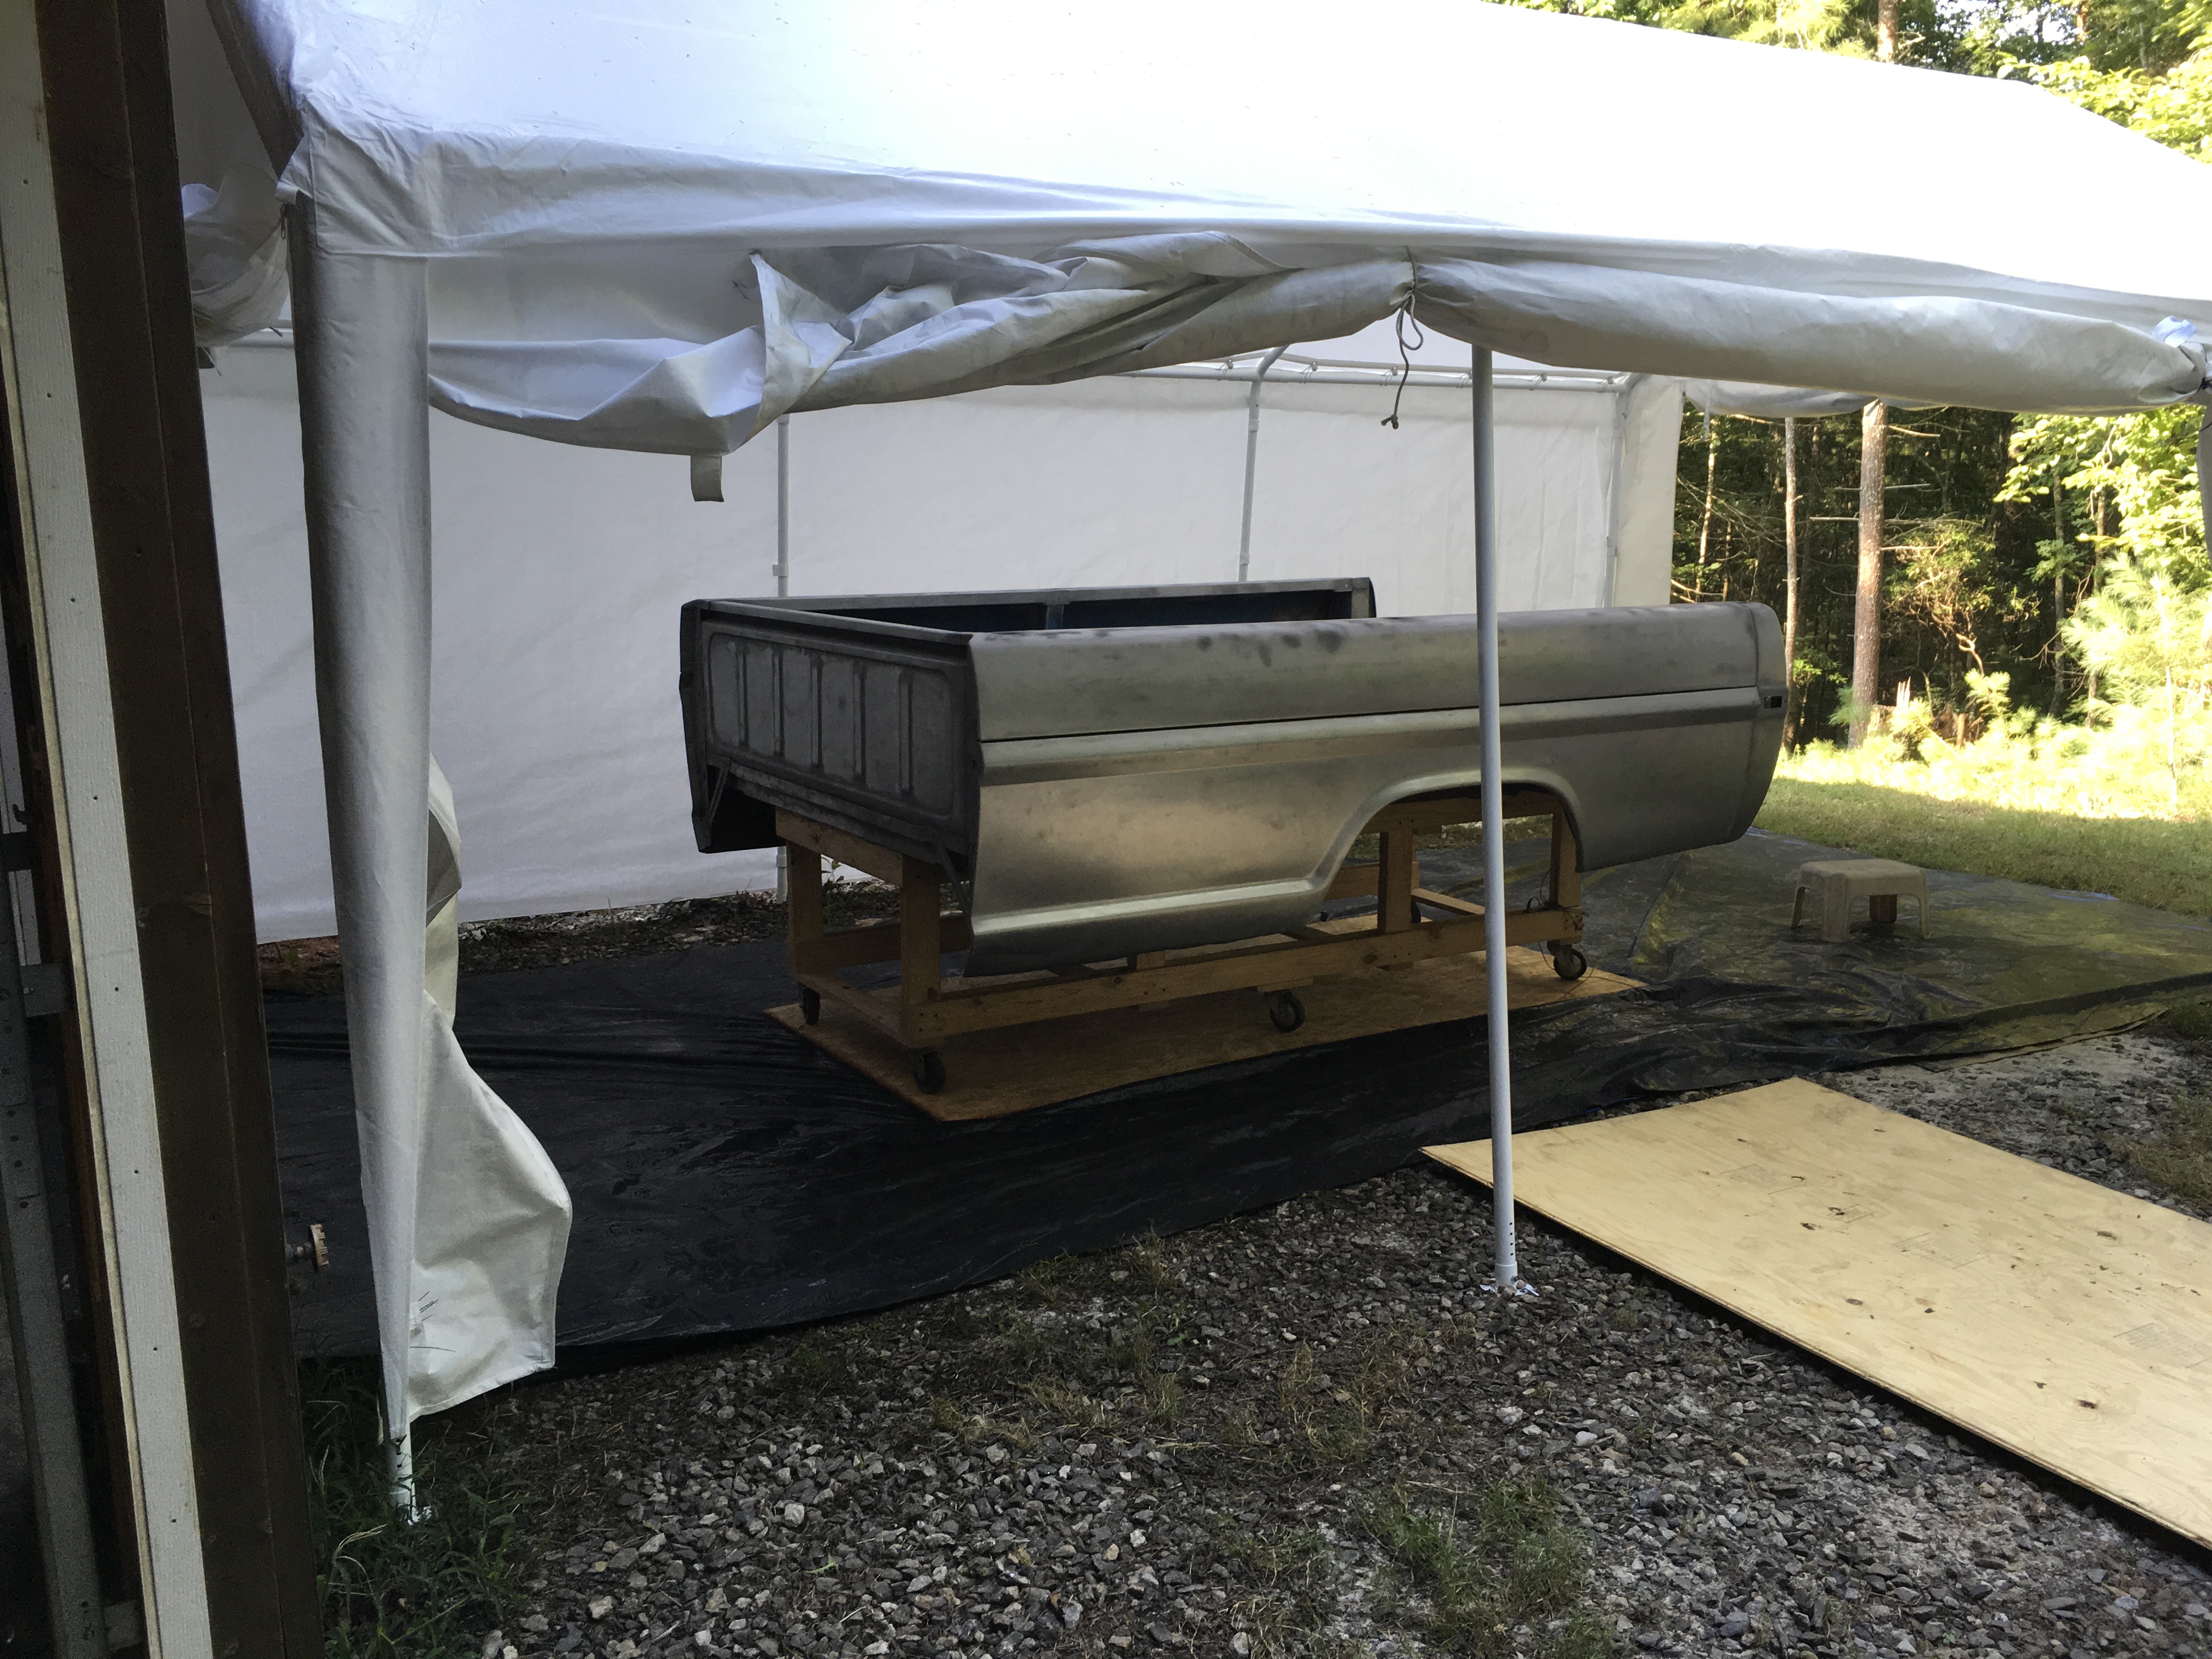
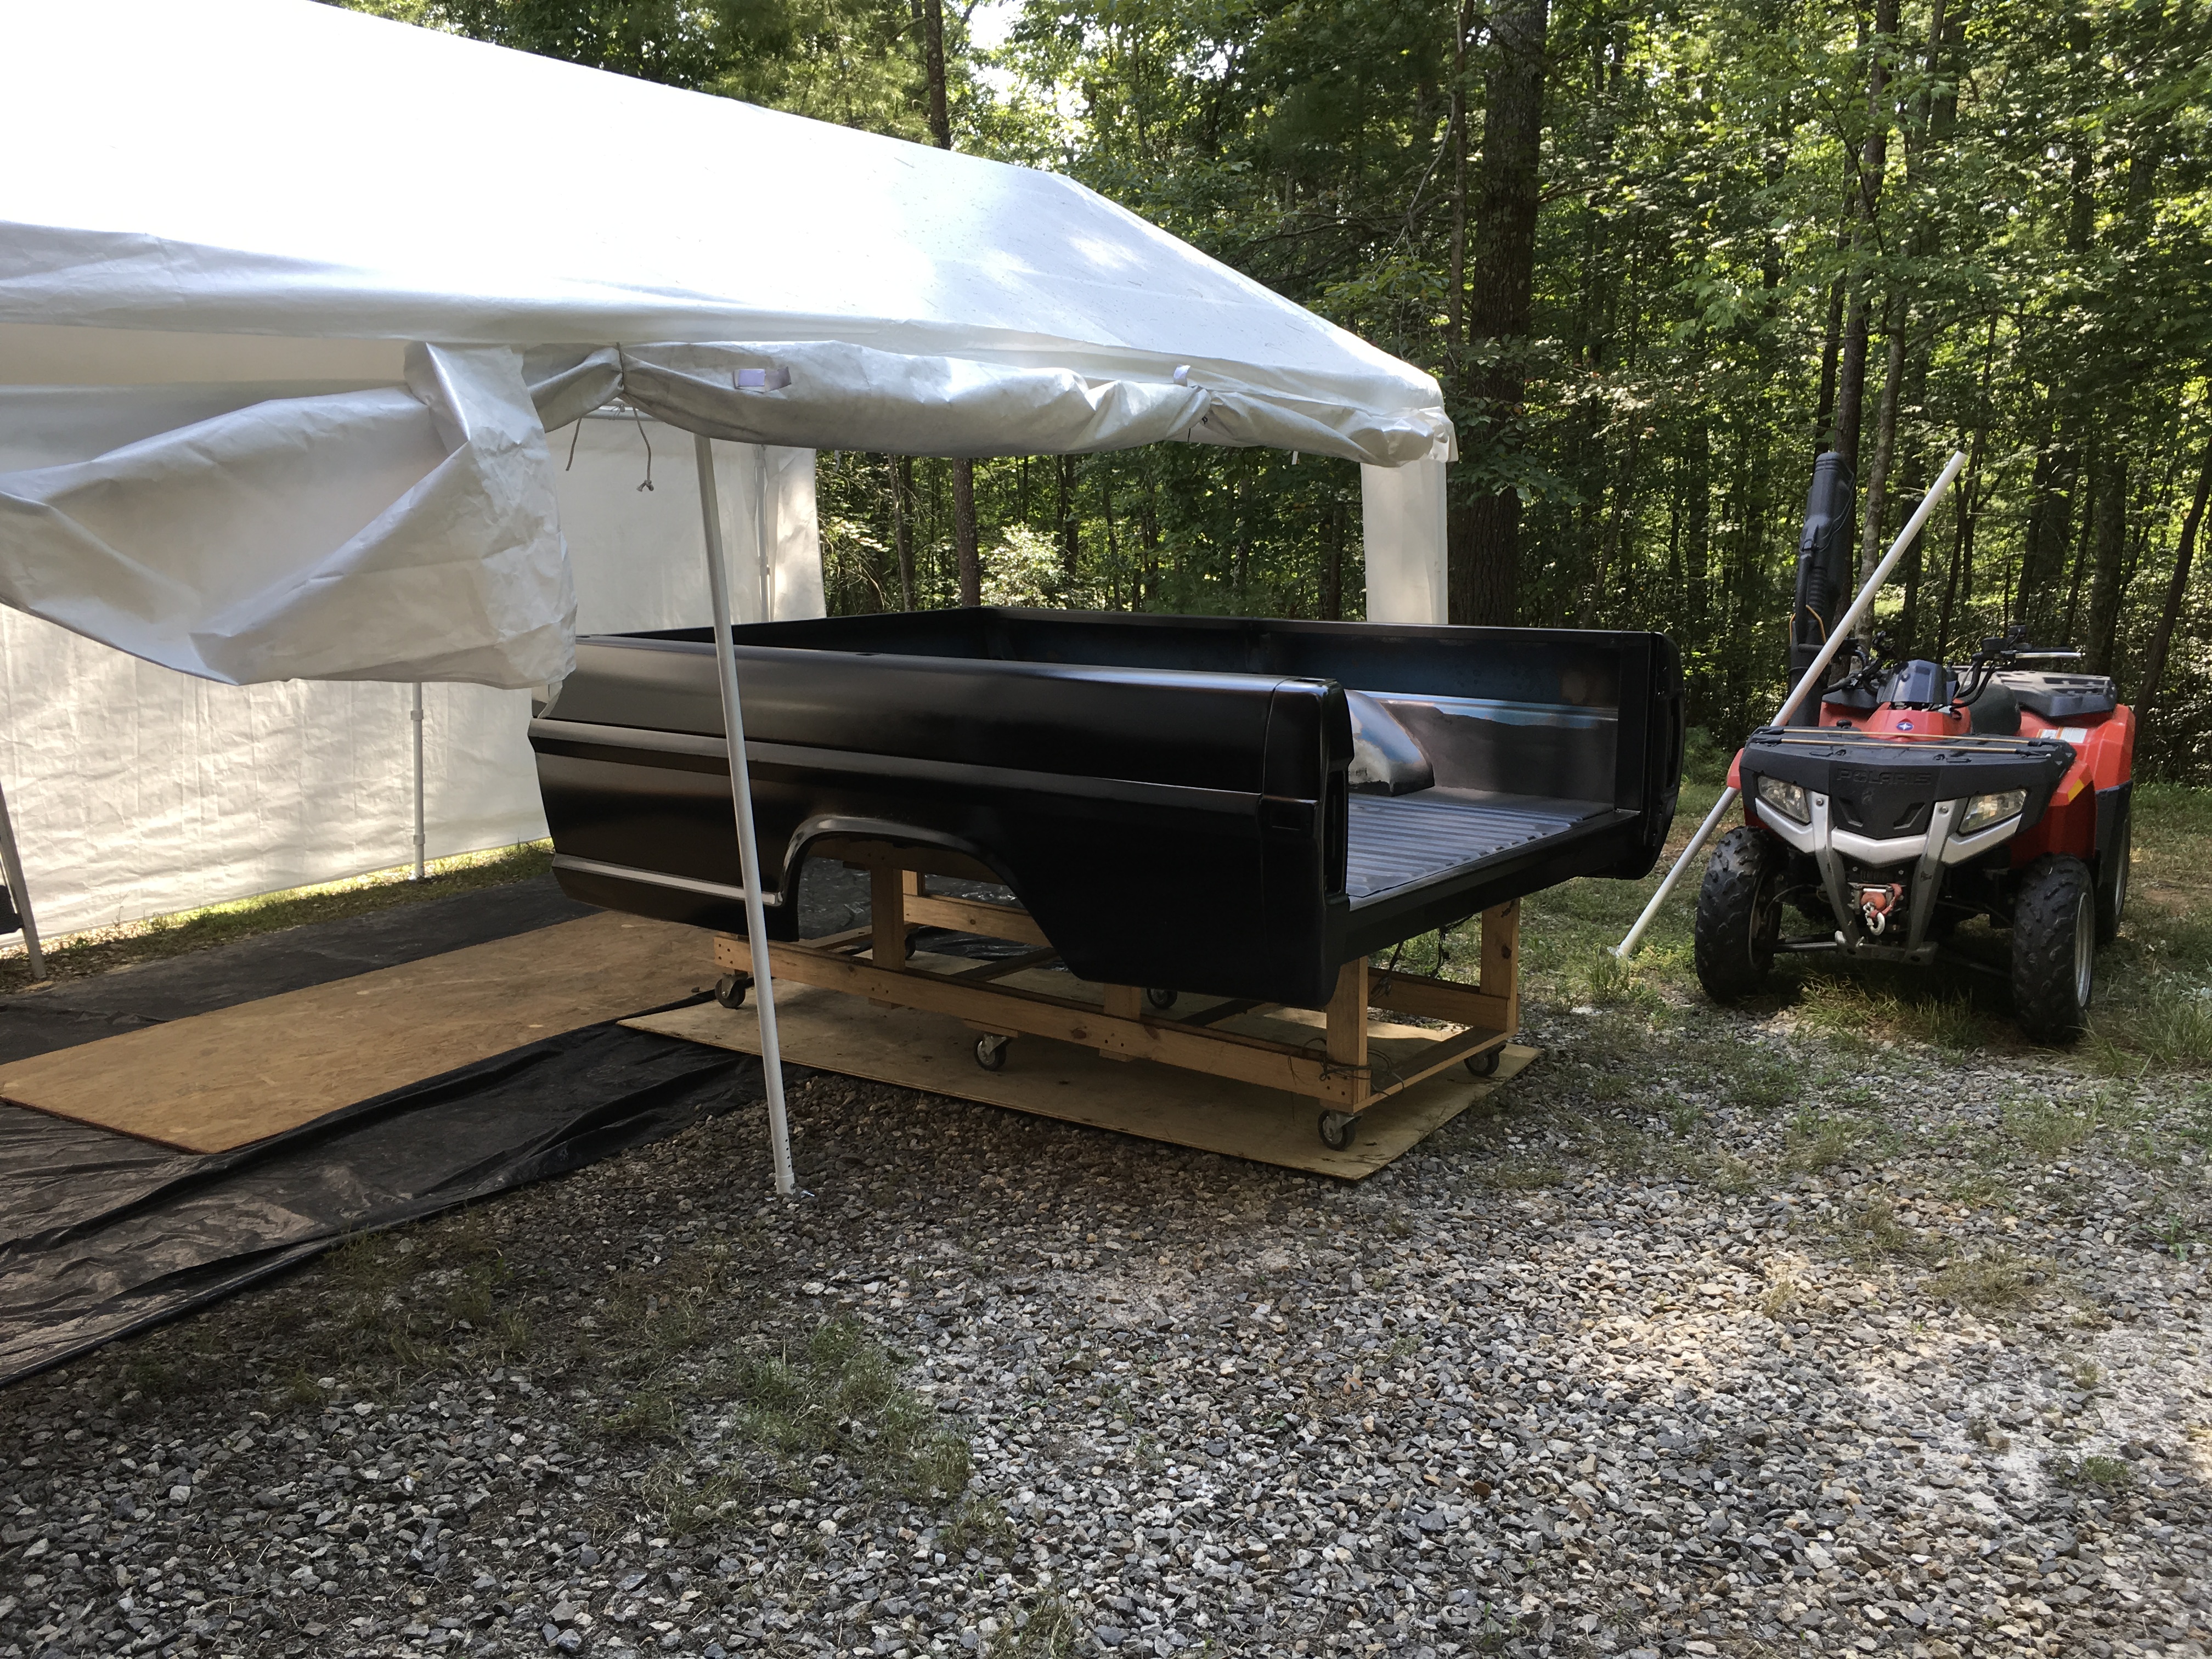
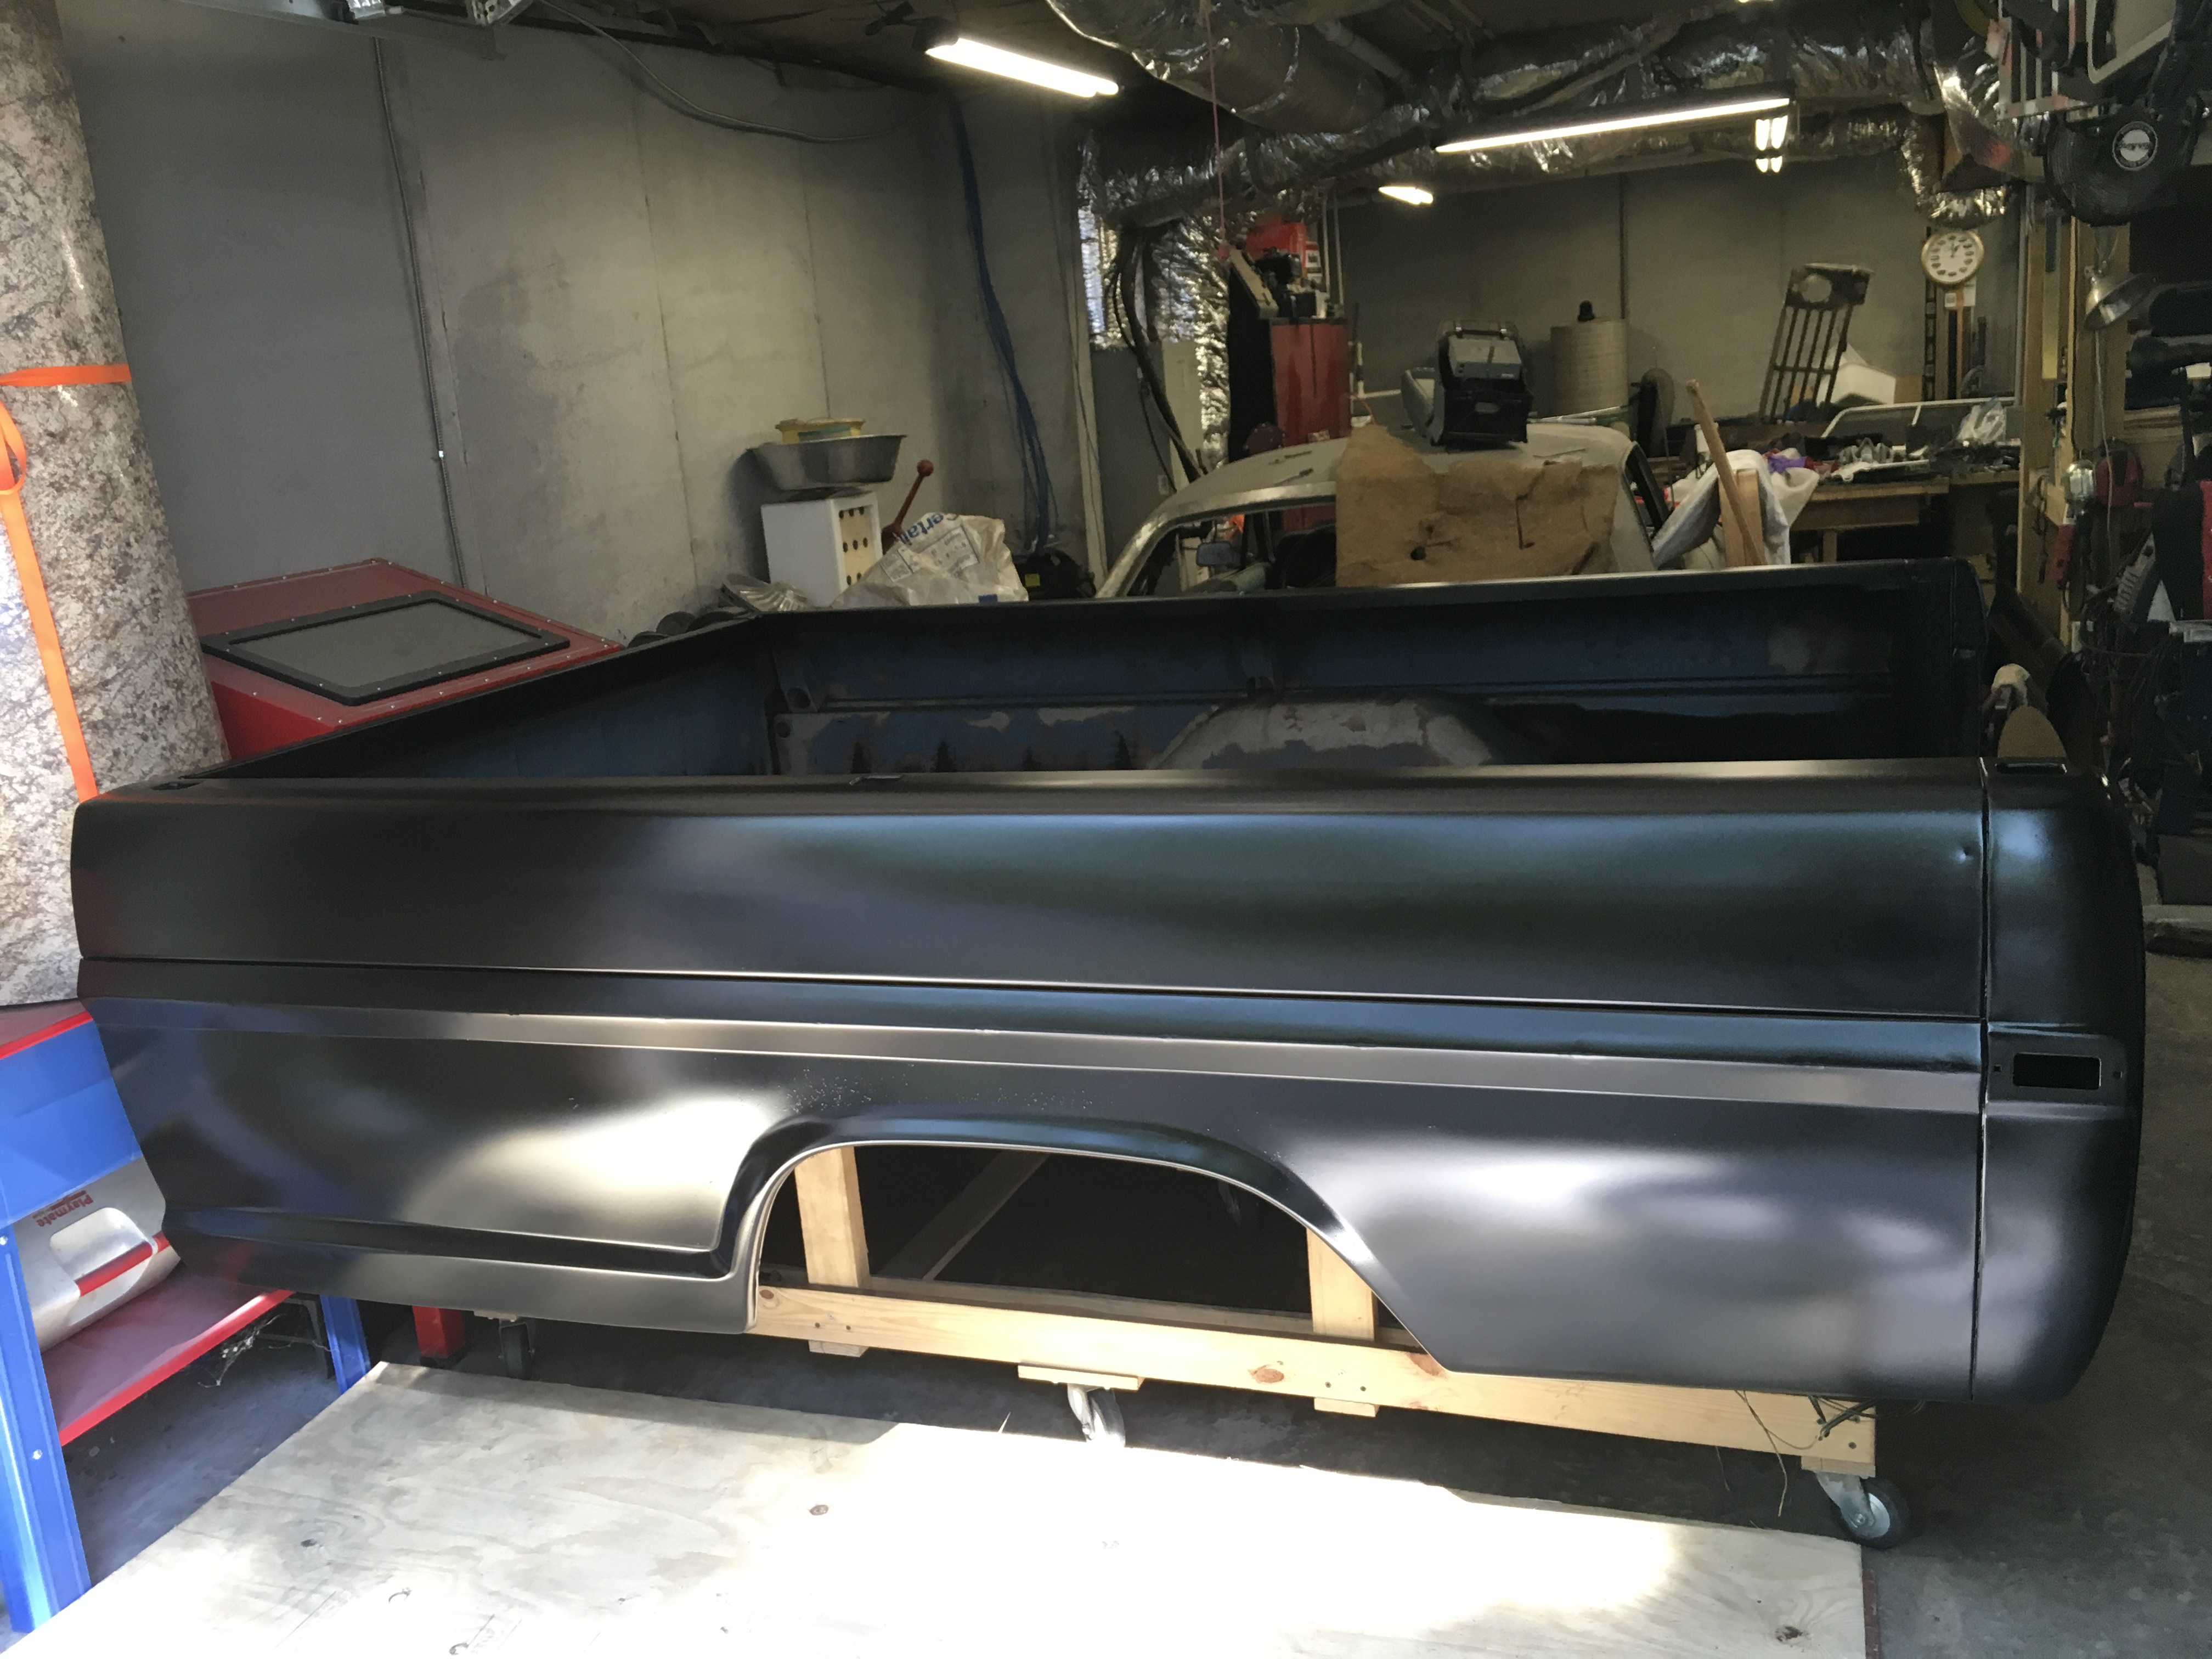
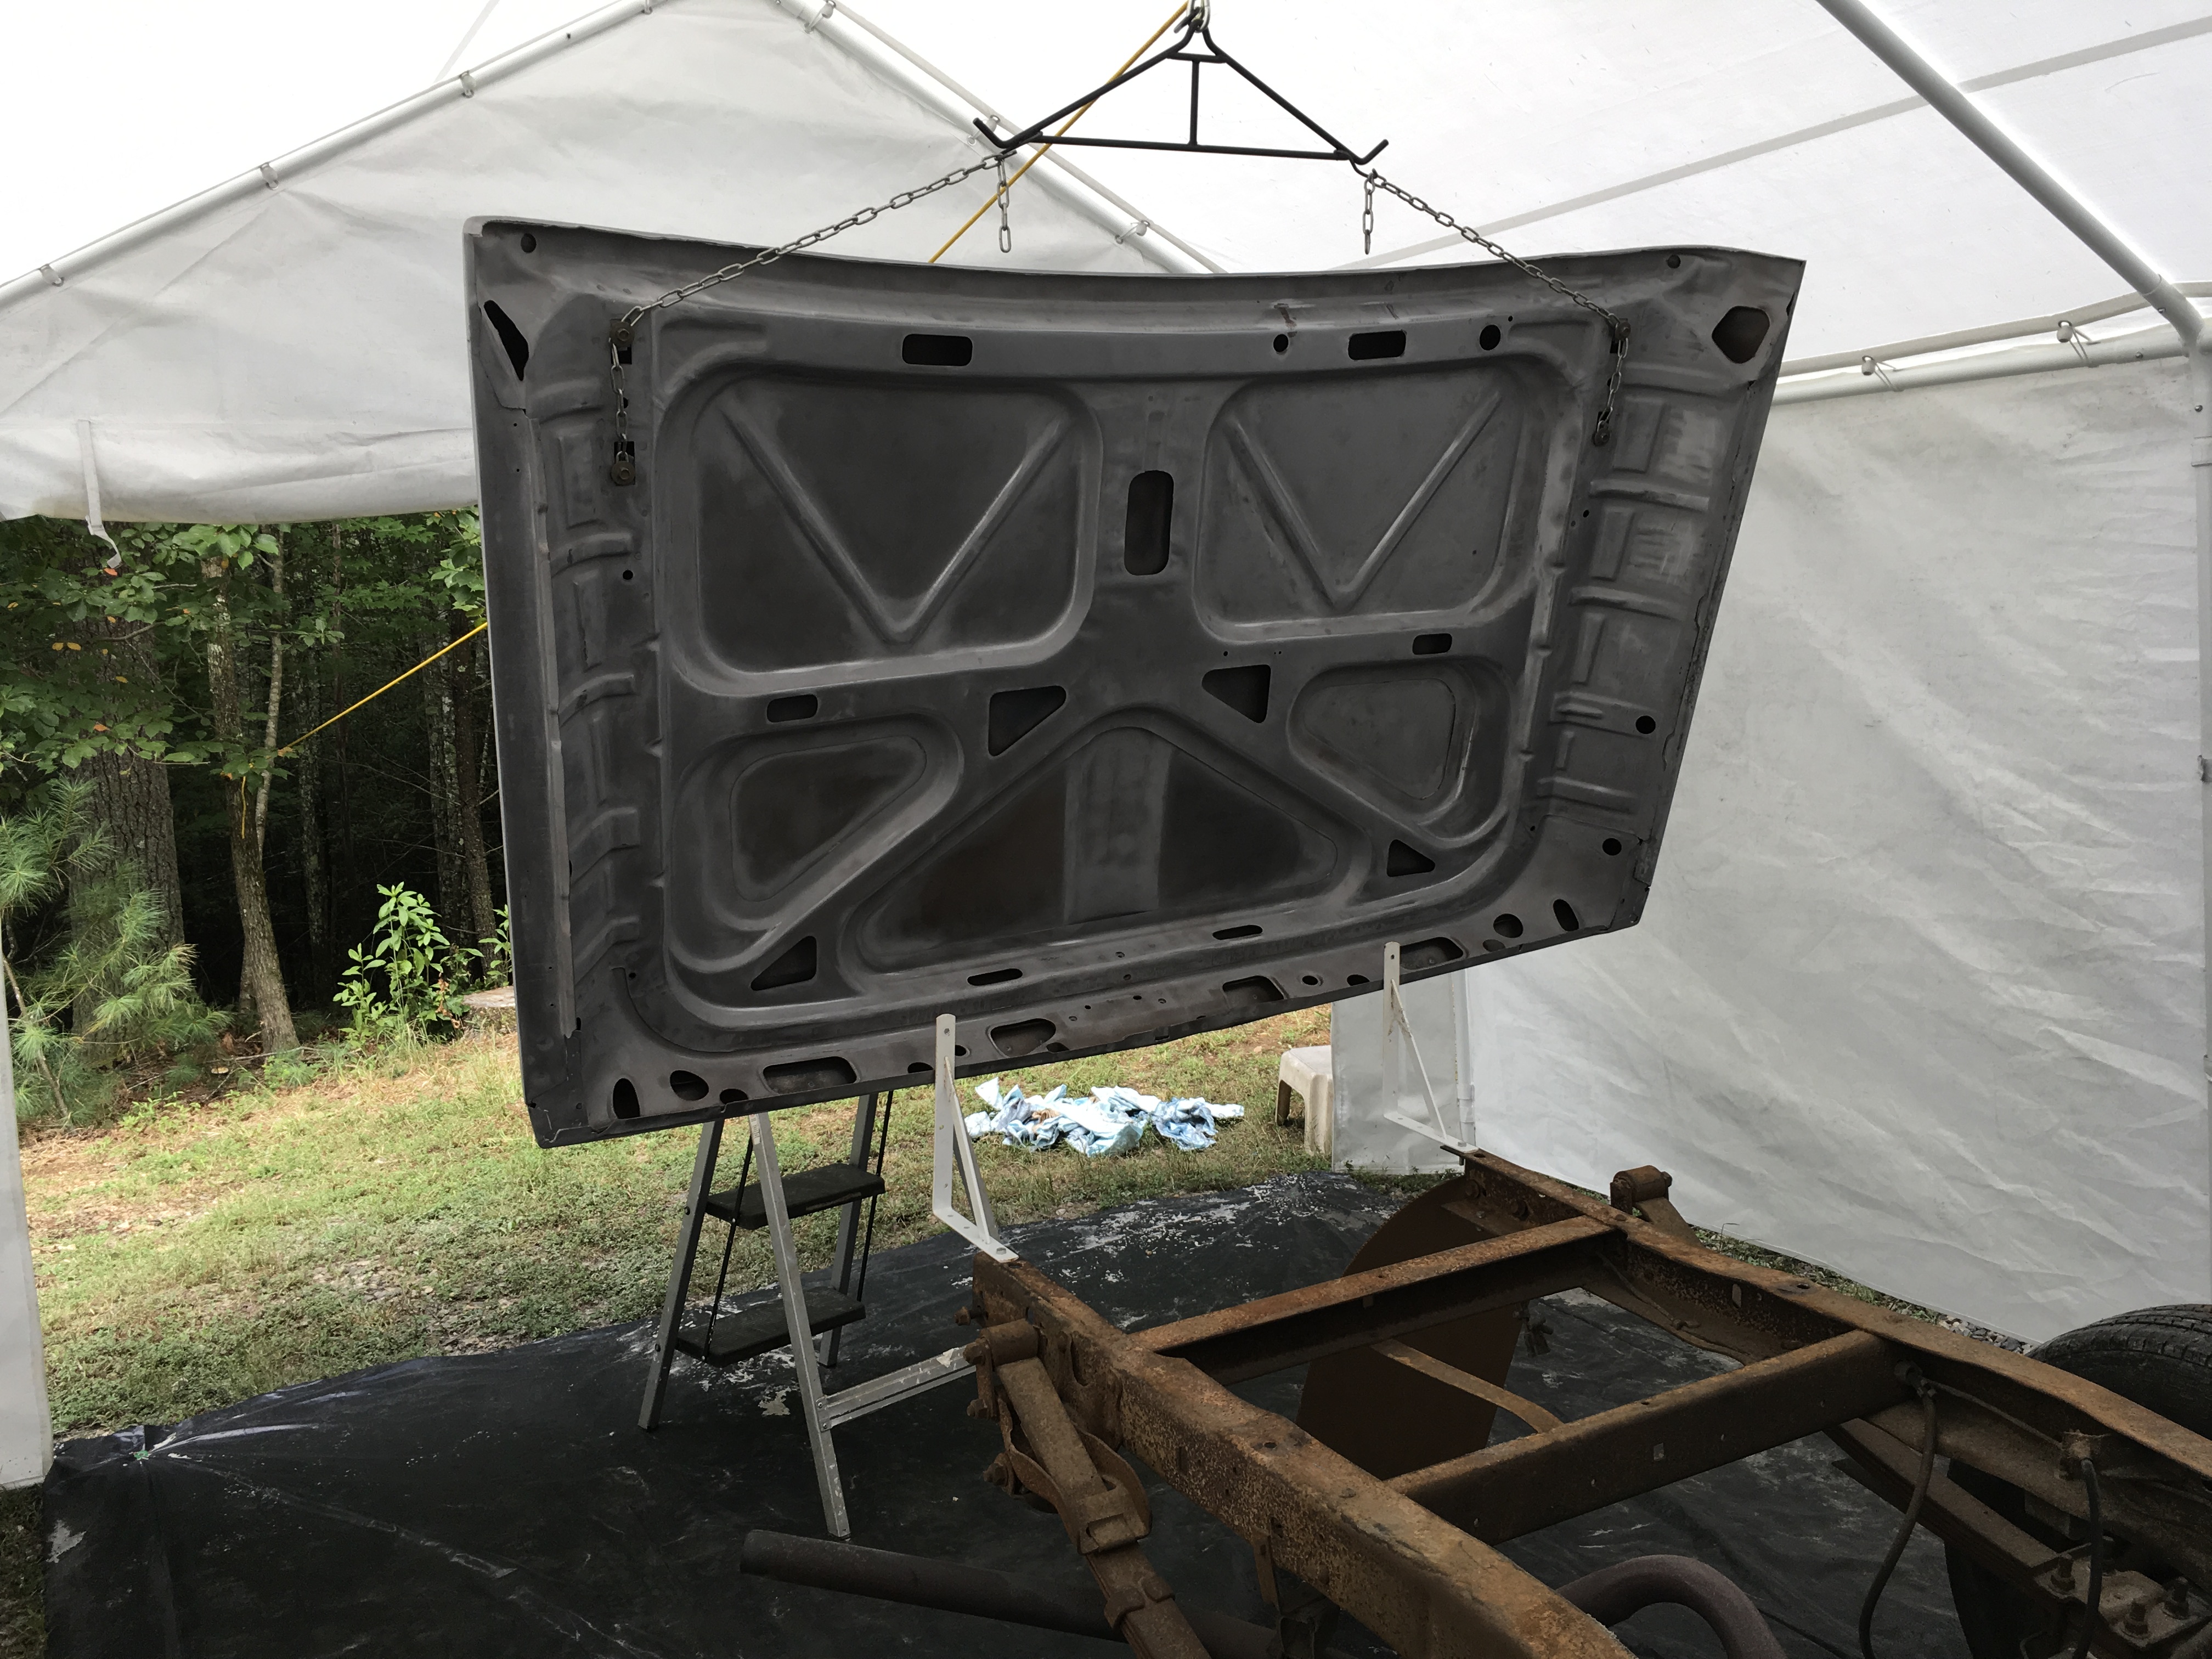
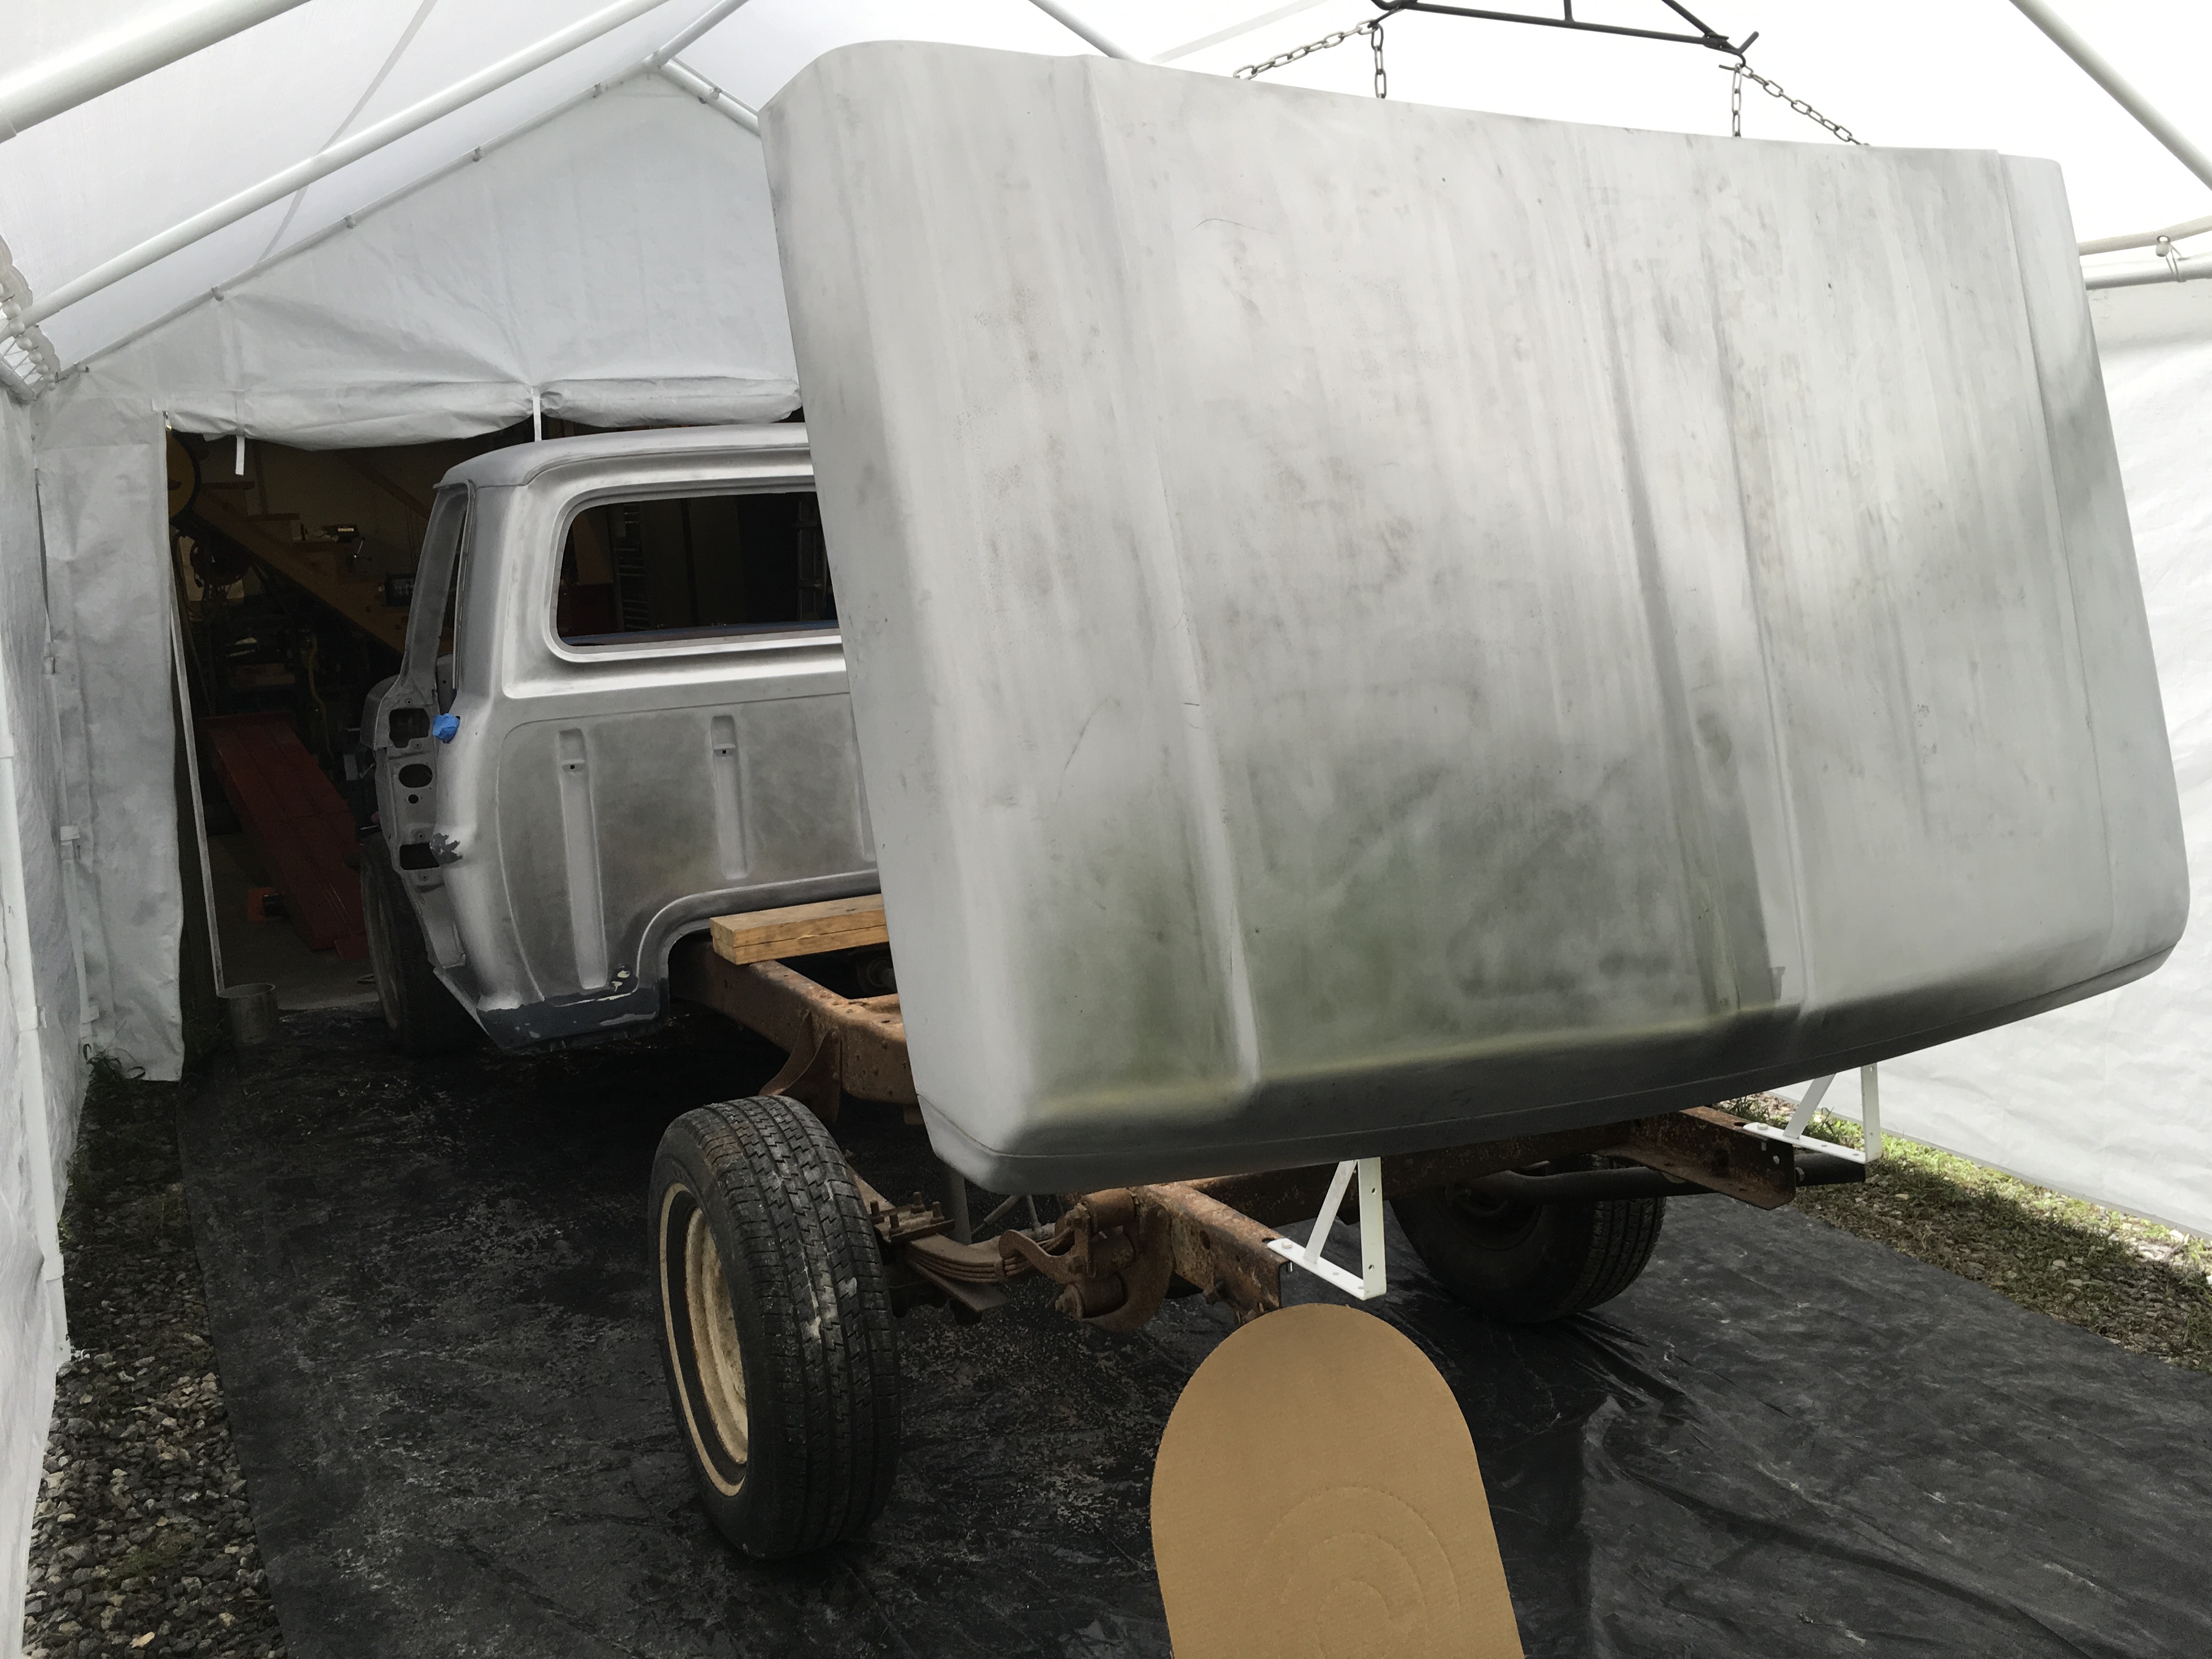
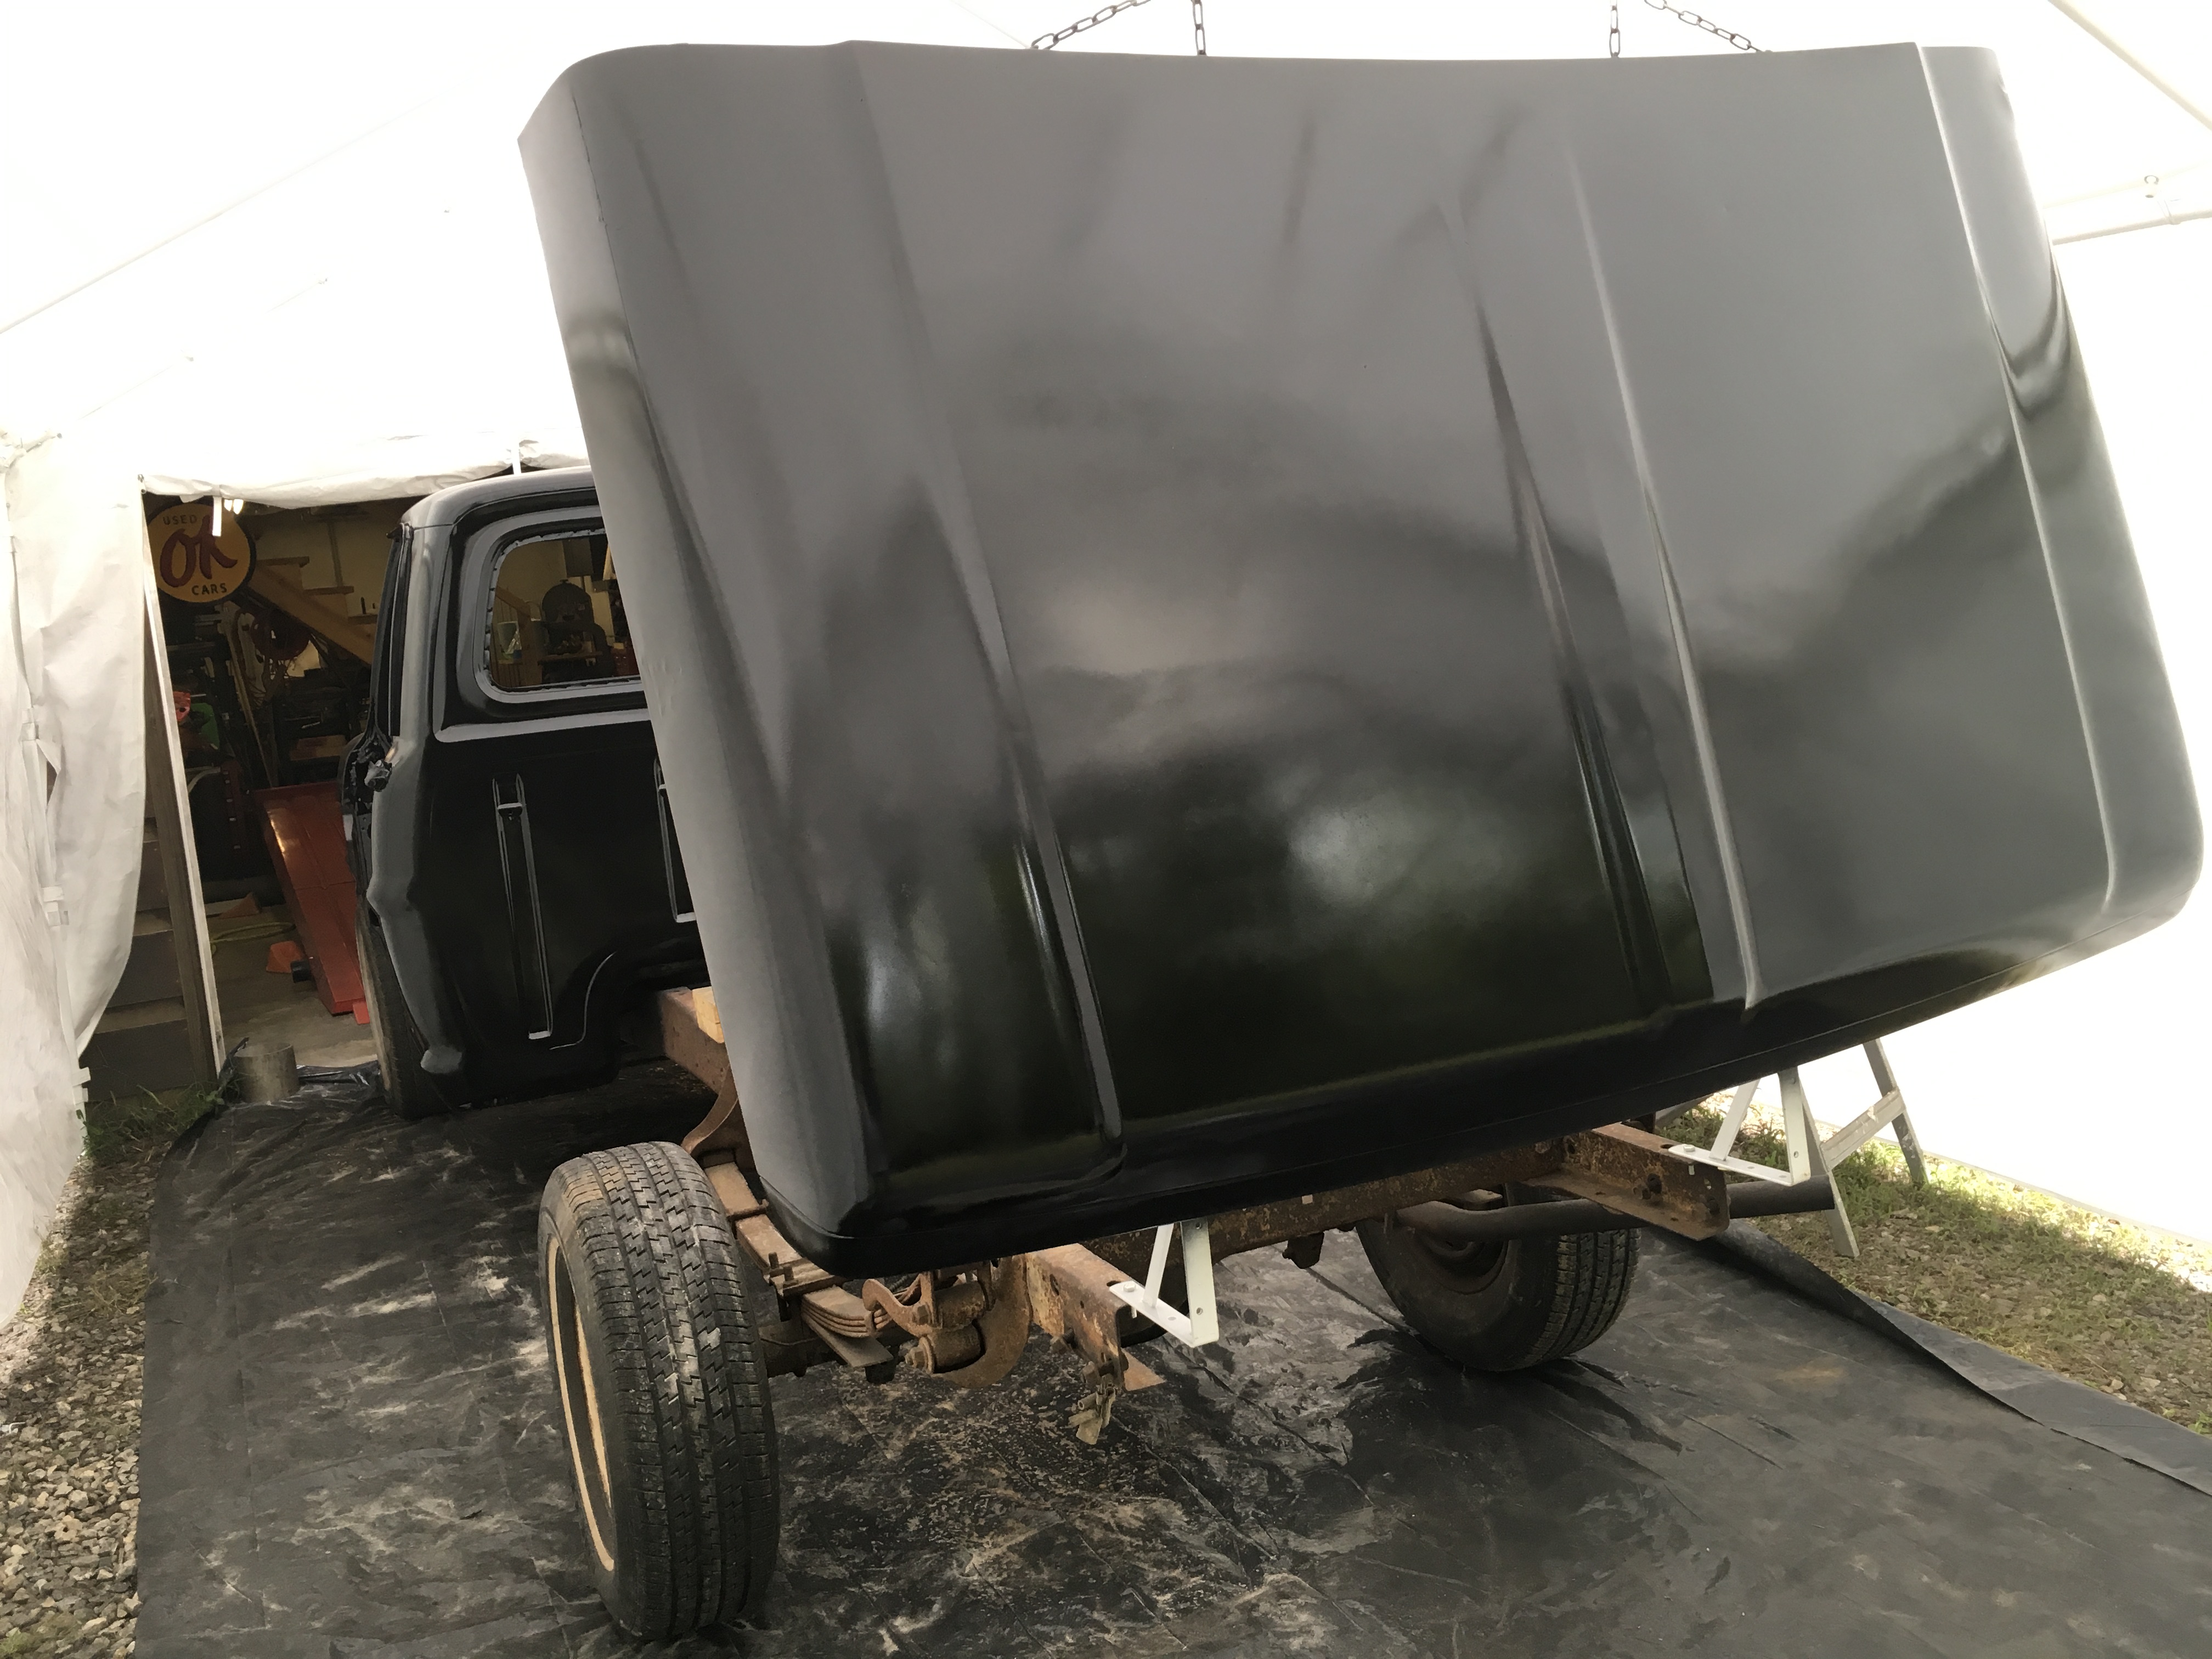
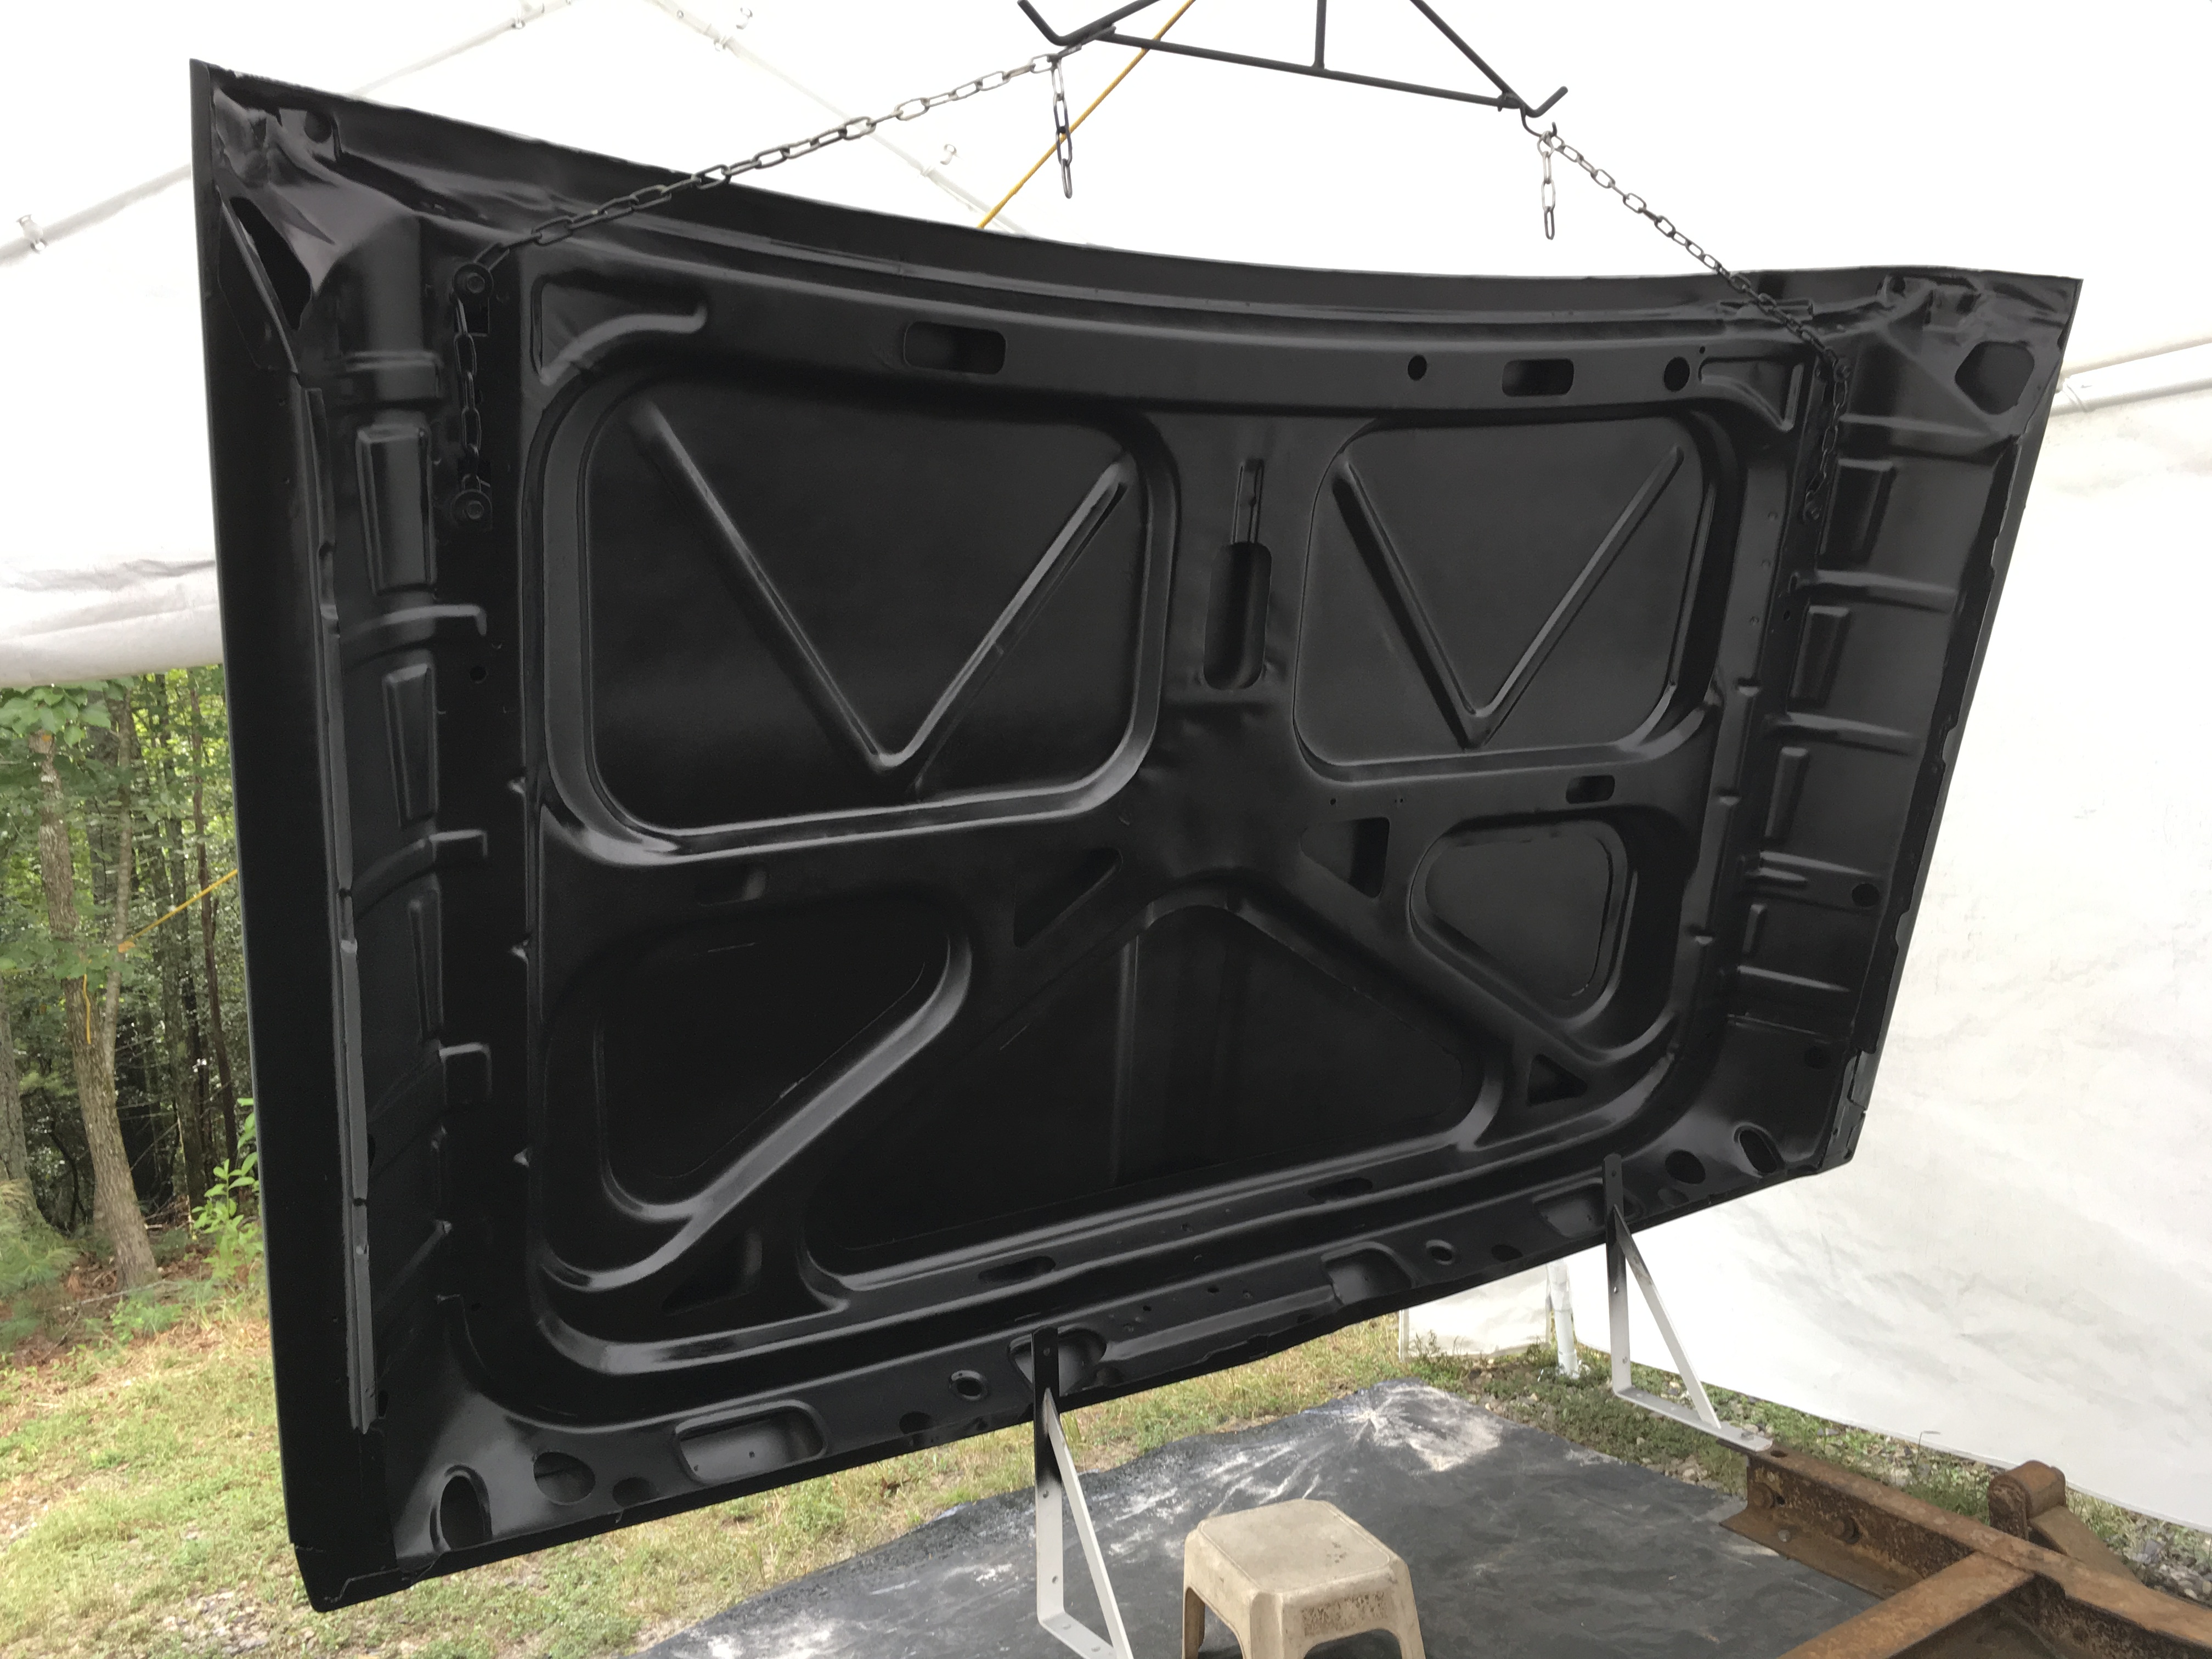
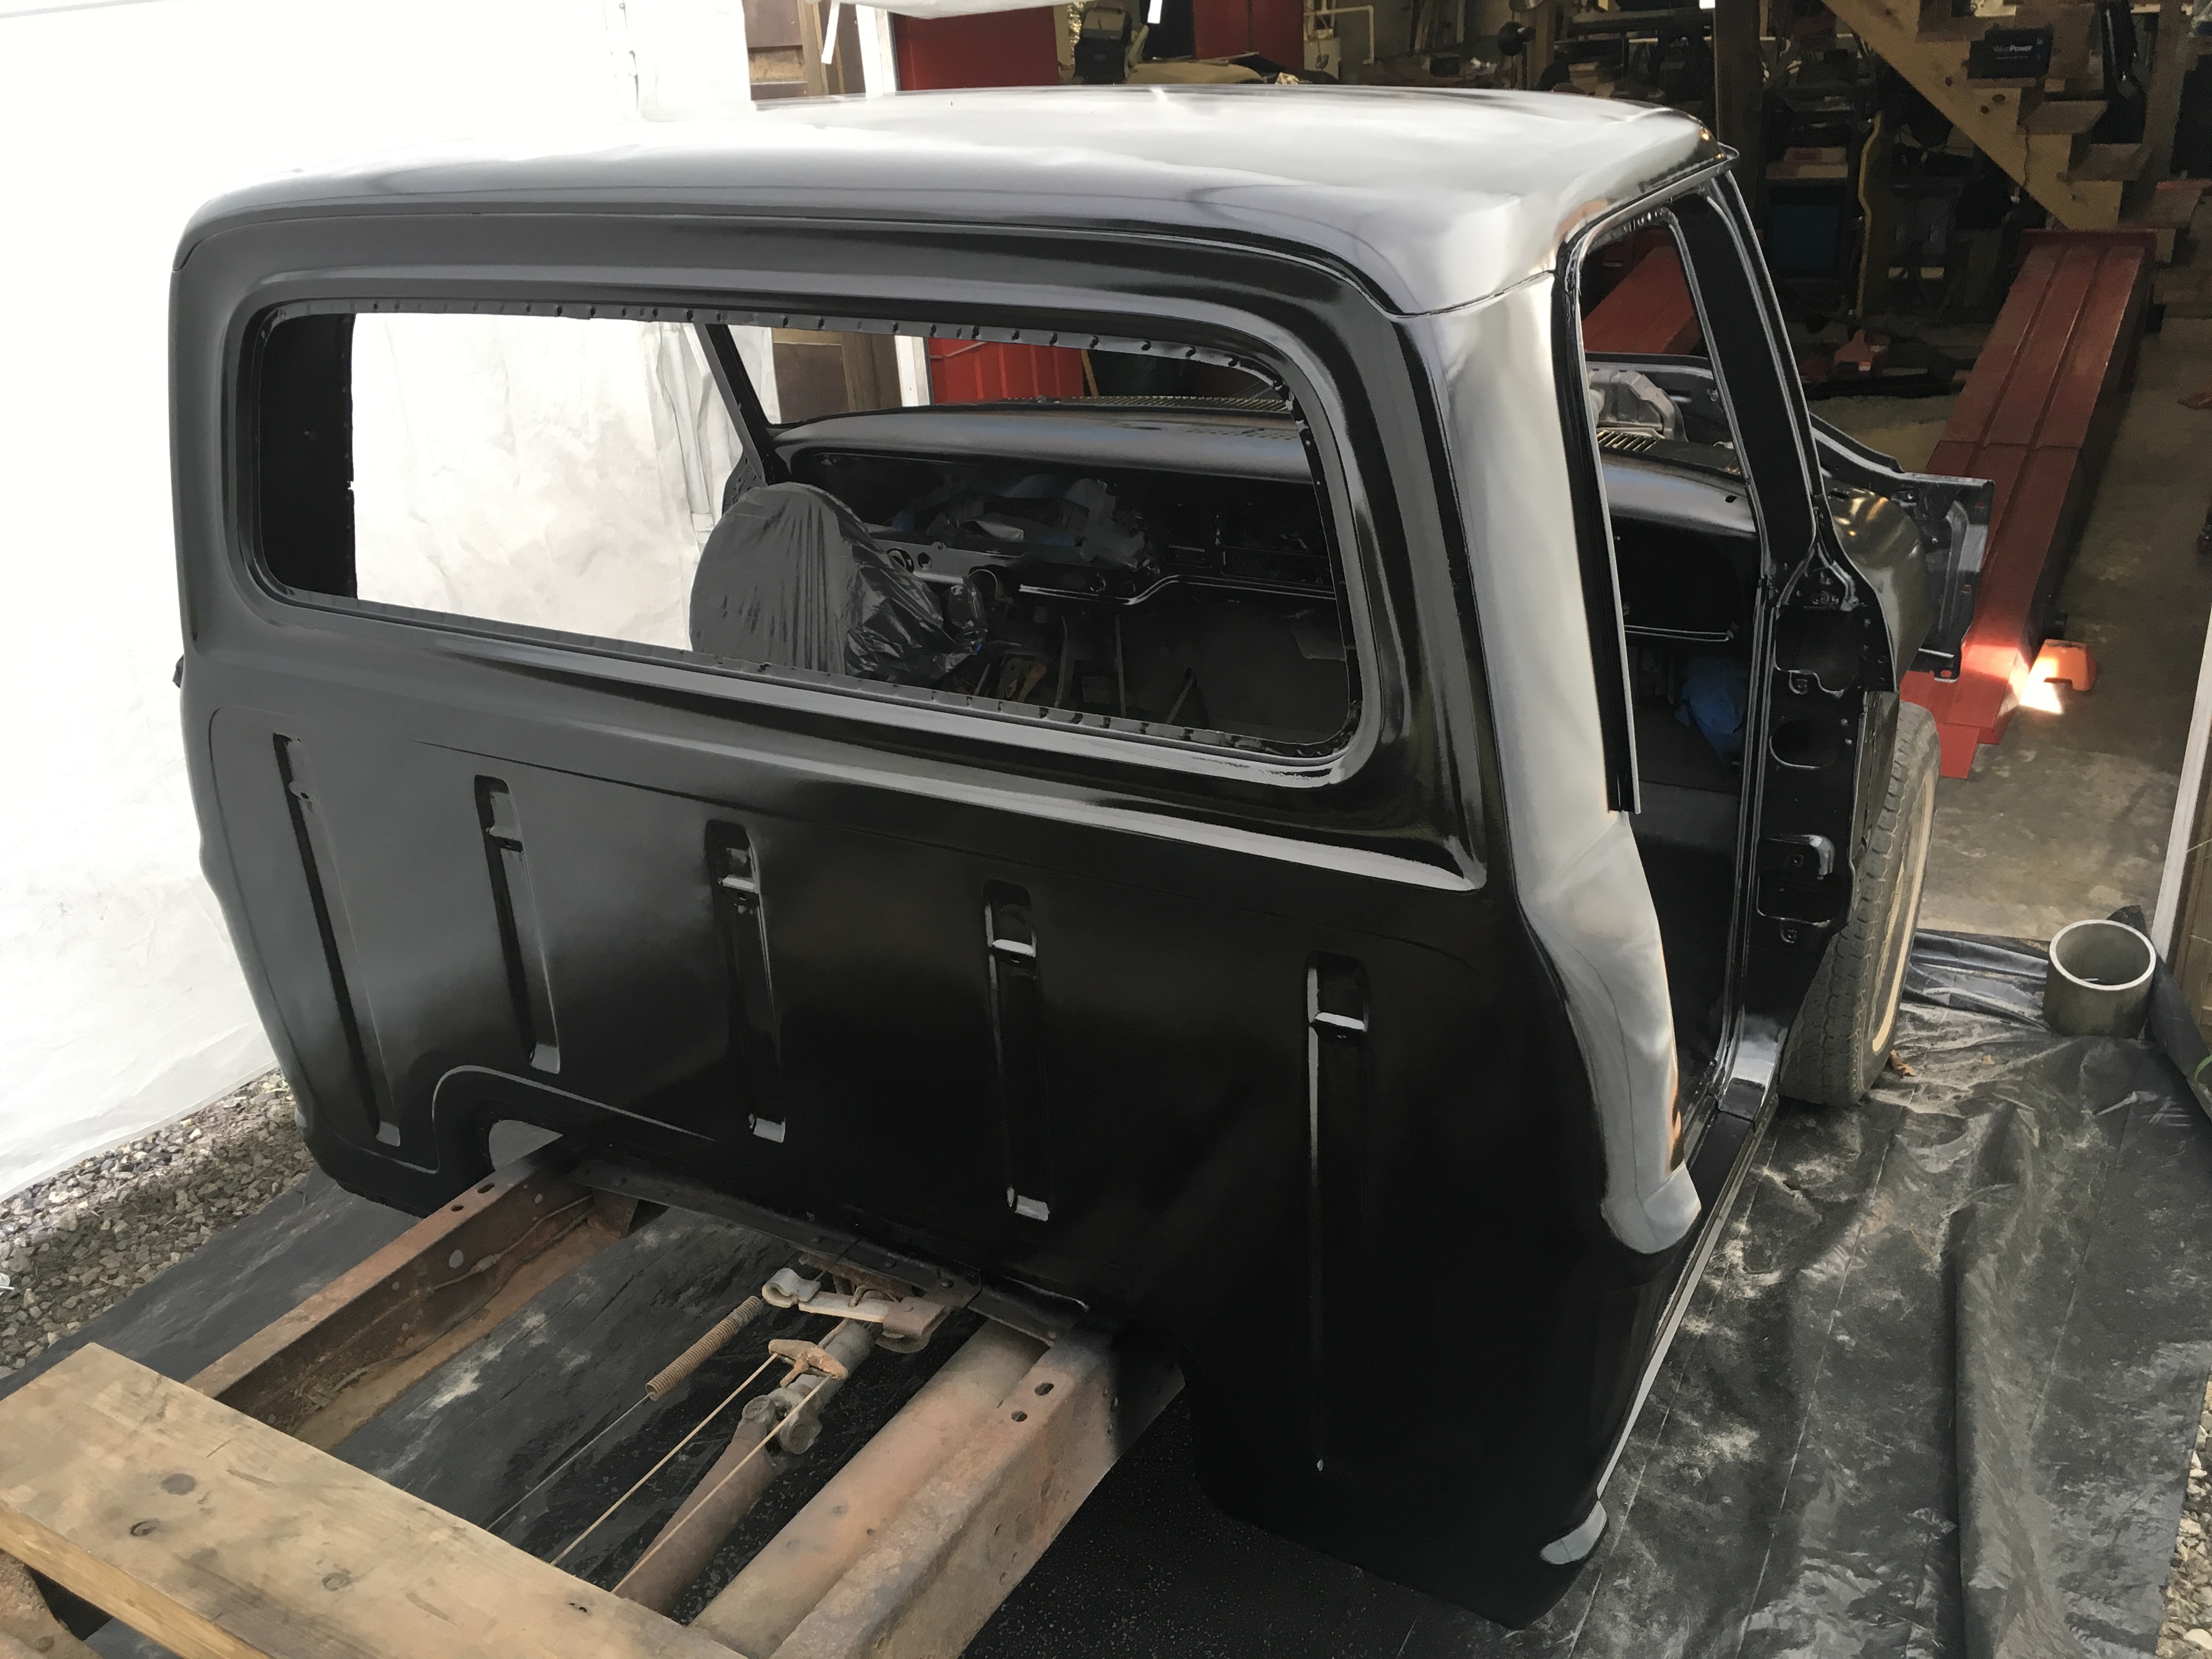
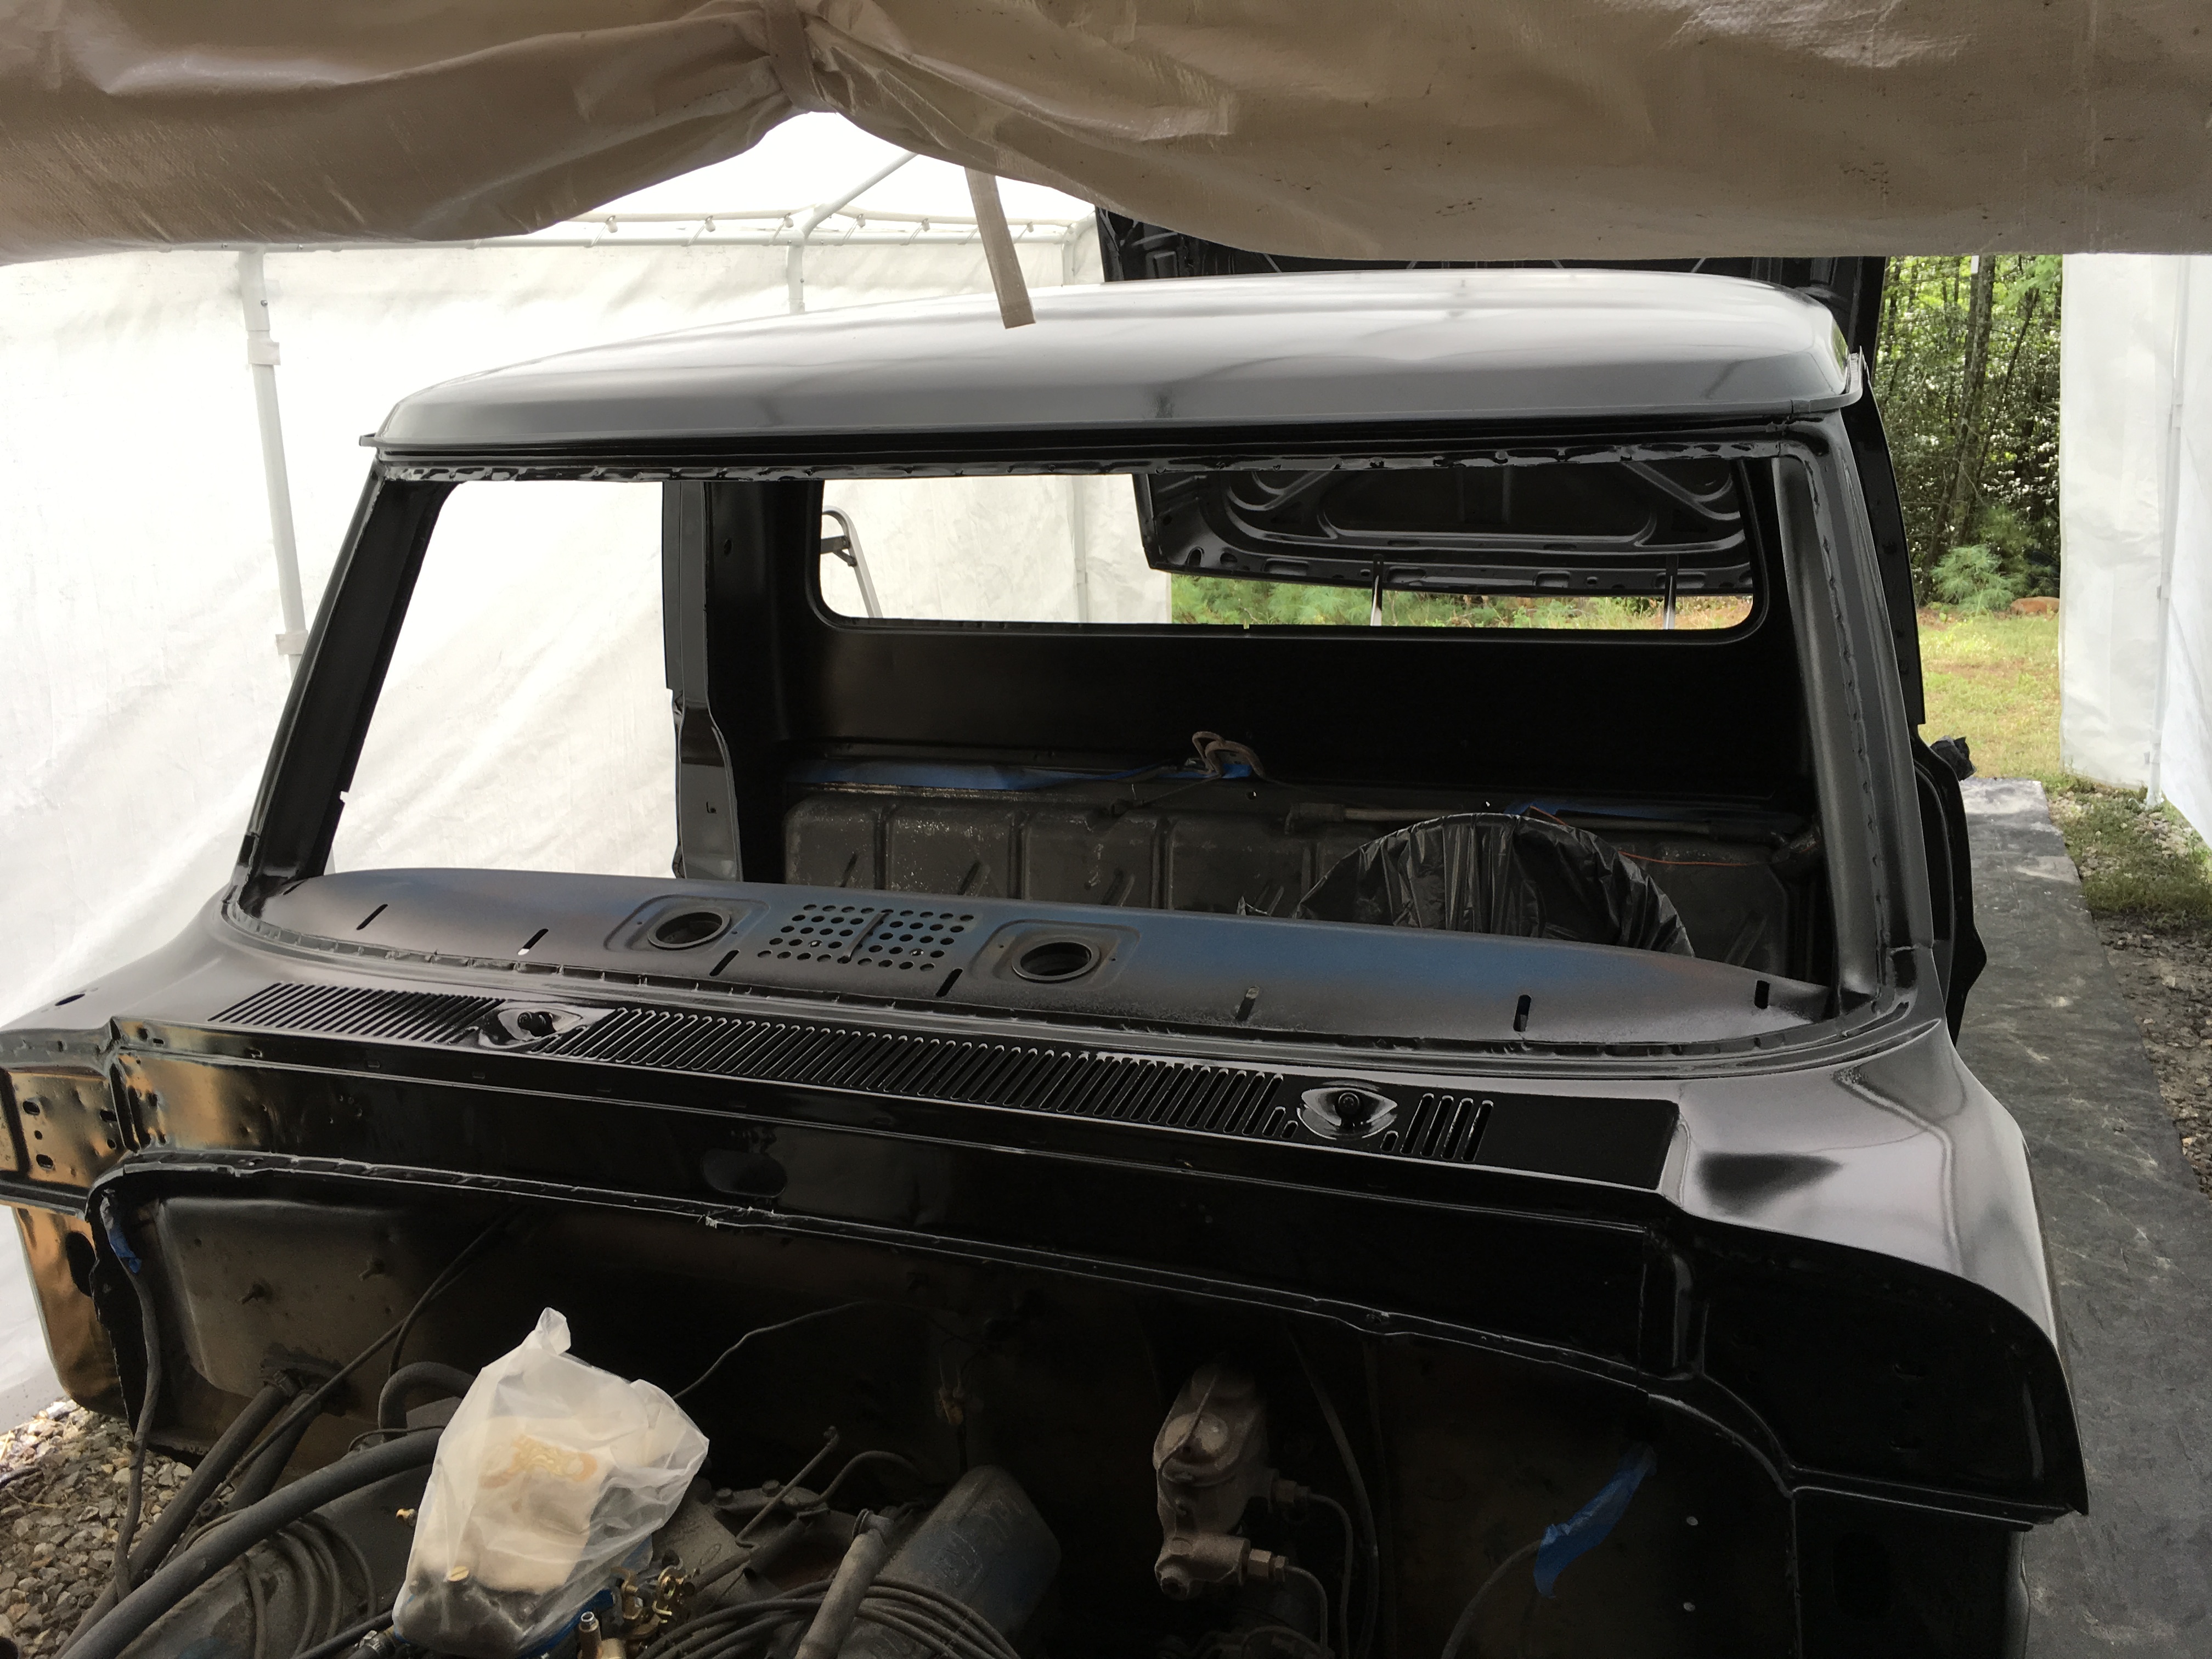
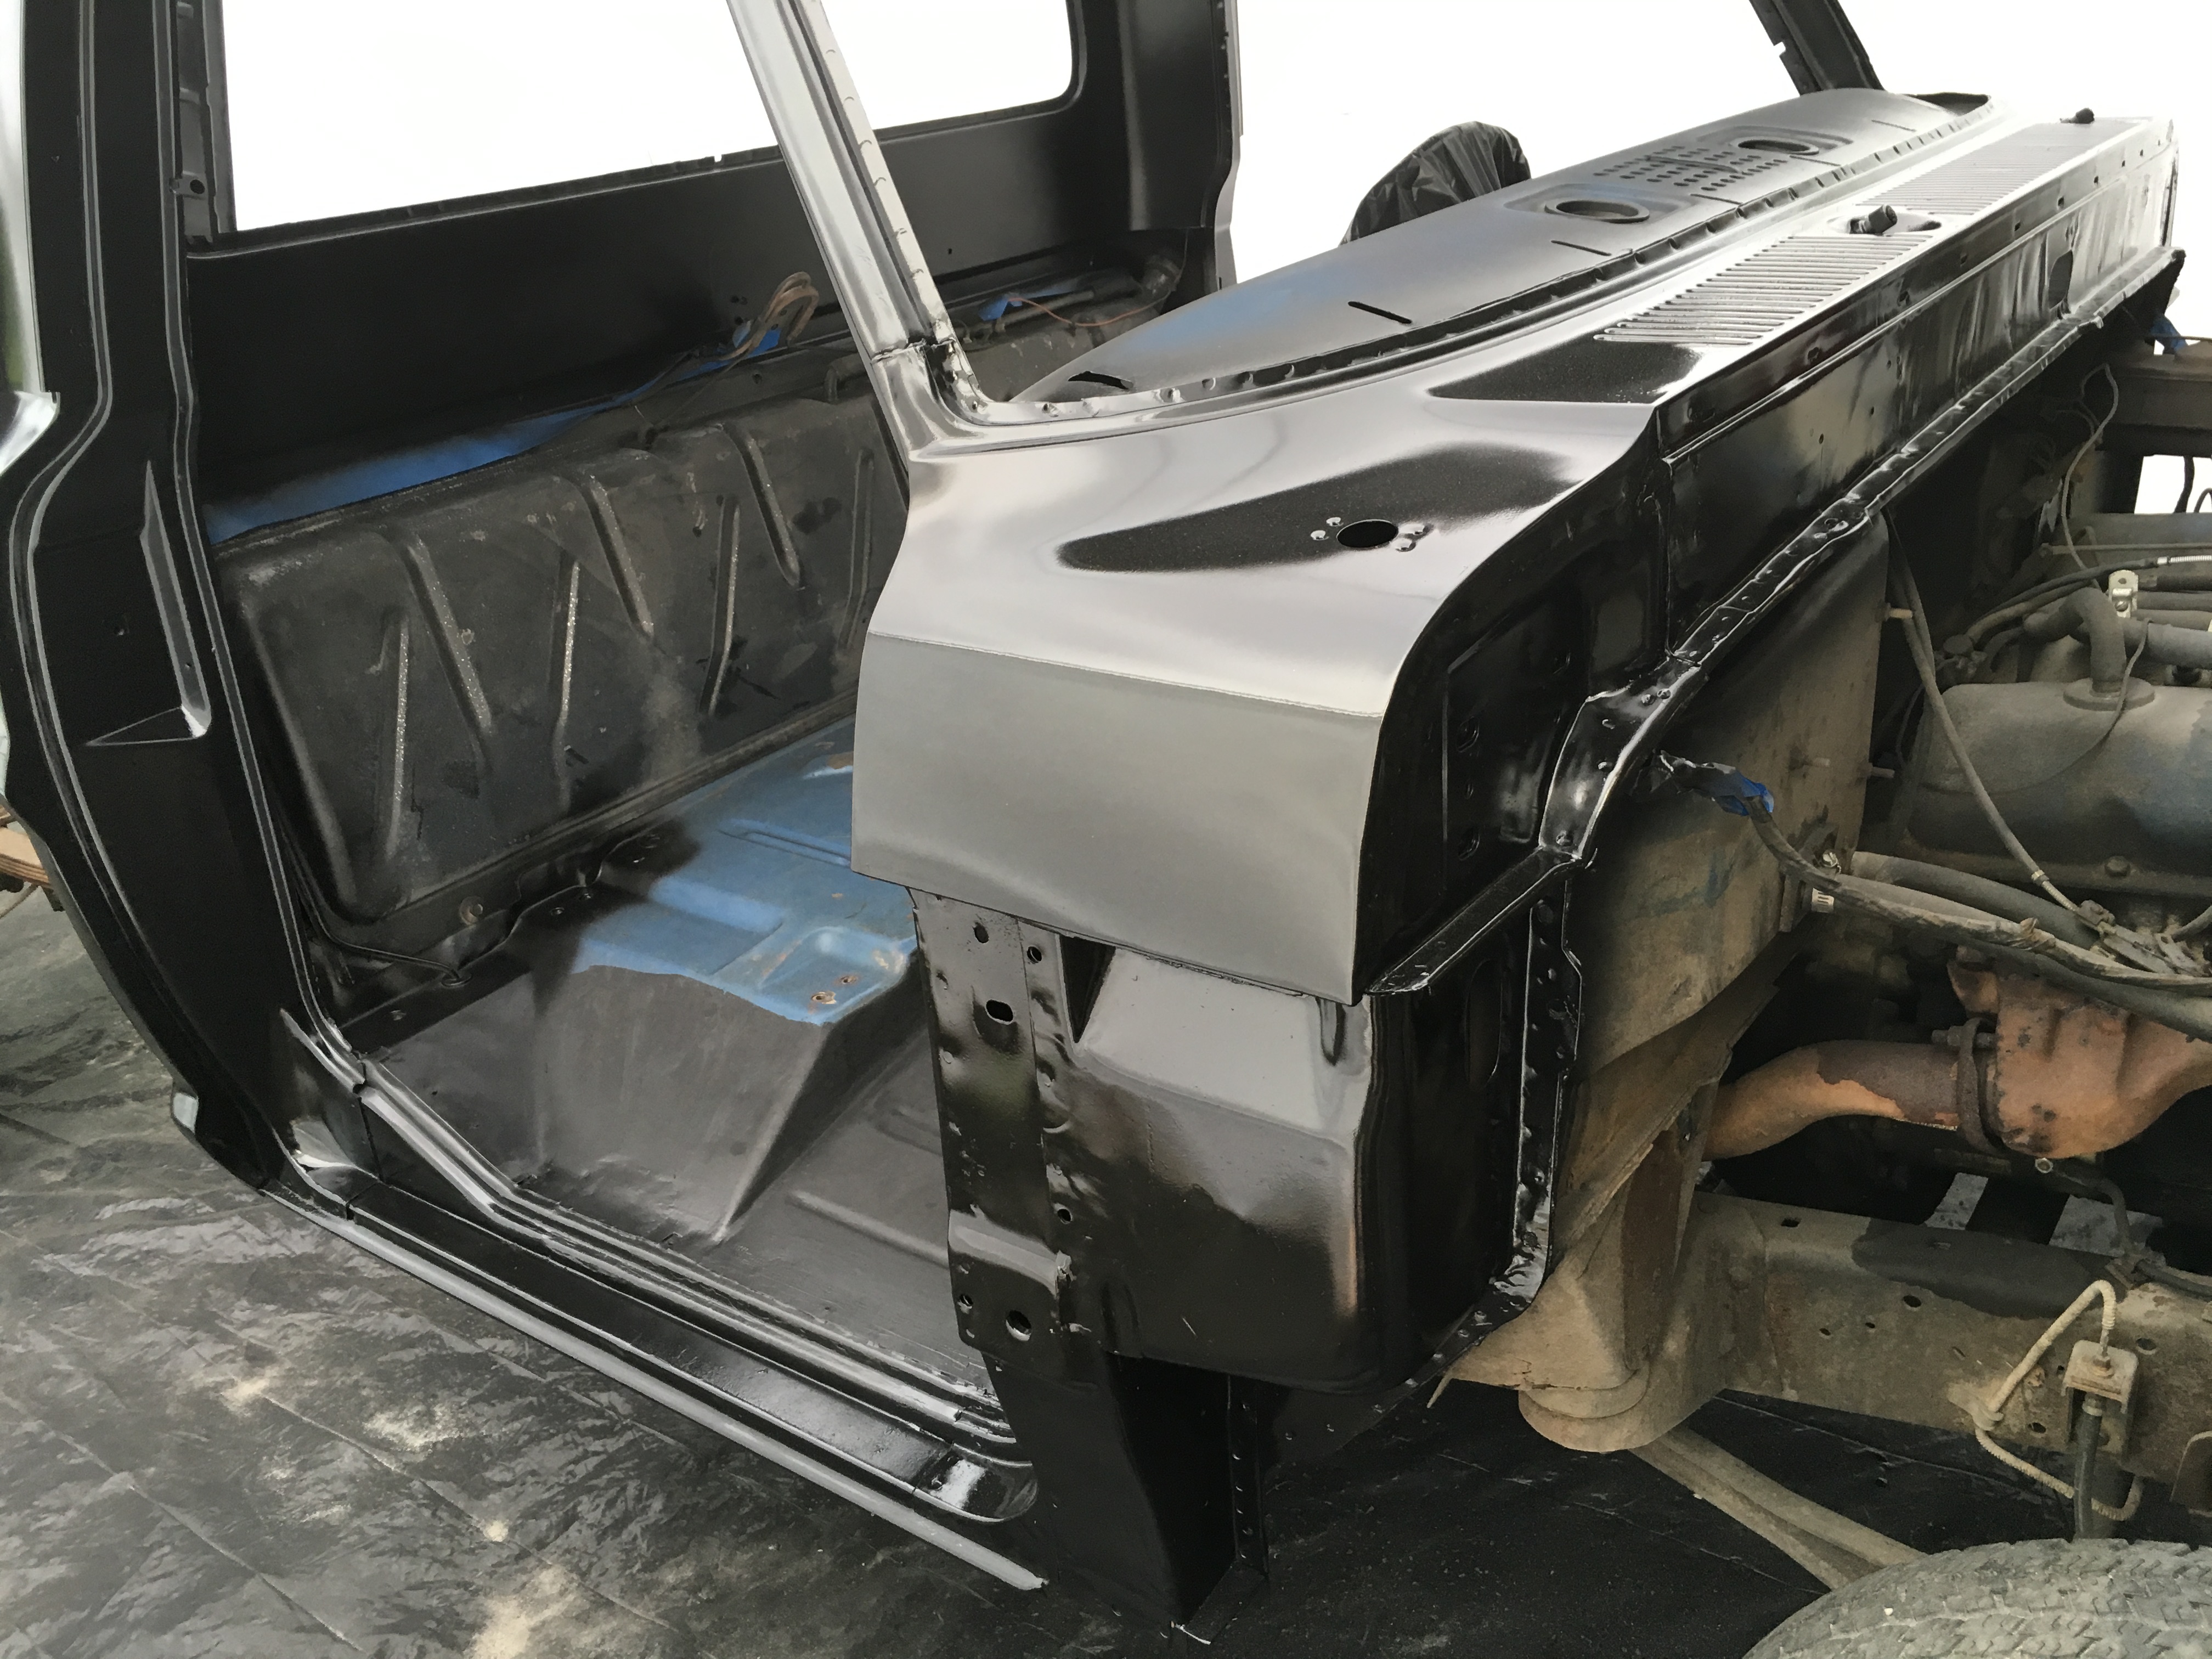
Made another stupid mistake. Wife was out of town and even though I knew better I tried to flip over the hood by myself so I could sand and blast off the paint from the underside. I had it laying flat on the rear of the truck frame and as I got it tipped up vertical it became unbalanced because of the weight/shape of the leading edge and got away from me... Came crashing down and the underside of the leading edge hit the truck frame and made a nice dent. Makes me sick.
I bought a 12x20 canopy/tent to use for spraying. Grabbed it on sale at Amazon last month. It proved solid and stable enough to hoist up the doors and hood without a problem. Will have to figure out a different cleaner solution when I finally get around to the top coat, but that is still way down the road.
As always, prep is the most time consuming aspect. Each day I spent at least 5-6 hours prior to actually spraying with the monotonous wipe-down with wax & grease remover and setup/positioning of panels, etc.
Should have sanded after the first coat but didnt have time to stretch it out another week. It’s has lots of fuzz all over the sandblasted areas. The special wipes used with wax and grease remover leave fuzzies all over the surface. Some can be seen, some can’t until it’s sprayed... followed the areas with a red scotchbrite and that helped get a lot of the fuzz off beforehand, but not enough. Pops right up after the paint hits it. It has to be block sanded anyway just to find the remaining low spots that need filler and will need a final coat later so I’m not worried about it. Sweated-out about 4 lbs a day wearing that damn tyvek bunny suit. The roof was really hard to get to. Will have to use scaffolds when doing the final coat. Twice I dripped sweat on a panel and that then makes a huge mess when the paint hits...
We’re headed back to Fl for a month and then hunting season will have me distracted in addition to the cold weather preventing further epoxy spraying. I guess I really need to pull that engine out now before I get close to reassembling the front and closer to a top coat. Will need to be freshened up at the least, and a full-blown rebuild if I get motivated. At least I finally made a little forward movement even if it will be a while before my next spurt of progress.
Last edited by DuckRyder on Sun Aug 18, 2019 11:23 am, edited 1 time in total.
Reason: Fixed image
Reason: Fixed image
- hfdco4
- Blue Oval Guru

- Posts: 1316
- Joined: Mon Apr 01, 2013 1:45 pm
Re: Finally back around to my 72 F100
WOW! Nice work, is that the epoxy primer? What brand did you use?
Paul
 FE390PC
1970 F250 4x4
2016 F150 4x4 2.7 ECO
Gone 1997, 1999 & 2003 F150 4x4s
Gone 1988, 1989 & 1991 Broncs
1970 F250 4x4
2016 F150 4x4 2.7 ECO
Gone 1997, 1999 & 2003 F150 4x4s
Gone 1988, 1989 & 1991 Broncs
- MAK
- Blue Oval Fan

- Posts: 529
- Joined: Tue Dec 21, 2004 9:35 am
- Location: Georgia, Blairsville - Florida, Flagler Beach
- Contact:
Re: Finally back around to my 72 F100
Yes, I went with the black Epoxy but they also have Grey, White and Red Oxide. I like it because it’s shiny and acts like a guide-coat for that initial block sanding to find the low spots and do the filler work. Gets a nice dull finish wherever you hit with the abrasive paper and stays shiny in the low spots.hfdco4 wrote:WOW! Nice work, is that the epoxy primer? What brand did you use?
It’s SPI (Southern Polyurethanes Inc) Epoxy. Their manufacturing facility is not far from our place up in the N GA Mountains. They also have a good web site and paint/auto body forum.
- sargentrs
- 100% FORDified!

- Posts: 9866
- Joined: Fri Jun 22, 2007 9:30 am
- Location: Georgia, Jasper
Re: Finally back around to my 72 F100
Great work, MAK!
Randy
1970 F100 Sport Custom Limited LWB, 302cid, 3 on the tree. NO A/C, NO P/S, NO P/B. Currently in 1000 pcs while rebuilding. Project thread: http://www.fordification.com/forum/view ... 22&t=59995 Plan: 351w, C4, LSD, pwr front disc, p/s, a/c, bucket seats, new interior and paint.
1987 F-150 XLT Lariat, 5.0/C6 auto.
1970 F100 Sport Custom Limited LWB, 302cid, 3 on the tree. NO A/C, NO P/S, NO P/B. Currently in 1000 pcs while rebuilding. Project thread: http://www.fordification.com/forum/view ... 22&t=59995 Plan: 351w, C4, LSD, pwr front disc, p/s, a/c, bucket seats, new interior and paint.
1987 F-150 XLT Lariat, 5.0/C6 auto.
- MAK
- Blue Oval Fan

- Posts: 529
- Joined: Tue Dec 21, 2004 9:35 am
- Location: Georgia, Blairsville - Florida, Flagler Beach
- Contact:
Re: Finally back around to my 72 F100
I tried to edit a post and ended up reposting/quoting it somehow... not sure if there is a way for me to delete the duplicate now.
- hfdco4
- Blue Oval Guru

- Posts: 1316
- Joined: Mon Apr 01, 2013 1:45 pm
Re: Finally back around to my 72 F100
Thanks MAK.
Paul
 FE390PC
1970 F250 4x4
2016 F150 4x4 2.7 ECO
Gone 1997, 1999 & 2003 F150 4x4s
Gone 1988, 1989 & 1991 Broncs
1970 F250 4x4
2016 F150 4x4 2.7 ECO
Gone 1997, 1999 & 2003 F150 4x4s
Gone 1988, 1989 & 1991 Broncs
- sargentrs
- 100% FORDified!

- Posts: 9866
- Joined: Fri Jun 22, 2007 9:30 am
- Location: Georgia, Jasper
Re: Finally back around to my 72 F100
Great bunch of guys up there! That's where I got my red single stage urethane from. Spent an hour there when I first found them just hanging out. They also do some awesome paint jobs.MAK wrote:It’s SPI (Southern Polyurethanes Inc) Epoxy. Their manufacturing facility is not far from our place up in the N GA Mountains. They also have a good web site and paint/auto body forum.
Randy
1970 F100 Sport Custom Limited LWB, 302cid, 3 on the tree. NO A/C, NO P/S, NO P/B. Currently in 1000 pcs while rebuilding. Project thread: http://www.fordification.com/forum/view ... 22&t=59995 Plan: 351w, C4, LSD, pwr front disc, p/s, a/c, bucket seats, new interior and paint.
1987 F-150 XLT Lariat, 5.0/C6 auto.
1970 F100 Sport Custom Limited LWB, 302cid, 3 on the tree. NO A/C, NO P/S, NO P/B. Currently in 1000 pcs while rebuilding. Project thread: http://www.fordification.com/forum/view ... 22&t=59995 Plan: 351w, C4, LSD, pwr front disc, p/s, a/c, bucket seats, new interior and paint.
1987 F-150 XLT Lariat, 5.0/C6 auto.
- MAK
- Blue Oval Fan

- Posts: 529
- Joined: Tue Dec 21, 2004 9:35 am
- Location: Georgia, Blairsville - Florida, Flagler Beach
- Contact:
Re: Finally back around to my 72 F100
Yeah, the owner is a great guy. Very responsive to questions and helping with problems. My only complaint is that they don’t make a Bahama Blue single stage for when I finally top coat minesargentrs wrote:Great bunch of guys up there! That's where I got my red single stage urethane from. Spent an hour there when I first found them just hanging out. They also do some awesome paint jobs.MAK wrote:It’s SPI (Southern Polyurethanes Inc) Epoxy. Their manufacturing facility is not far from our place up in the N GA Mountains. They also have a good web site and paint/auto body forum.
- hfdco4
- Blue Oval Guru

- Posts: 1316
- Joined: Mon Apr 01, 2013 1:45 pm
Re: Finally back around to my 72 F100
Any updates MAK?
Paul
 FE390PC
1970 F250 4x4
2016 F150 4x4 2.7 ECO
Gone 1997, 1999 & 2003 F150 4x4s
Gone 1988, 1989 & 1991 Broncs
1970 F250 4x4
2016 F150 4x4 2.7 ECO
Gone 1997, 1999 & 2003 F150 4x4s
Gone 1988, 1989 & 1991 Broncs