Frame chop done! Lwb to Swb finished!
Moderator: FORDification
-
RTG_RACING
- Preferred User

- Posts: 406
- Joined: Thu Apr 05, 2007 8:35 am
- Location: Indiana
Re: Frame chop done! Lwb to Swb finished!
If done corect the weld would be stronger than the parent metal. Shouldn't need anything other than the weld it's self.
-
flyboy71

- Blue Oval Guru

- Posts: 1012
- Joined: Sat Mar 21, 2009 9:30 pm
- Location: Boiling Springs, PA
Re: Frame chop done! Lwb to Swb finished!
Ive seen those two piece vehicles at the circus during intermission. Theres usually a clown driving.BobbyFord wrote:You will need to "fishplate" the joint section where it was cut. If you are not familiar with fishplating, you can Google it or go to the Miller welding forum ( http://www.millerwelds.com/resources/co ... es/mboard/ ) and search there.
If you do not reinforce that diagonal weld you may very well wind up with a two-piece truck.
-Jeff
1971 F-100 240 straight six, 3 on the tree (parted out)
1972 F-100 302 auto trans, pwr steering, pwr brakes (under construction)
"Things are more like they are now than they ever were before" Dwight Eisenhower
1971 F-100 240 straight six, 3 on the tree (parted out)
1972 F-100 302 auto trans, pwr steering, pwr brakes (under construction)
"Things are more like they are now than they ever were before" Dwight Eisenhower
-
BobbyFord

- 100% FORDified!

- Posts: 5383
- Joined: Sun Feb 04, 2007 9:52 am
- Location: Chatsworth, California
Re: Frame chop done! Lwb to Swb finished!
The crack will almost always happen along side the weld. Frame butt welds should ALWAYS be reinforced.RTG_RACING wrote:If done corect the weld would be stronger than the parent metal. Shouldn't need anything other than the weld it's self.
-
flyboy71
- Blue Oval Guru
- Posts: 1012
- Joined: Sat Mar 21, 2009 9:30 pm
- Location: Boiling Springs, PA
Re: Frame chop done! Lwb to Swb finished!
-Jeff
1971 F-100 240 straight six, 3 on the tree (parted out)
1972 F-100 302 auto trans, pwr steering, pwr brakes (under construction)
"Things are more like they are now than they ever were before" Dwight Eisenhower
1971 F-100 240 straight six, 3 on the tree (parted out)
1972 F-100 302 auto trans, pwr steering, pwr brakes (under construction)
"Things are more like they are now than they ever were before" Dwight Eisenhower
-
1971ford

- 100% FORDified!
- Posts: 5565
- Joined: Wed Jul 04, 2007 1:05 pm
- Location: Placerville CA
Re: Frame chop done! Lwb to Swb finished!
RTG_RACING wrote:If done corect the weld would be stronger than the parent metal. Shouldn't need anything other than the weld it's self.
You are right about this - The weld itself will indeed be stronger than the metal being welded.
BUTTTTTT do not forget how extremely hot you are getting the frame immediately next to the weld.
The weld itself will not break, but right along side the weld will crack because right there is where LOTS of heat was applied but no weld touched.
Definately dont want to just butt weld to pieces of frame together and call it good.
-Ryan
-
aaronb
- New Member

- Posts: 59
- Joined: Mon Apr 14, 2008 10:35 pm
- Location: Tehachapi
Re: Frame chop done! Lwb to Swb finished!
RTG_RACING wrote:If done corect the weld would be stronger than the parent metal. Shouldn't need anything other than the weld it's self.
-
jbohall001

- New Member
- Posts: 222
- Joined: Mon Sep 20, 2010 3:53 am
- Location: Shreveport/Bossier City, LA
Re: Frame chop done! Lwb to Swb finished!
Well I braced it up pretty good, I hope  . I would hate to have it split in half going down the road.
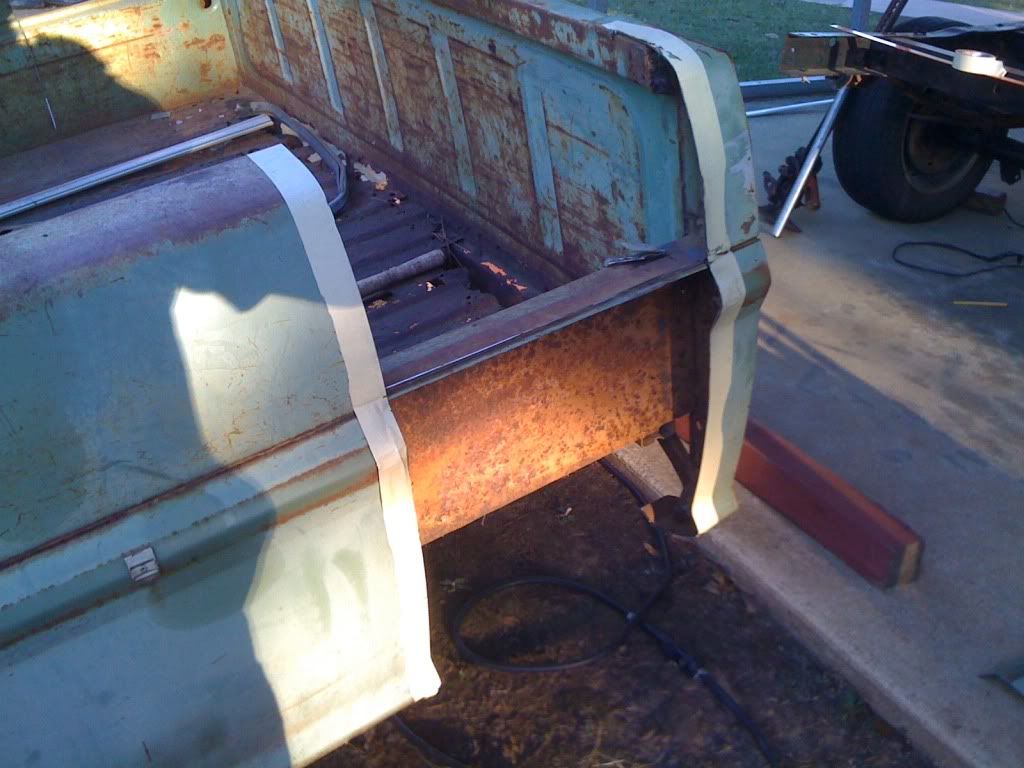
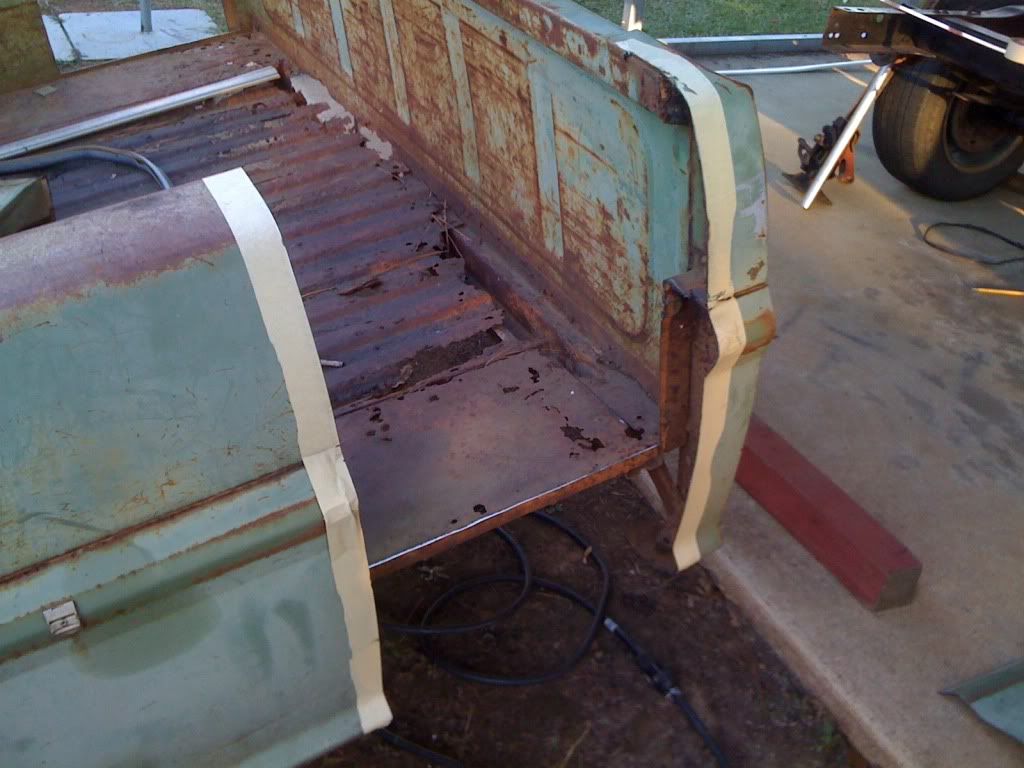
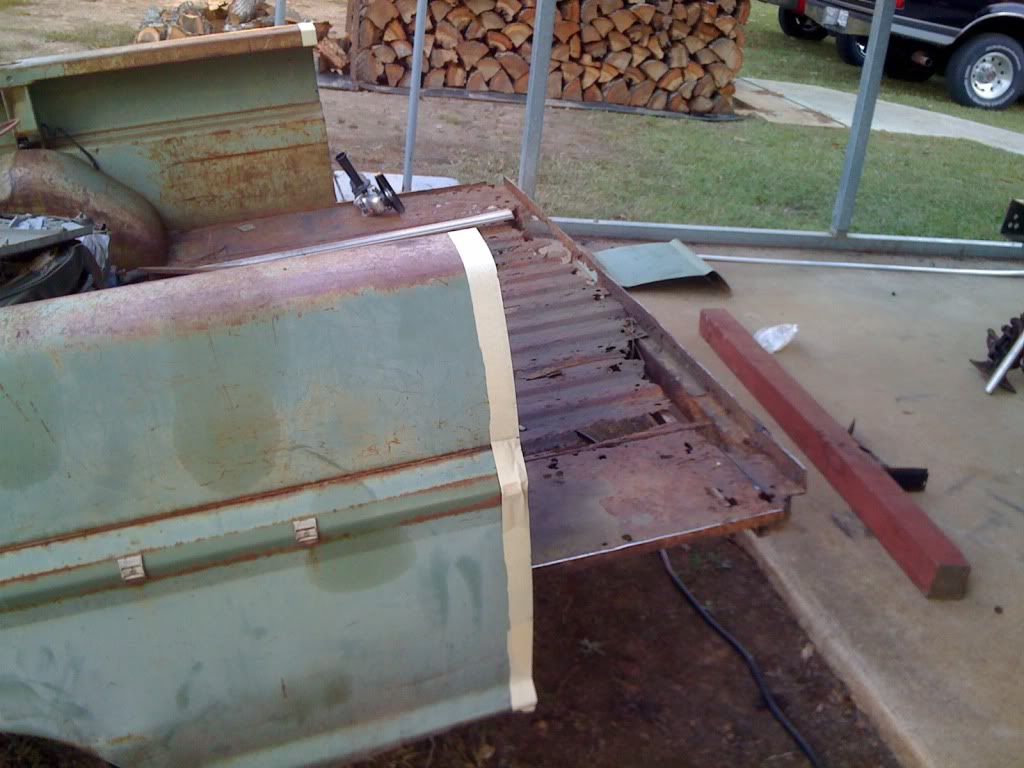
Here are some pics of the bed.
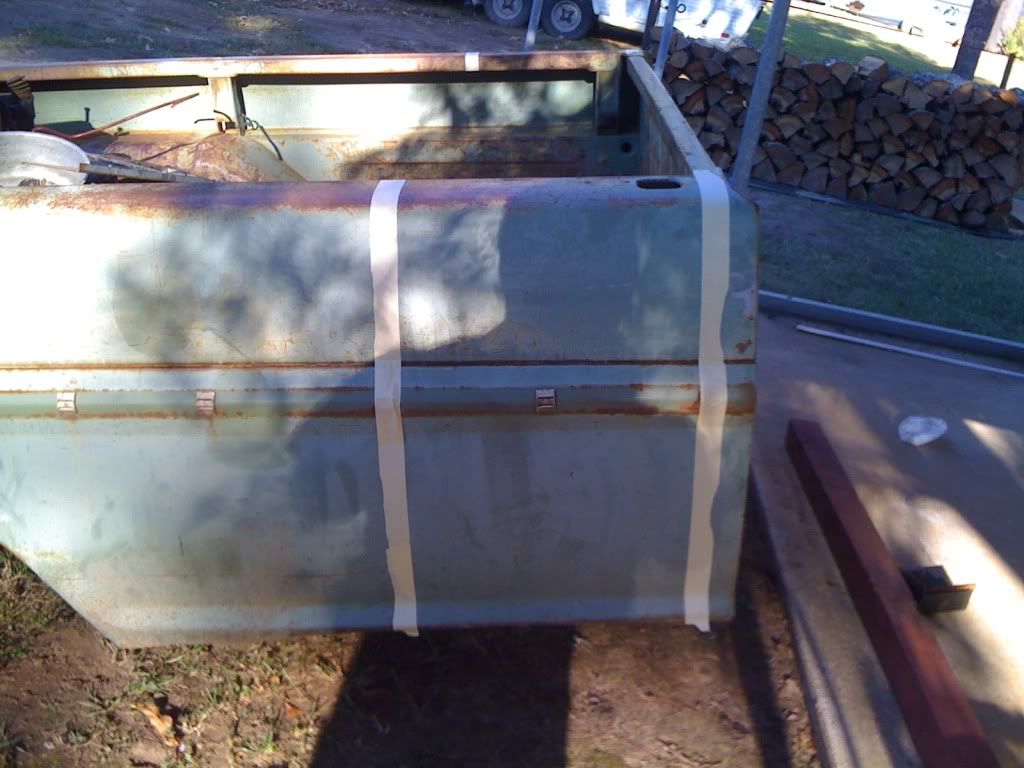
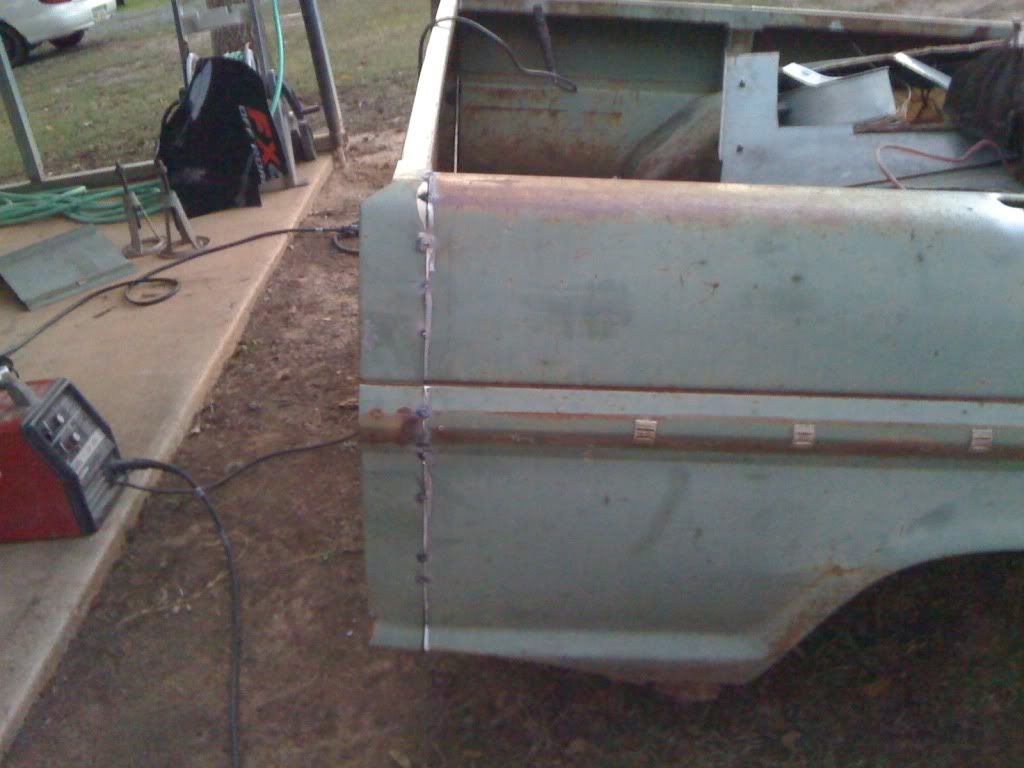
Tommorow Im going to get up under the front and try to figure out where and how to notch the front part of the frame. I plan on doing air bags on stock beams, but there is only like 3 inches between the frame and bump stop. I plan to set it up where at normal driving it is set at stock hieght, but when parked roughly lower it 7 to 9 inches.
Here are some pics of the bed.
Tommorow Im going to get up under the front and try to figure out where and how to notch the front part of the frame. I plan on doing air bags on stock beams, but there is only like 3 inches between the frame and bump stop. I plan to set it up where at normal driving it is set at stock hieght, but when parked roughly lower it 7 to 9 inches.
Vi hilser til Day
Vi hilser sønner Day
Vi hilser the Night og hennes døtre
Se på oss nå, med myke og ømme øyne
Velsign oss som sitter her
Vi hilser gudene
Vi hilser på gudinnene
Hilsen til deg; hellige Earth
Gi oss en gave av kunnskap og visdom
og la oss få hender som kan helbrede.
Vi hilser sønner Day
Vi hilser the Night og hennes døtre
Se på oss nå, med myke og ømme øyne
Velsign oss som sitter her
Vi hilser gudene
Vi hilser på gudinnene
Hilsen til deg; hellige Earth
Gi oss en gave av kunnskap og visdom
og la oss få hender som kan helbrede.
-
aaronb
- New Member
- Posts: 59
- Joined: Mon Apr 14, 2008 10:35 pm
- Location: Tehachapi
Re: Frame chop done! Lwb to Swb finished!
sounds good thats exactly what my plans are.
-
jbohall001
- New Member
- Posts: 222
- Joined: Mon Sep 20, 2010 3:53 am
- Location: Shreveport/Bossier City, LA
Re: Frame chop done! Lwb to Swb finished!
Really? Cool, if you get started any time soon you should post pics and such. I hope to get started within a month or two. Kinda tryin to hold out for Mars68 2 link that he's making. I want one badly . I put together a very basic setup on airbagit.com for around $600 bucks. I wanna do some more research into their merchendise though, as far as quality and such.
Vi hilser til Day
Vi hilser sønner Day
Vi hilser the Night og hennes døtre
Se på oss nå, med myke og ømme øyne
Velsign oss som sitter her
Vi hilser gudene
Vi hilser på gudinnene
Hilsen til deg; hellige Earth
Gi oss en gave av kunnskap og visdom
og la oss få hender som kan helbrede.
Vi hilser sønner Day
Vi hilser the Night og hennes døtre
Se på oss nå, med myke og ømme øyne
Velsign oss som sitter her
Vi hilser gudene
Vi hilser på gudinnene
Hilsen til deg; hellige Earth
Gi oss en gave av kunnskap og visdom
og la oss få hender som kan helbrede.
-
mk

- Blue Oval Fanatic

- Posts: 917
- Joined: Wed Mar 02, 2005 1:12 am
- Location: CANADA, central Alberta
Re: Frame chop done! Lwb to Swb finished!
Looks good so far. You might also consider a small section job in the box behind the wheels to balance it out. The ones I've seen without that tend to remind me of those large economy-size women you sometimes see, with lotsa rear overhang... 
mike
mike
Always drink upstream from the herd...
~Will Rogers
Mercury truck ID thread:
http://www.fordification.com/forum/view ... =2&t=35331
Ford truck model history:
http://www.fordification.com/forum/view ... =2&t=37394
Using dentside fender liners:
http://fordification.com/forum/viewtopi ... =7&t=35675
Matchbox diecast bumps:
http://www.fordification.com/forum/view ... =2&t=45618
-
jbohall001
- New Member
- Posts: 222
- Joined: Mon Sep 20, 2010 3:53 am
- Location: Shreveport/Bossier City, LA
Re: Frame chop done! Lwb to Swb finished!
Yea I thought it looked just a little different. Any idea how much needs to go?
Vi hilser til Day
Vi hilser sønner Day
Vi hilser the Night og hennes døtre
Se på oss nå, med myke og ømme øyne
Velsign oss som sitter her
Vi hilser gudene
Vi hilser på gudinnene
Hilsen til deg; hellige Earth
Gi oss en gave av kunnskap og visdom
og la oss få hender som kan helbrede.
Vi hilser sønner Day
Vi hilser the Night og hennes døtre
Se på oss nå, med myke og ømme øyne
Velsign oss som sitter her
Vi hilser gudene
Vi hilser på gudinnene
Hilsen til deg; hellige Earth
Gi oss en gave av kunnskap og visdom
og la oss få hender som kan helbrede.
-
mk
- Blue Oval Fanatic
- Posts: 917
- Joined: Wed Mar 02, 2005 1:12 am
- Location: CANADA, central Alberta
Re: Frame chop done! Lwb to Swb finished!
Here's the best reference I could think of-
http://www.fordification.com/library/ma ... itemId=375
Shows the factory shortbox floor length at 78.19". So, maybe a rear section of about 4"? (if you've taken out 16 already)
mike
http://www.fordification.com/library/ma ... itemId=375
Shows the factory shortbox floor length at 78.19". So, maybe a rear section of about 4"? (if you've taken out 16 already)
mike
Always drink upstream from the herd...
~Will Rogers
Mercury truck ID thread:
http://www.fordification.com/forum/view ... =2&t=35331
Ford truck model history:
http://www.fordification.com/forum/view ... =2&t=37394
Using dentside fender liners:
http://fordification.com/forum/viewtopi ... =7&t=35675
Matchbox diecast bumps:
http://www.fordification.com/forum/view ... =2&t=45618
~Will Rogers
Mercury truck ID thread:
http://www.fordification.com/forum/view ... =2&t=35331
Ford truck model history:
http://www.fordification.com/forum/view ... =2&t=37394
Using dentside fender liners:
http://fordification.com/forum/viewtopi ... =7&t=35675
Matchbox diecast bumps:
http://www.fordification.com/forum/view ... =2&t=45618
-
jbohall001
- New Member
- Posts: 222
- Joined: Mon Sep 20, 2010 3:53 am
- Location: Shreveport/Bossier City, LA
Re: Frame chop done! Lwb to Swb finished!
Yea I took out 16.2 inches, so 4 should look about right. I assume I will have to take a little off of the back end of the frame as well. I found a shop in northern Shreveport that will cut, shorten, weld, and balance my drive shaft for $92. I started cutting out my rusted floor pans today as well.
Vi hilser til Day
Vi hilser sønner Day
Vi hilser the Night og hennes døtre
Se på oss nå, med myke og ømme øyne
Velsign oss som sitter her
Vi hilser gudene
Vi hilser på gudinnene
Hilsen til deg; hellige Earth
Gi oss en gave av kunnskap og visdom
og la oss få hender som kan helbrede.
Vi hilser sønner Day
Vi hilser the Night og hennes døtre
Se på oss nå, med myke og ømme øyne
Velsign oss som sitter her
Vi hilser gudene
Vi hilser på gudinnene
Hilsen til deg; hellige Earth
Gi oss en gave av kunnskap og visdom
og la oss få hender som kan helbrede.
-
JG F100

- Preferred User
- Posts: 280
- Joined: Thu Mar 13, 2008 6:31 am
- Location: Houston
Re: Frame chop done! Lwb to Swb finished!
yes, its 4" out the back. You could also look around the junkyard or ebay for a shorter driveshaft. Im assuming you are going with a one piece.jbohall001 wrote:Yea I took out 16.2 inches, so 4 should look about right. I assume I will have to take a little off of the back end of the frame as well. I found a shop in northern Shreveport that will cut, shorten, weld, and balance my drive shaft for $92. I started cutting out my rusted floor pans today as well.
72 F100 - SWB conversion w/05 crown vic IFS, 8.8 rear w/disc, 20s, 360FE w/overdrive
Project Page: http://www.fordification.com/forum/view ... 22&t=37897
Project Page: http://www.fordification.com/forum/view ... 22&t=37897
-
mk
- Blue Oval Fanatic
- Posts: 917
- Joined: Wed Mar 02, 2005 1:12 am
- Location: CANADA, central Alberta
Re: Frame chop done! Lwb to Swb finished!
Last time I had a shaft shortened and balanced it was only 30 bucks, but that was twenty years ago. Swapped a 302/C4 into a 68 merc short flareside that had a 240/4spd. The shaft I pulled out of it was actually a chunk of drilling pipe with the flanges welded on it (non-phased!) Not surprising, I guess, as it had been owned by a rig servicing company...
mike
mike
Always drink upstream from the herd...
~Will Rogers
Mercury truck ID thread:
http://www.fordification.com/forum/view ... =2&t=35331
Ford truck model history:
http://www.fordification.com/forum/view ... =2&t=37394
Using dentside fender liners:
http://fordification.com/forum/viewtopi ... =7&t=35675
Matchbox diecast bumps:
http://www.fordification.com/forum/view ... =2&t=45618
~Will Rogers
Mercury truck ID thread:
http://www.fordification.com/forum/view ... =2&t=35331
Ford truck model history:
http://www.fordification.com/forum/view ... =2&t=37394
Using dentside fender liners:
http://fordification.com/forum/viewtopi ... =7&t=35675
Matchbox diecast bumps:
http://www.fordification.com/forum/view ... =2&t=45618