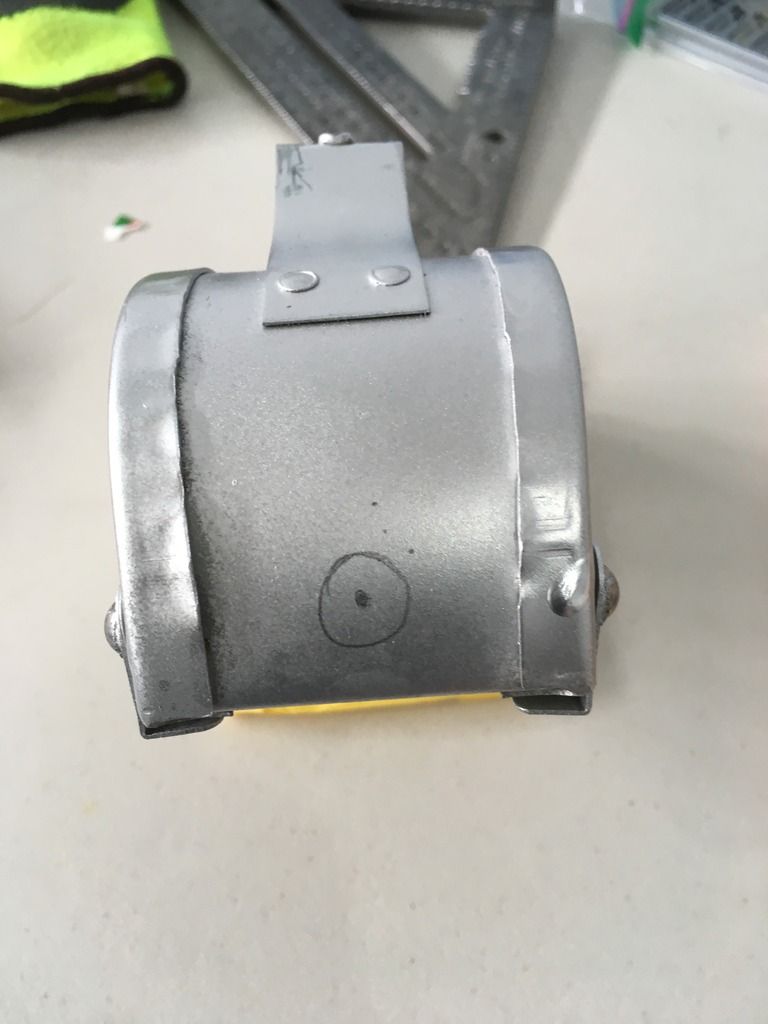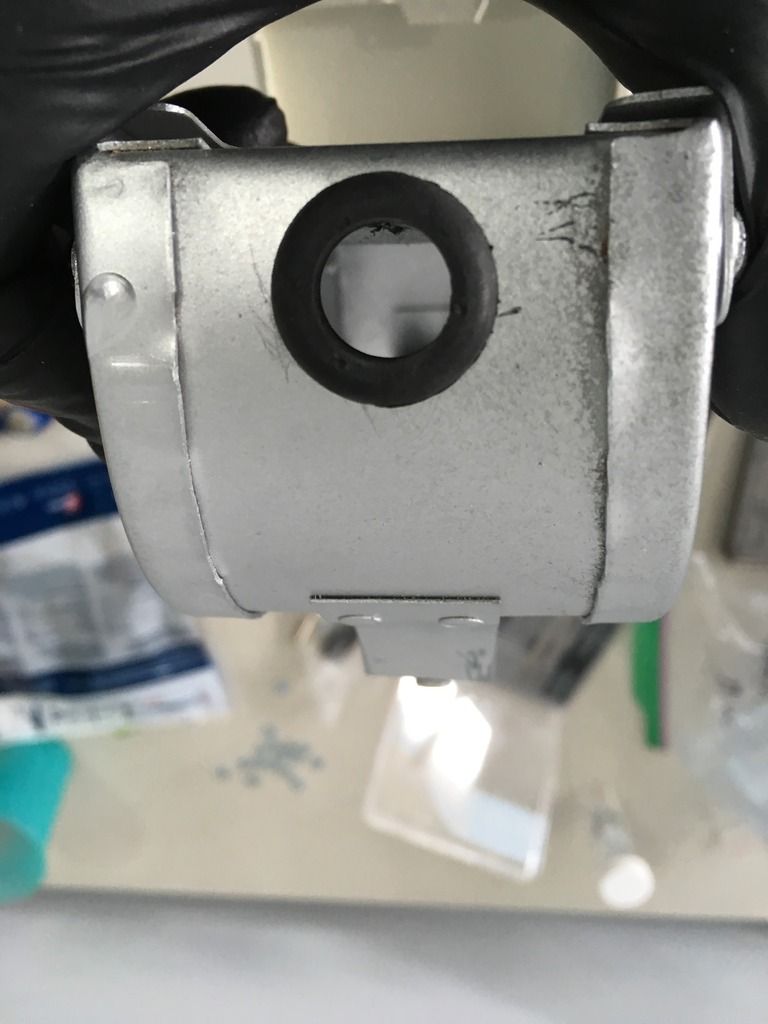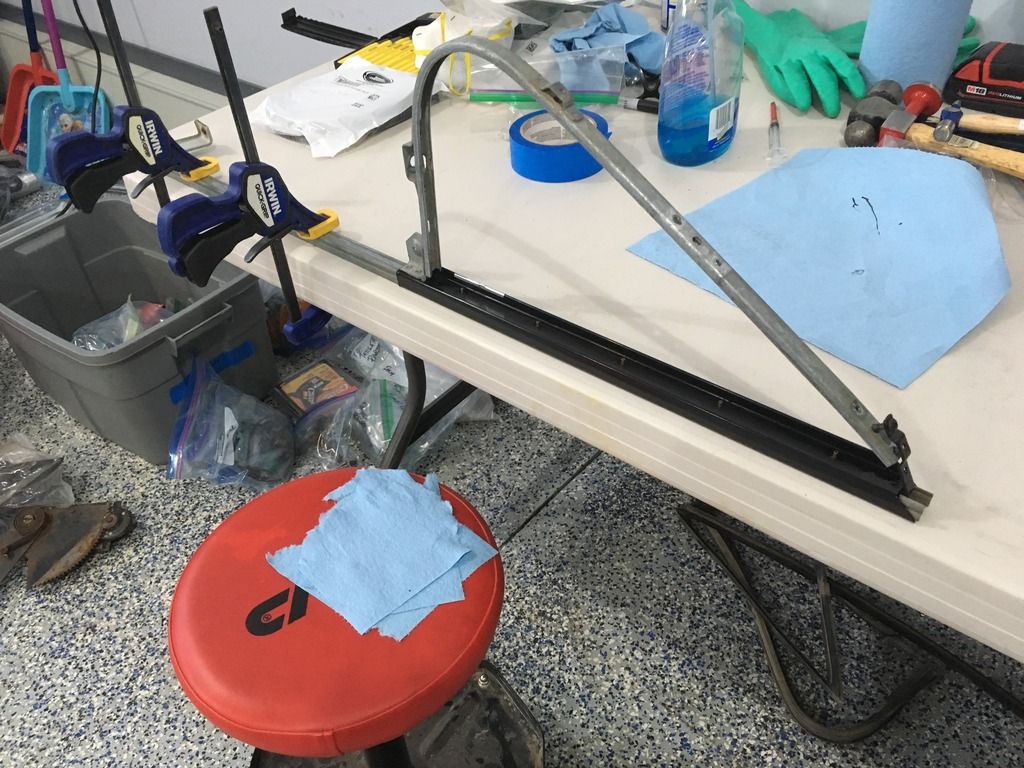
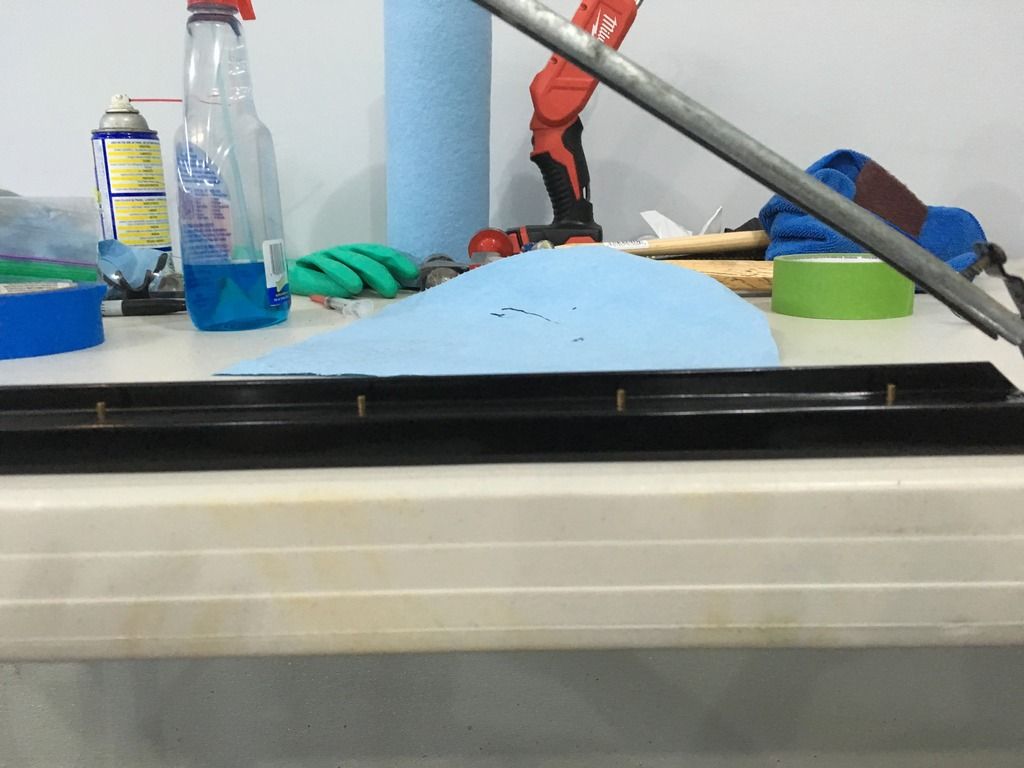
 I started by placing the brass rivets in place, and reinstalling the division bar. This held the rivets in place and provided solid backing when I closed the other end of the rivet.
I found these rivets to be a bit frustrating, and didn't quite cinch the vent window gasket to the frame. I used different sizes of centre punches, and even used a tool for breaking apart bike chains (bike guys will know what I'm talking about). I actually think the rivets themselves are not the right ones for this application.
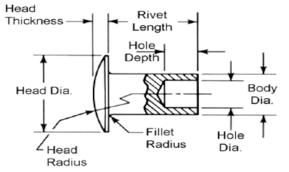
The brass rivets provided in the DC vent gaskets are 'semi-tubular rivets', which mean the part that you open up and flatten is hollow, while the head is attached to a solid part. The solid part might actually too long, and short of having the right kind of punch which flays the hollow portion back behind the solid part of the rivet, it might not be possible to get it tight to the frame. I realized this after the first door assembly, and decided that I needed to glue it in place. I wasn't excited about the prospect of tearing the door apart again, so decided to 'inject' some 3M weatherstrip black adhesive between the frame and the vent gasket, and tape it into place for 24 hours.
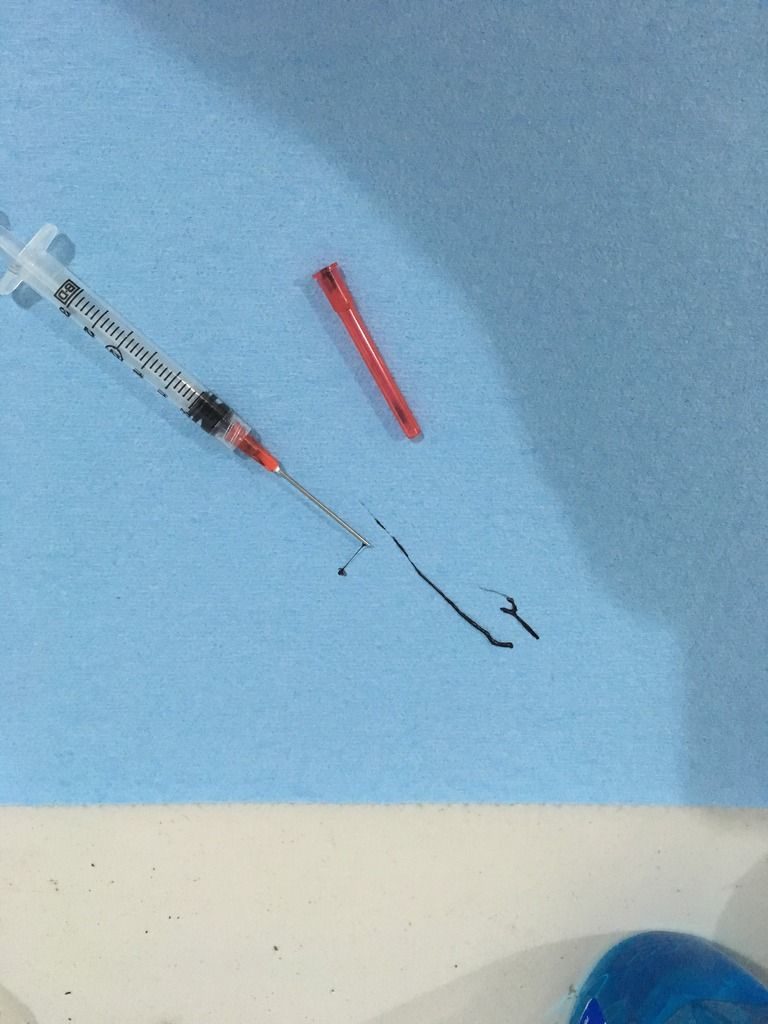
3cc syringe and 18 gauge blunt needle. I'm a hospital pharmacist, so I knew what I needed here. If you plan to do the same, just show this thread to your local community pharmacist...they will probably just shake their head, and proceed to provide you what you need!
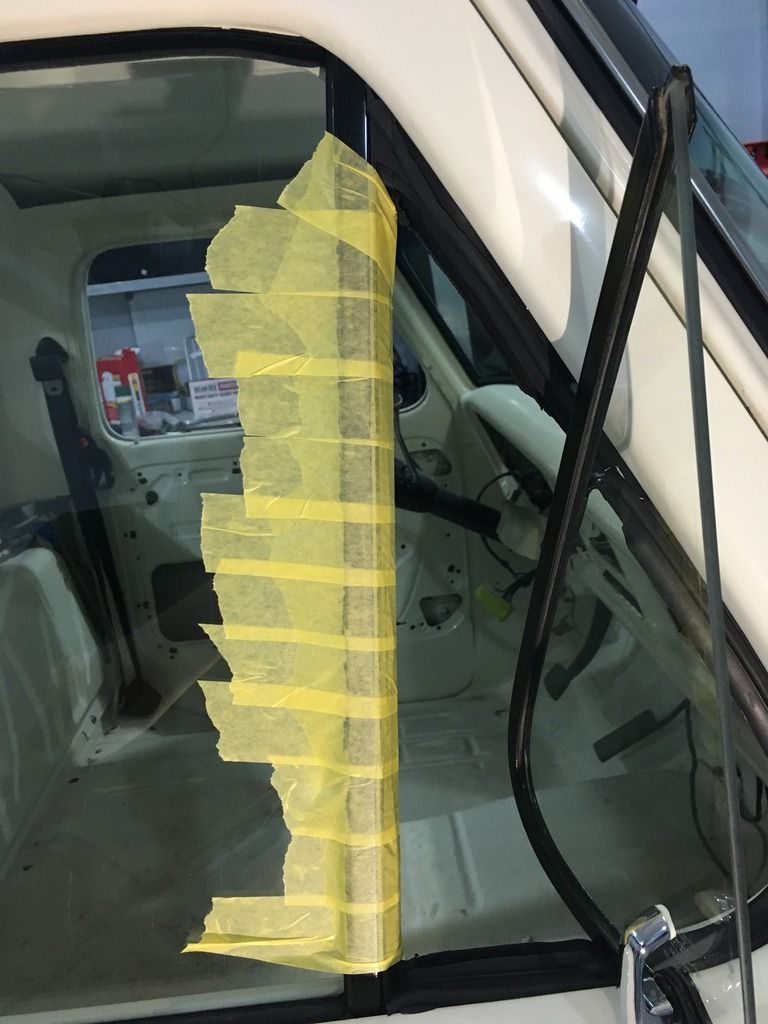
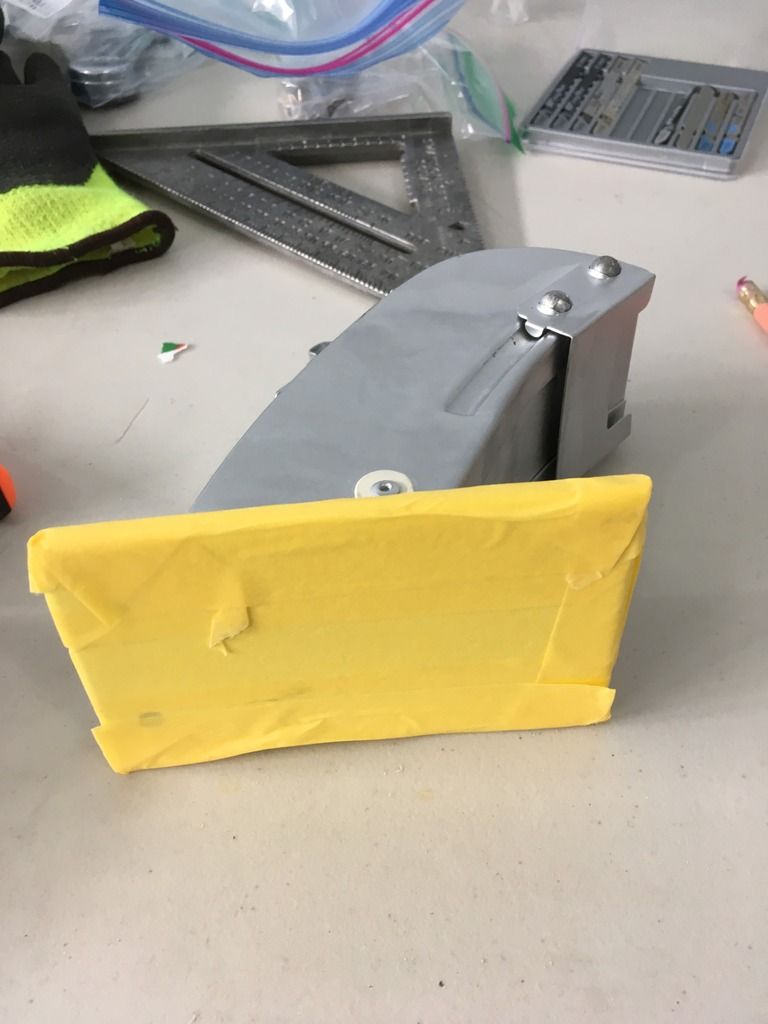
I "injected" a bead of adhesive into the gap between the metal vent frame, and the rubberized metal portion of the seal that the rivets didn't cinch up. The bottom had a bit more gap, and I laid down an extra bead there. I then taped it with some masking for delicate surfaces (relatively new paint) tightly, and left it for 24 hours.
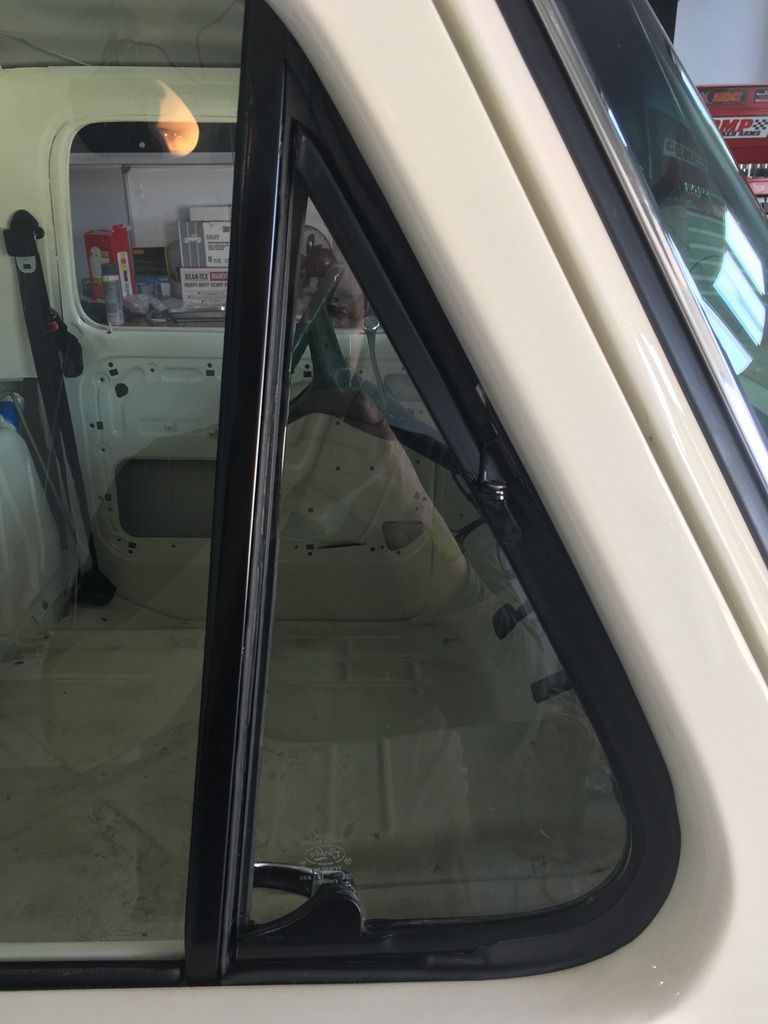
The final result was nice and snug. Hopefully it shouldn't leak or rattle.
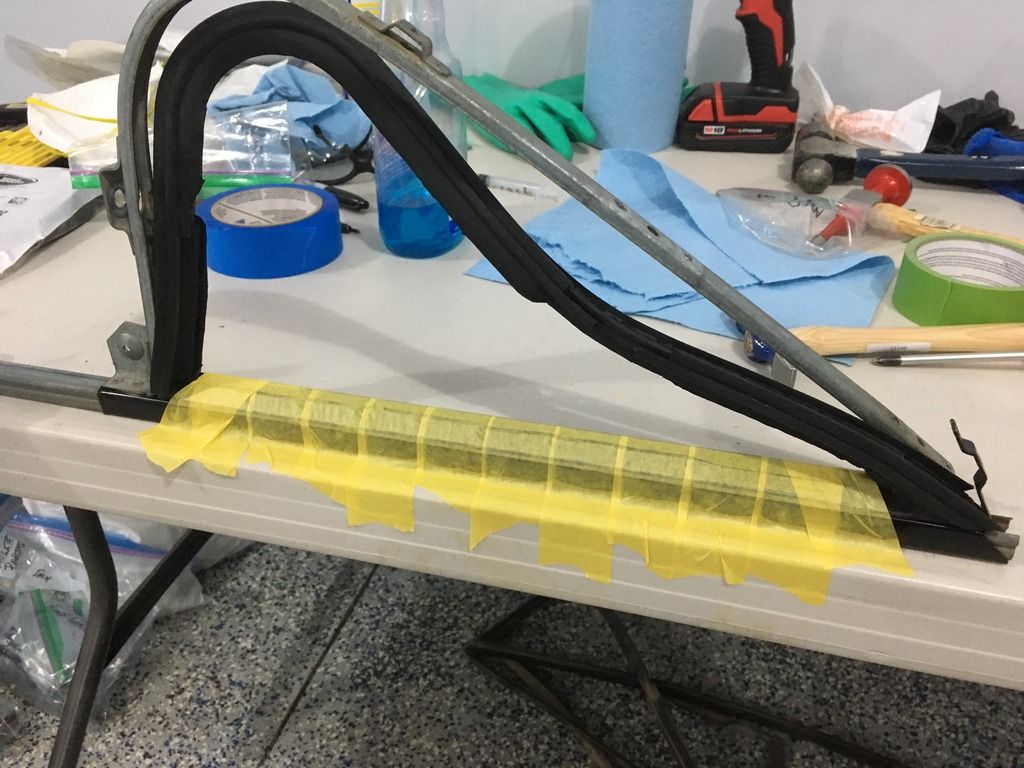 The second vent frame I applied the adhesive before placing the gasket on, then applied the masking tape to hold it down tightly. This process was much more straightforward. Ensure to test fit your gasket before putting glue down, so you aren't trying to adjust rivet locations when the glue is starting to dry. I suggest you mask off your nicely painted vent frames if you're worried about slopping adhesive over your previous work. The frame was finished by installing the division bar glass run, window (take care to install the washers the way they came apart), and some new vent window handles if yours were pitted like mine.
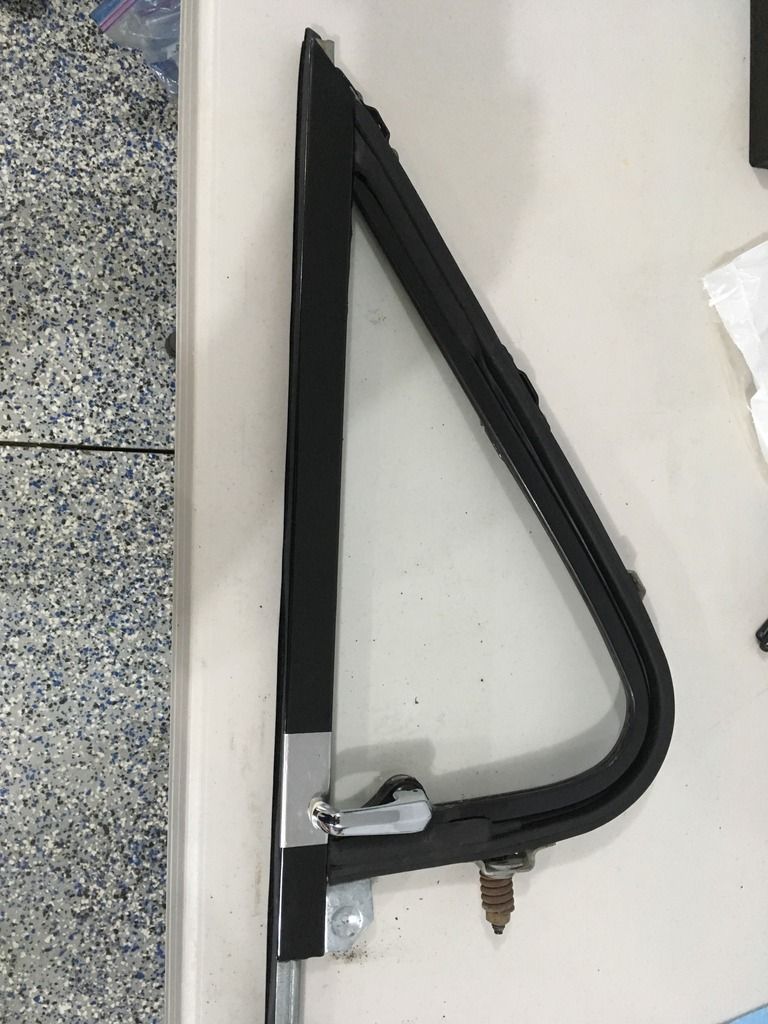
Now that the vent assembly was ready, I will state for the record the order of putting a door back together (ie: learn from my mistakes):
1) Install sound deadener material if you have a chance. I heard along the way that you don't need to do the entire inside of the door for it to be effective (maybe 60-80%). I sealed mine up with aluminum tape (the stuff that HVAC guys use for duct work...NOT duct tape/duck tape/the stuff Red Green uses to fix everything on the planet).
2) Install glass run that runs up the back of the door and along the top. Leave it loose where the vent frame is installed.
3) Install your inner anti-rattler, then the outer. Mask off your door if you don't want your paint buggered up.
4) Gently lower your window through the anti-rattlers by rotating it 90 degrees so the bottom part goes through where your vent window frame will go. Rotate it upright once it is inside the door. Be sure it is the right way, so the curvy part is at the back of the door.
5) Install your vent frame by being on the inside side of the door (NOT the outside). The lower bracket part of the frame that sticks out will need to go between the anti-rattlers a bit, then you should be able to get the division bar into the door. Set into place and fasten loosely with screws. Install the bolt to the bracket at the bottom of the division bar and put into place loosely.
6) Work your glass in place between the glass runs, and move up between the anti-rattlers about halfway. It should stay in place while you tighten the vent window frame fasteners. If it is not tight, have someone hold it in place while you do so the window doesn't slide down and smash.
7) Install the window regulator with just one bolt loosely to start, and get the roller into the channel at the bottom of the window. Then, install the rest of the bolts.
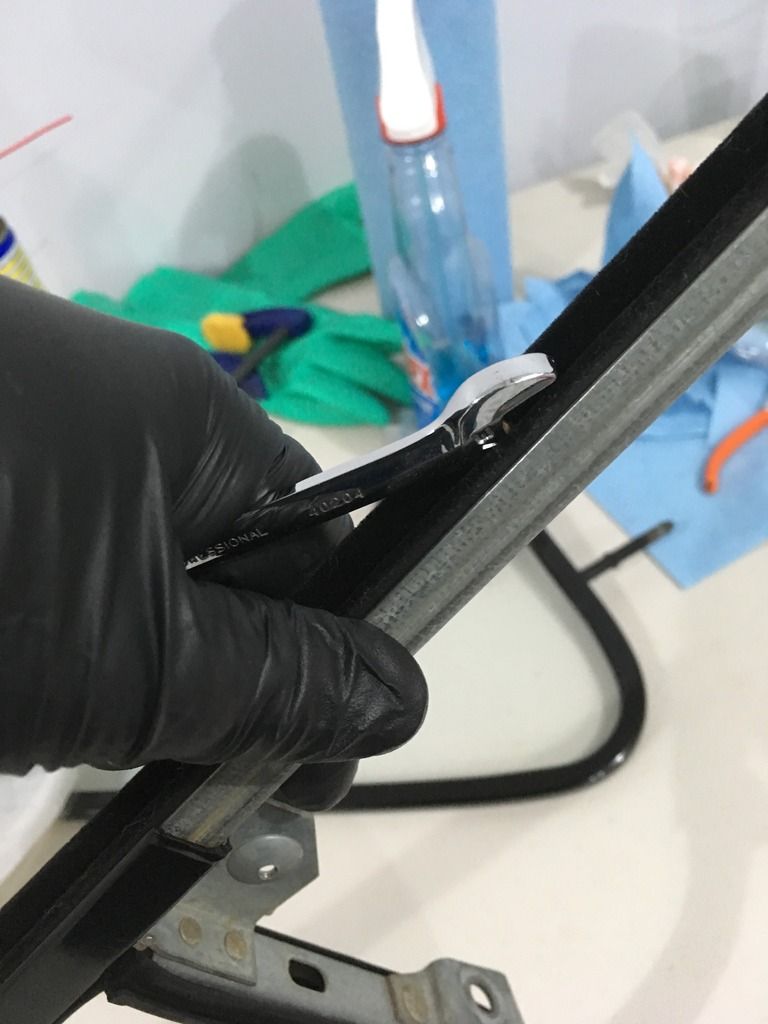
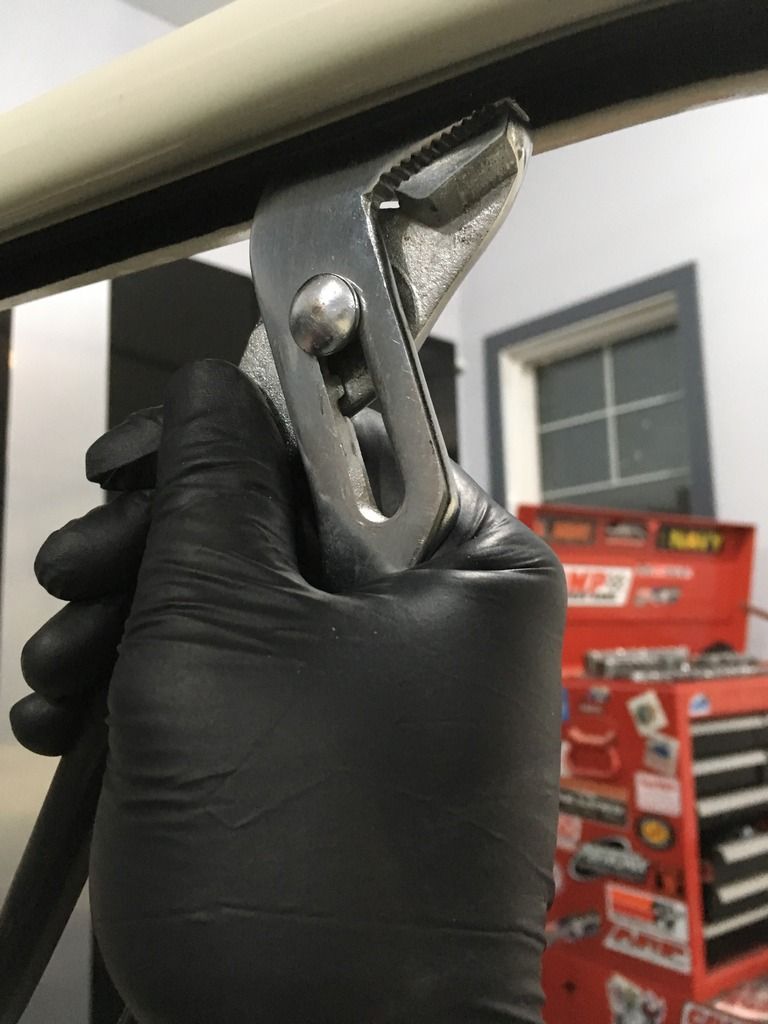
...oh yeah, almost forgot to mention...use the "appropriate tools" to get the glass run pieces into place...
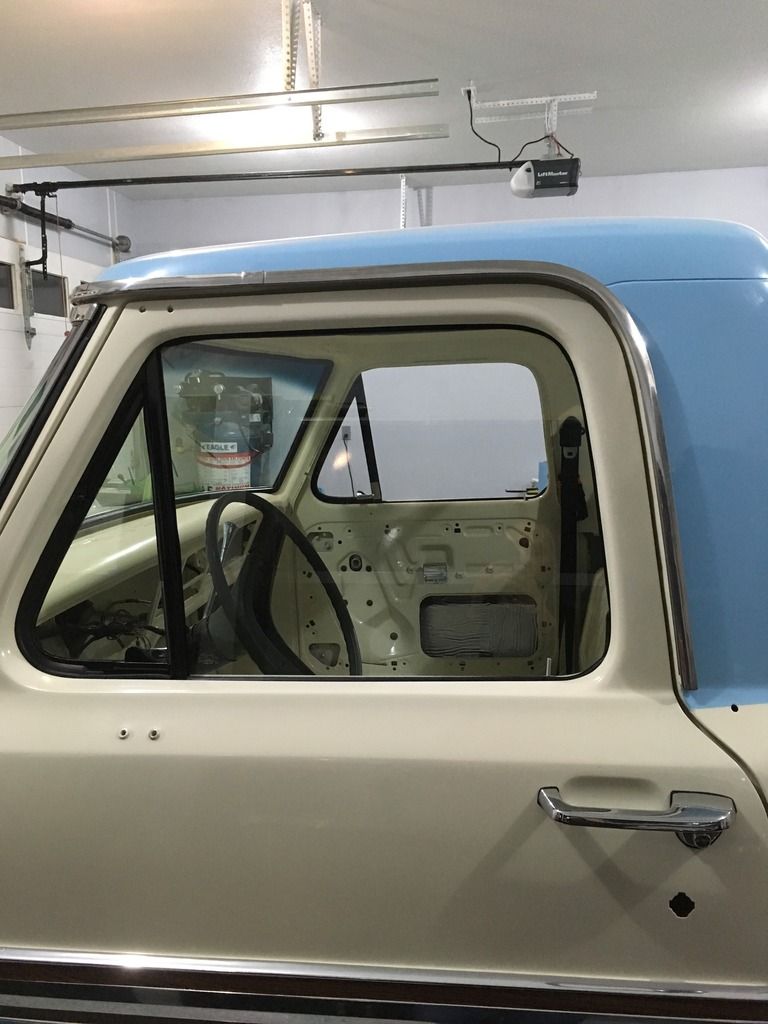
Done deal...onto the next thing...stereo?

